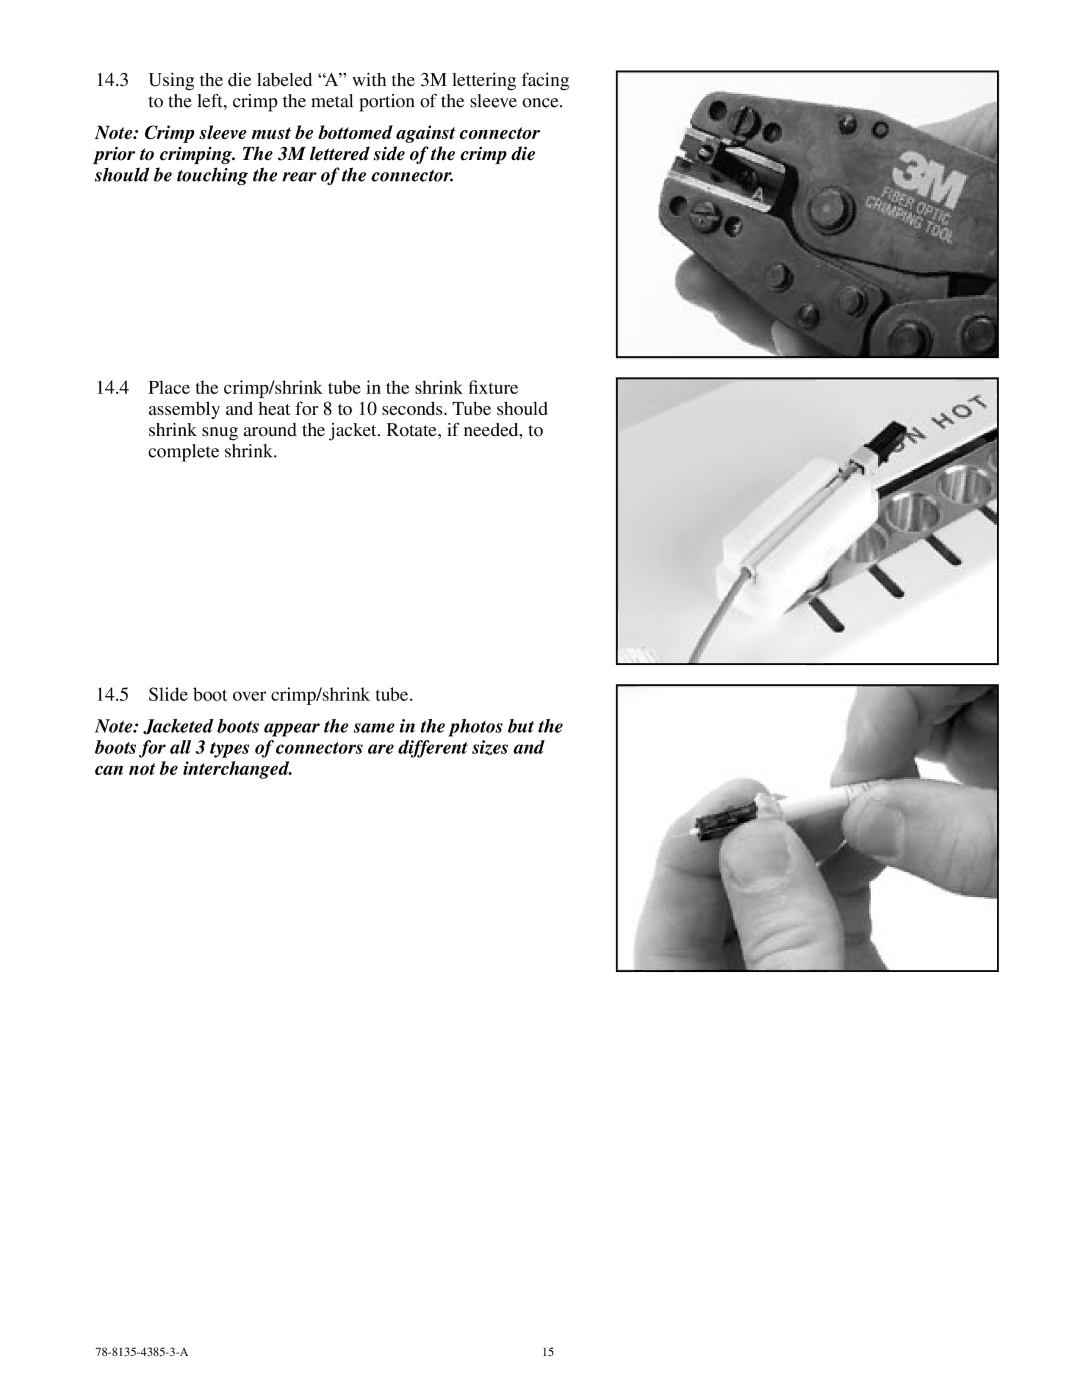
14.3Using the die labeled “A” with the 3M lettering facing to the left, crimp the metal portion of the sleeve once.
Note: Crimp sleeve must be bottomed against connector prior to crimping. The 3M lettered side of the crimp die should be touching the rear of the connector.
14.4Place the crimp/shrink tube in the shrink fixture assembly and heat for 8 to 10 seconds. Tube should shrink snug around the jacket. Rotate, if needed, to complete shrink.
14.5 Slide boot over crimp/shrink tube.
Note: Jacketed boots appear the same in the photos but the boots for all 3 types of connectors are different sizes and can not be interchanged.
| 15 |