8e6Threat Analysis Reporter
R
QUICK START
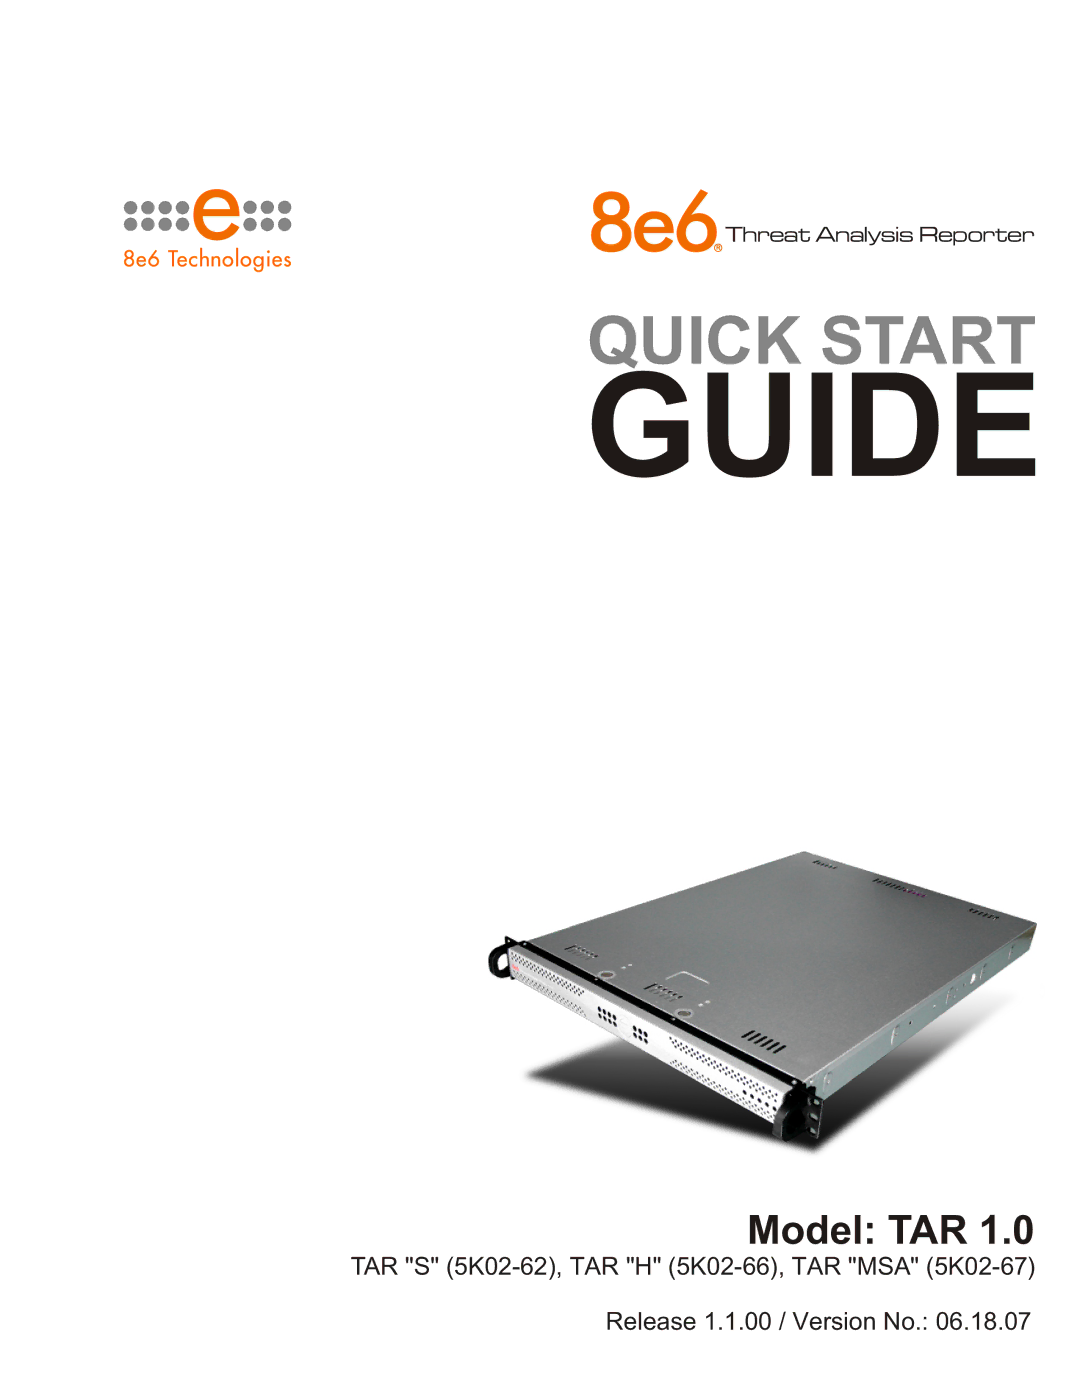
TAR "S" (5K02-62), TAR "H" (5K02-66), TAR "MSA" (5K02-67)
Release 1.1.00 / Version No.: 06.18.07