Virtual Server
DMZ
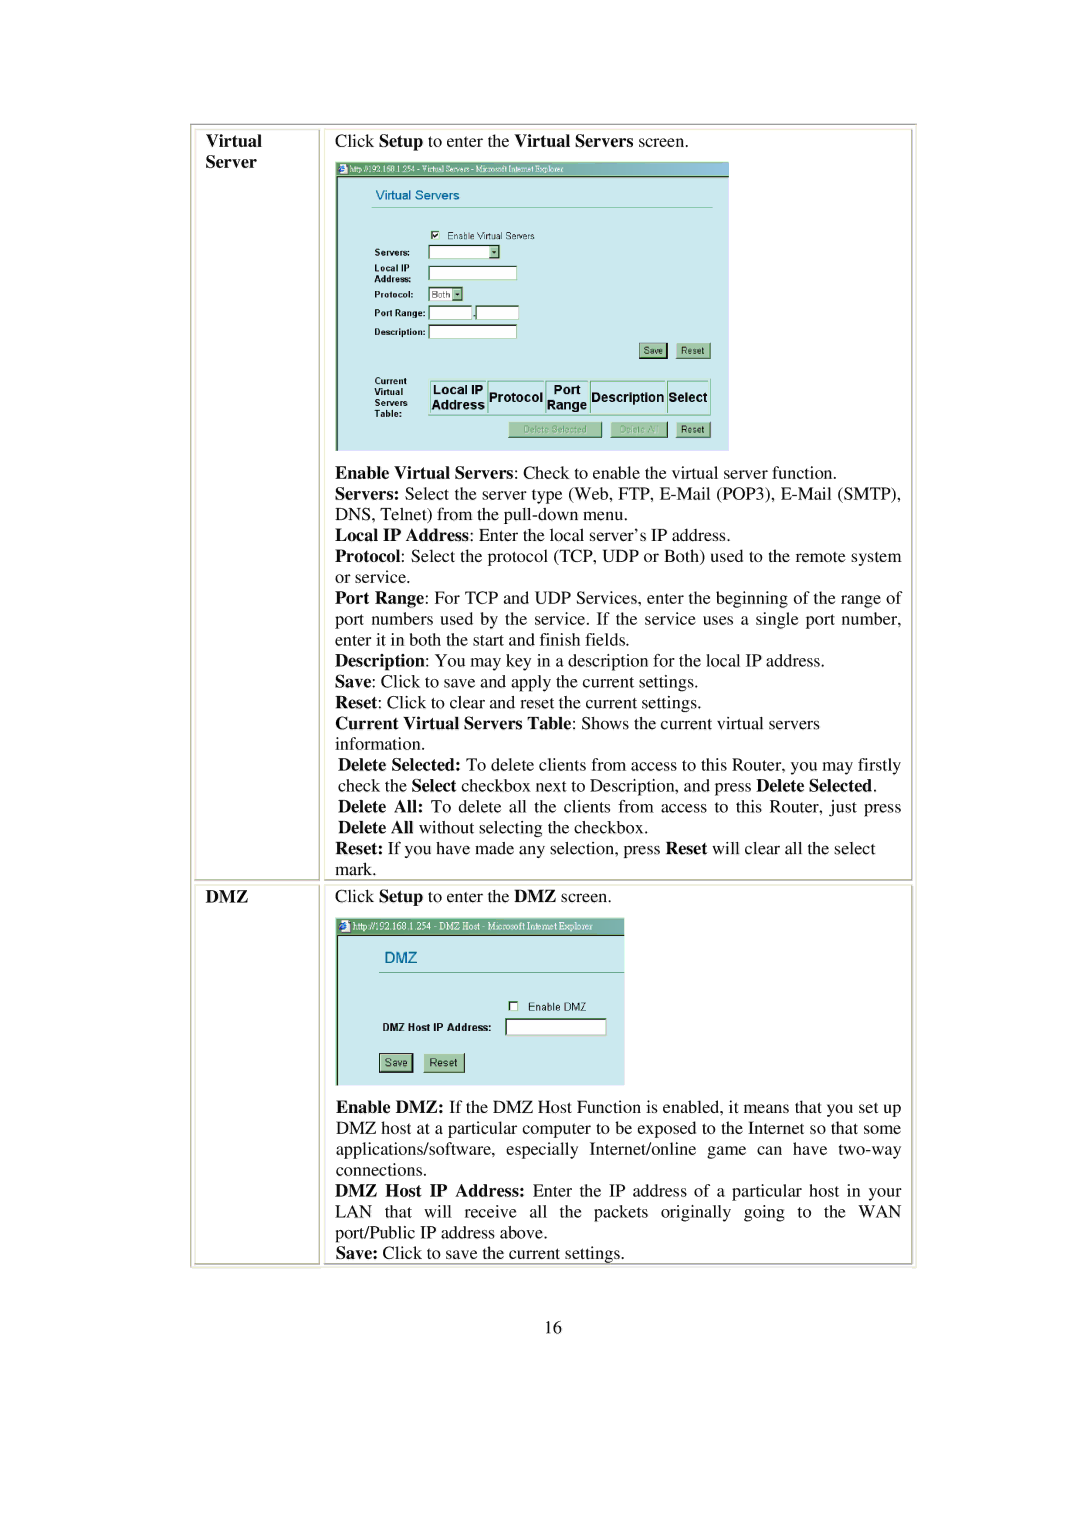
Click Setup to enter the Virtual Servers screen.
Enable Virtual Servers: Check to enable the virtual server function.
Servers: Select the server type (Web, FTP,
Local IP Address: Enter the local server’s IP address.
Protocol: Select the protocol (TCP, UDP or Both) used to the remote system or service.
Port Range: For TCP and UDP Services, enter the beginning of the range of port numbers used by the service. If the service uses a single port number, enter it in both the start and finish fields.
Description: You may key in a description for the local IP address.
Save: Click to save and apply the current settings.
Reset: Click to clear and reset the current settings.
Current Virtual Servers Table: Shows the current virtual servers information.
Delete Selected: To delete clients from access to this Router, you may firstly check the Select checkbox next to Description, and press Delete Selected. Delete All: To delete all the clients from access to this Router, just press Delete All without selecting the checkbox.
Reset: If you have made any selection, press Reset will clear all the select mark.
Click Setup to enter the DMZ screen.
Enable DMZ: If the DMZ Host Function is enabled, it means that you set up DMZ host at a particular computer to be exposed to the Internet so that some applications/software, especially Internet/online game can have
DMZ Host IP Address: Enter the IP address of a particular host in your LAN that will receive all the packets originally going to the WAN port/Public IP address above.
Save: Click to save the current settings.
16
