System Screw List
Listed below are the screw types used in this system, plus their corresponding part numbers.
NOTE: The screws for the different components vary in size. During the disassembly process, group the screws with their corresponding components to avoid mismatches when putting back the components.
Code | Part Number | Type | Color |
|
|
|
|
A | 86.00E33.736 | M2.5 x L6 | Black |
|
|
|
|
B | 86.00A02.140 | M2 x L4 | Black |
|
|
|
|
C | 86.9A554.4R0 | M3 x L3 | Silver |
|
|
|
|
D | 86.9A552.4R0 | M2 x L4 | Black |
|
|
|
|
E | 86.00E25.723 | M2 x L3 | Black |
|
|
|
|
F | 86.00E34.738 | M2.5 x L8 | Black |
|
|
|
|
G | 86.00E13.524 | M2 x L4 | Black |
|
|
|
|
H | 86.00F87.735 | M2.5 x L5 | Black |
|
|
|
|
I | 86.00C07.220 | M2 x L3 | Silver |
|
|
|
|
Pre-disassembly Procedure
Before proceeding with the disassembly procedure, perform the steps listed below:
1.Turn off the power to the computer and all peripherals.
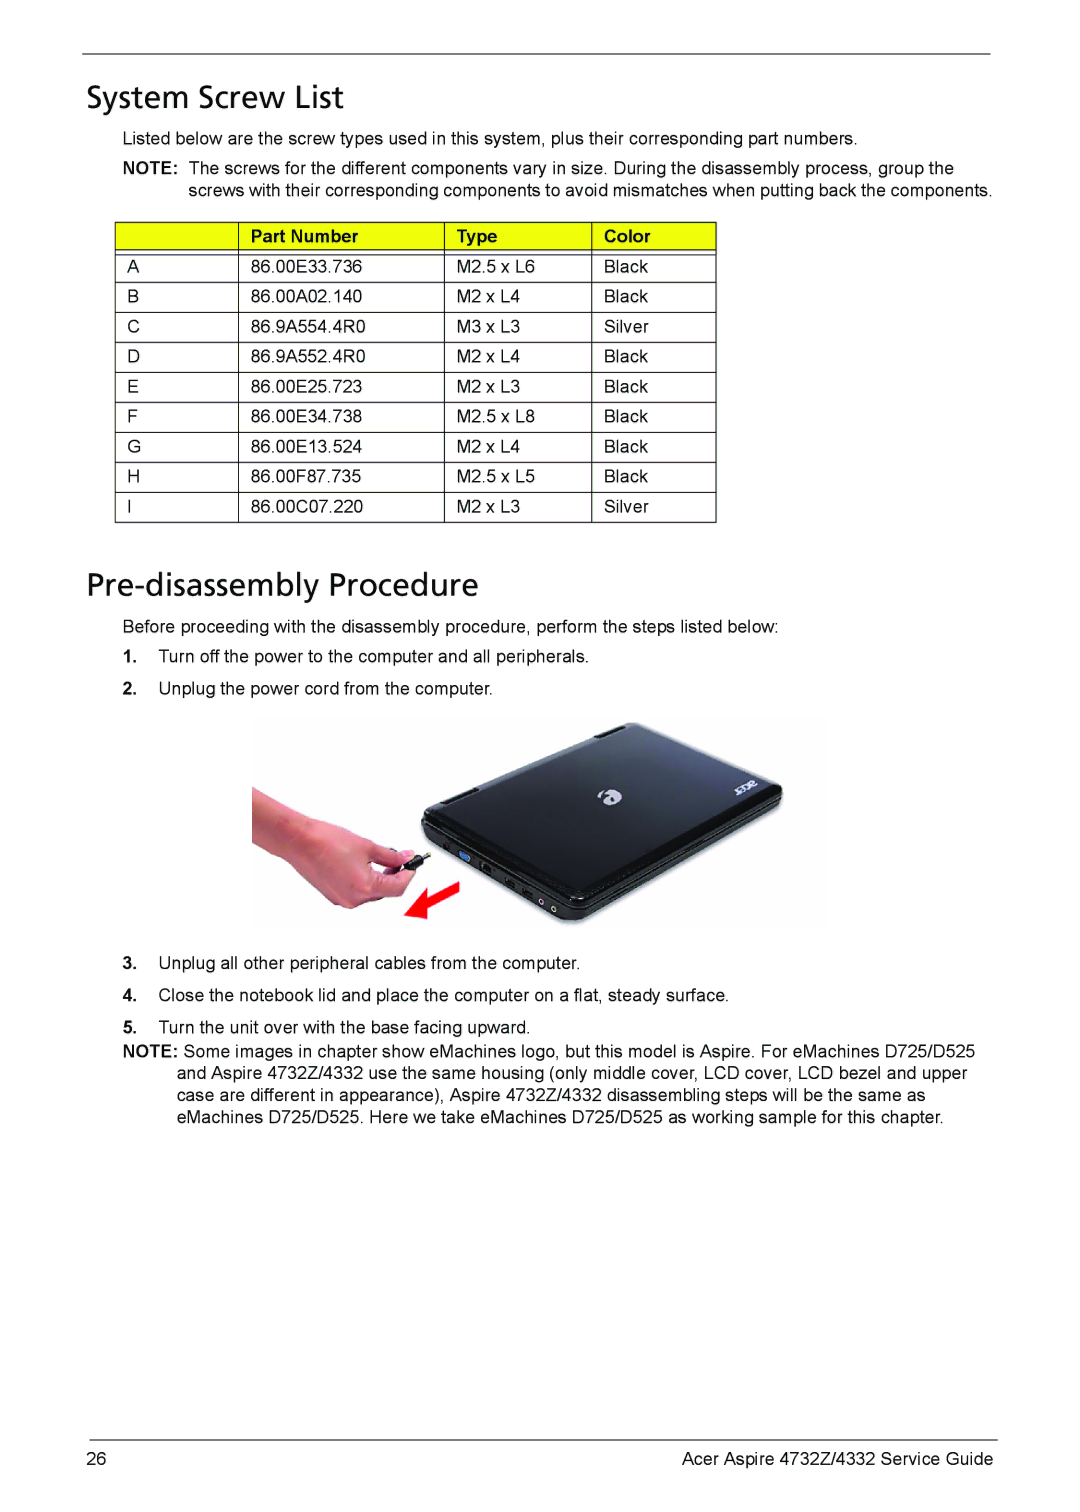
2.Unplug the power cord from the computer.
3.Unplug all other peripheral cables from the computer.
4.Close the notebook lid and place the computer on a flat, steady surface.
5.Turn the unit over with the base facing upward.
NOTE: Some images in chapter show eMachines logo, but this model is Aspire. For eMachines D725/D525 and Aspire 4732Z/4332 use the same housing (only middle cover, LCD cover, LCD bezel and upper case are different in appearance), Aspire 4732Z/4332 disassembling steps will be the same as eMachines D725/D525. Here we take eMachines D725/D525 as working sample for this chapter.
26 | Acer Aspire 4732Z/4332 Service Guide |