Set the Time & Date
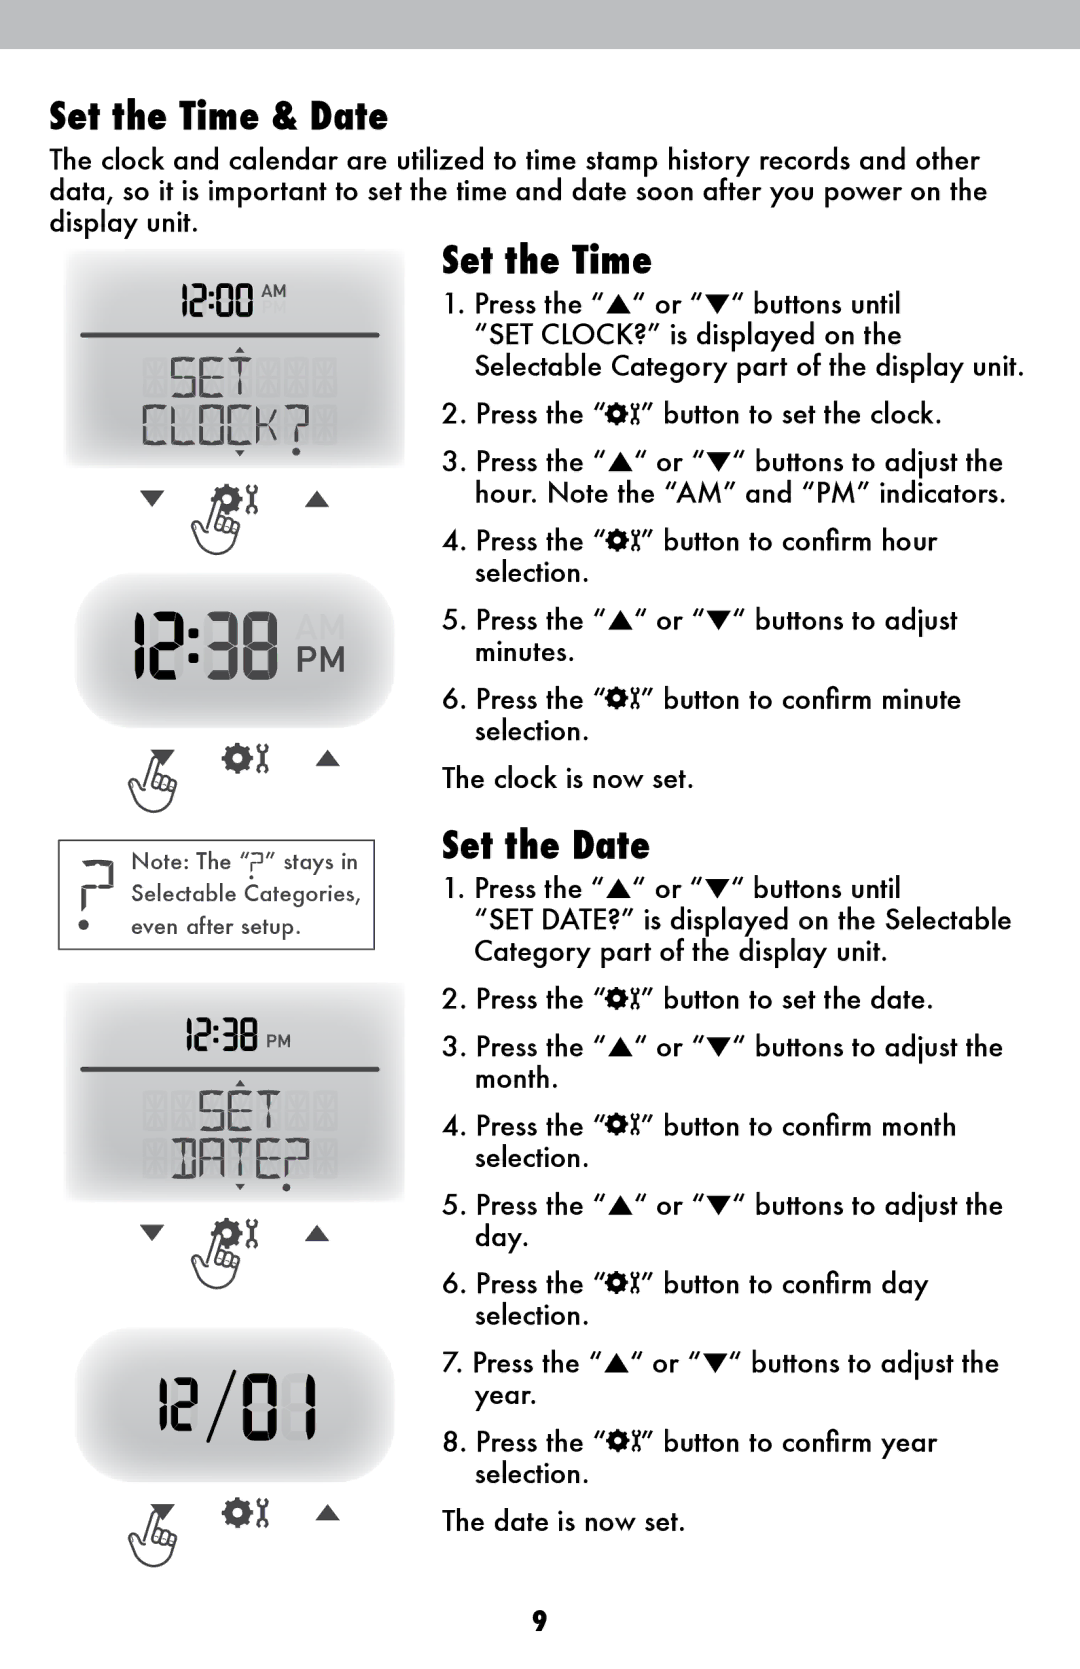
The clock and calendar are utilized to time stamp history records and other data, so it is important to set the time and date soon after you power on the display unit.
Note: The “![]()
![]() ” stays in Selectable Categories, even after setup.
” stays in Selectable Categories, even after setup.
Set the Time
1.Press the “▲“ or “▼“ buttons until “SET CLOCK?” is displayed on the Selectable Category part of the display unit.
2.Press the “![]() ” button to set the clock.
” button to set the clock.
3.Press the “▲“ or “▼“ buttons to adjust the hour. Note the “AM” and “PM” indicators.
4.Press the “![]() ” button to confirm hour selection.
” button to confirm hour selection.
5.Press the “▲“ or “▼“ buttons to adjust minutes.
6.Press the “![]() ” button to confirm minute selection.
” button to confirm minute selection.
The clock is now set.
Set the Date
1.Press the “▲“ or “▼“ buttons until
“SET DATE?” is displayed on the Selectable Category part of the display unit.
2.Press the “![]() ” button to set the date.
” button to set the date.
3.Press the “▲“ or “▼“ buttons to adjust the month.
4.Press the “![]() ” button to confirm month selection.
” button to confirm month selection.
5.Press the “▲“ or “▼“ buttons to adjust the day.
6.Press the “![]() ” button to confirm day selection.
” button to confirm day selection.
7.Press the “▲“ or “▼“ buttons to adjust the year.
8.Press the “![]() ” button to confirm year selection.
” button to confirm year selection.
The date is now set.
9
