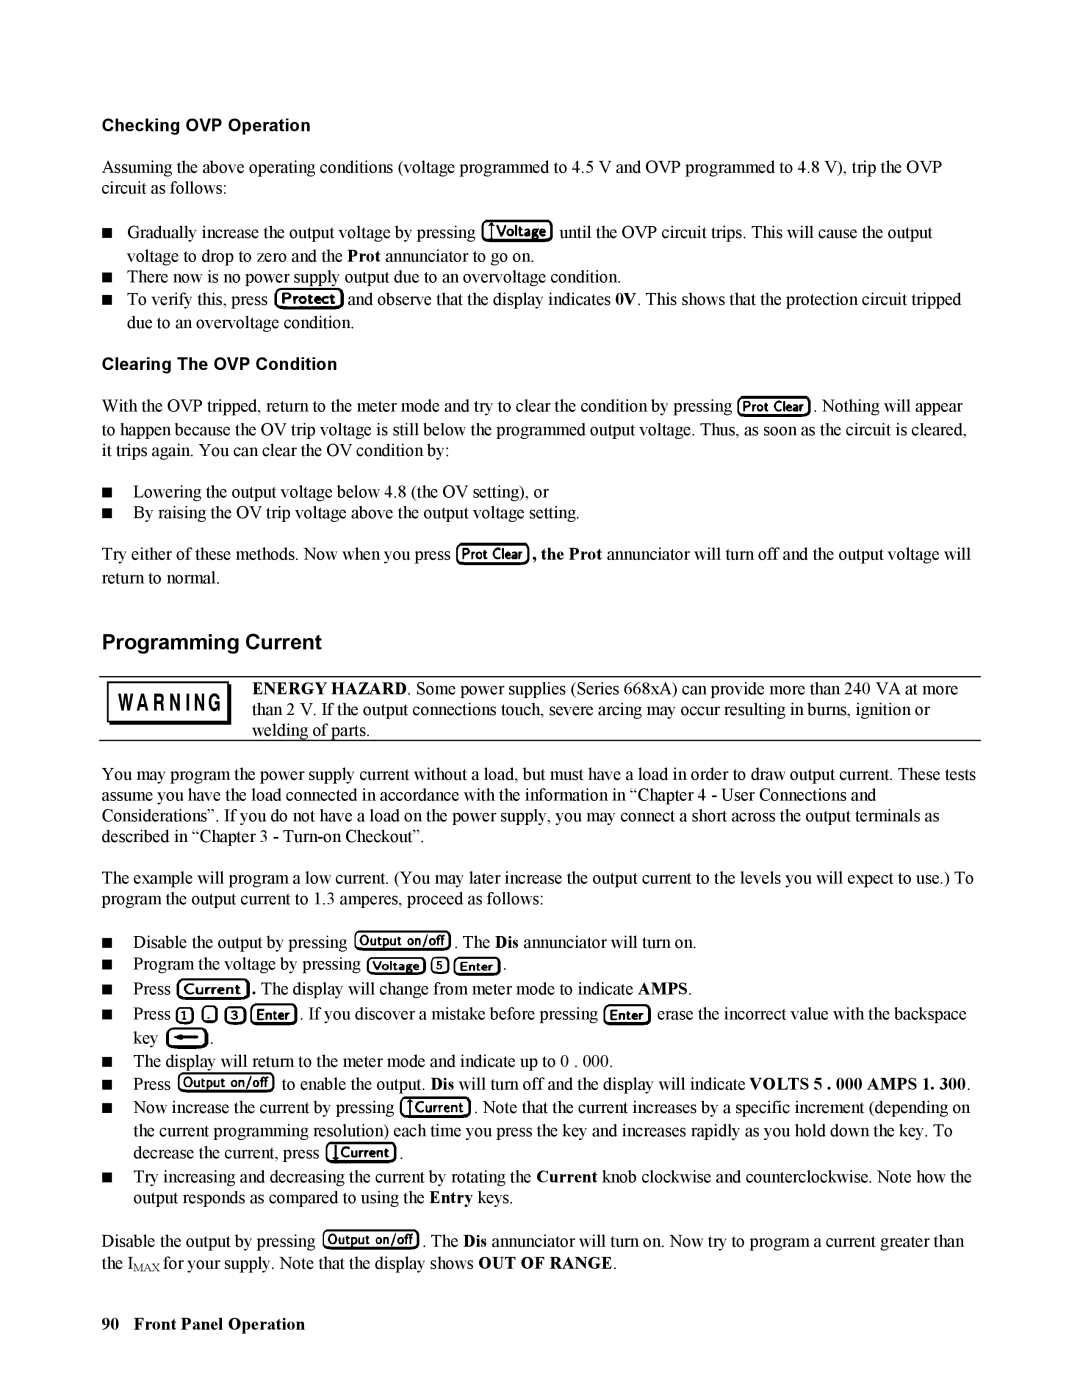
Checking OVP Operation

Assuming the above operating conditions (voltage programmed to 4.5 V and OVP programmed to 4.8 V), trip the OVP circuit as follows:

Gradually increase the output voltage by pressing until the OVP circuit trips. This will cause the output voltage to drop to zero and the Prot annunciator to go on.

There now is no power supply output due to an overvoltage condition.

To verify this, press and observe that the display indicates 0V. This shows that the protection circuit tripped due to an overvoltage condition.

Clearing The OVP Condition

With the OVP tripped, return to the meter mode and try to clear the condition by pressing . Nothing will appear

to happen because the OV trip voltage is still below the programmed output voltage. Thus, as soon as the circuit is cleared, it trips again. You can clear the OV condition by:

Lowering the output voltage below 4.8 (the OV setting), or

By raising the OV trip voltage above the output voltage setting.

Try either of these methods. Now when you press , the Prot annunciator will turn off and the output voltage will return to normal.

Programming Current

ENERGY HAZARD. Some power supplies (Series 668xA) can provide more than 240 VA at more than 2 V. If the output connections touch, severe arcing may occur resulting in burns, ignition or welding of parts.

You may program the power supply current without a load, but must have a load in order to draw output current. These tests assume you have the load connected in accordance with the information in “Chapter 4 - User Connections and Considerations”. If you do not have a load on the power supply, you may connect a short across the output terminals as described in “Chapter 3 - Turn-on Checkout”.

The example will program a low current. (You may later increase the output current to the levels you will expect to use.) To program the output current to 1.3 amperes, proceed as follows:

Disable the output by pressing

. The Dis annunciator will turn on.

Program the voltage by pressing

.


Press

. The display will change from meter mode to indicate AMPS.

Press

. If you discover a mistake before pressing

erase the incorrect value with the backspace


key

.


The display will return to the meter mode and indicate up to 0 . 000.

Press to enable the output. Dis will turn off and the display will indicate VOLTS 5 . 000 AMPS 1. 300.

Now increase the current by pressing . Note that the current increases by a specific increment (depending on the current programming resolution) each time you press the key and increases rapidly as you hold down the key. To

decrease the current, press .

Try increasing and decreasing the current by rotating the Current knob clockwise and counterclockwise. Note how the output responds as compared to using the Entry keys.

Disable the output by pressing . The Dis annunciator will turn on. Now try to program a current greater than the IMAX for your supply. Note that the display shows OUT OF RANGE.

90 Front Panel Operation

Page 90
Image 90
Agilent Technologies 665xA, 664xA, 667xA, 669xA manual Programming Current, Checking OVP Operation, Clearing The OVP Condition

668xA, 669xA, 667xA, 664xA, 665xA specifications

Agilent Technologies has long been a pioneer in the production of high-performance electronic test and measurement instruments, particularly in the field of power sources. Among its notable offerings are the Agilent 667xA, 669xA, 665xA, 664xA, and 668xA series of power supplies. These instruments are designed to provide stable, reliable power for a variety of applications, including electronic testing, industrial processes, and research laboratories.

The Agilent 667xA series is characterized by its programmability and advanced measurement functions. These power supplies support a wide range of output voltages and currents, allowing for flexible configurations that cater to different testing needs. The built-in measurement capabilities enable users to monitor the voltage, current, and power with high precision, which is essential for ensuring optimal performance in electronic applications.

The Agilent 669xA series stands out with its high-power outputs, making it suitable for demanding applications. These power supplies deliver high voltage and current levels, making them ideal for testing high-performance devices, such as power amplifiers and motor drives. Additionally, the 669xA series includes features such as overvoltage protection and complex output sequencing to enhance the safety and reliability of the testing process.

The Agilent 665xA and 664xA series focus on delivering high accuracy and excellent regulation. These models are particularly known for their low noise operation, which is critical for sensitive applications where precision is paramount. The integrated programming capabilities allow users to automate testing sequences, thus improving efficiency in research and development settings.

The 668xA series features advanced digital signal processing that enhances the precision and stability of the output. Users benefit from features like remote sensing and monitoring, allowing feedback adjustments that maintain output accuracy despite cable losses. Furthermore, the 668xA models can integrate seamlessly with various test environments thanks to their LAN, GPIB, and USB connectivity options.

Overall, the Agilent 667xA, 669xA, 665xA, 664xA, and 668xA power supplies provide a comprehensive range of solutions for diverse electronic testing needs. With their advanced features, superb measurement capabilities, and robust performance, these instruments empower engineers and researchers to conduct their work with confidence, precision, and efficiency.