Registering sound sequences
[Chime setting – Registering sound sequences]
Register sound sequences for chime.
*Up to 20 sequences can be registered.
1 Click Registering sound sequences in the table of contents.
2 [Sound number]:
Select the sound number to register a sound sequence from the
3 [Sound sequence name]:
Enter the name of sound sequence.
4 Click Add to add sound files to the sound sequence. Another window appears.
5 [Step]:
Select an unused step number from the
*If the selected step number is already used, it can be set with a new sound source and the old and subsequent ones are renumbered with the following numbers.
*If an unused number exists before the number you selected, the unused number is
*Up to 10 steps can be used.
6 [Sound source]:
Select a sound file from the registered ones and set the repeating time (from 1 to 10) of the sound.
7 When you have finished the setting on this window, click Close .
In the previous window, the registered sound files are displayed in the list.
8 Repeat step 2 to 7 to register more sound sequences.
Other buttons
•Edit
If you wish to modify, check the file in the list, and then click Edit .
•Delete
When deleting an added sound file, check the file in the list, and then click Delete .
9 Click Temporarily stored to save the current setting results temporarily.
*If you wish to cancel the setting results you have made, click a title in the table of contents or “Refresh” in the web browser menu.
Registering daily chime schedule
[Chime setting – Registering daily chime schedule]
Up to 10 daily schedules can be registered.
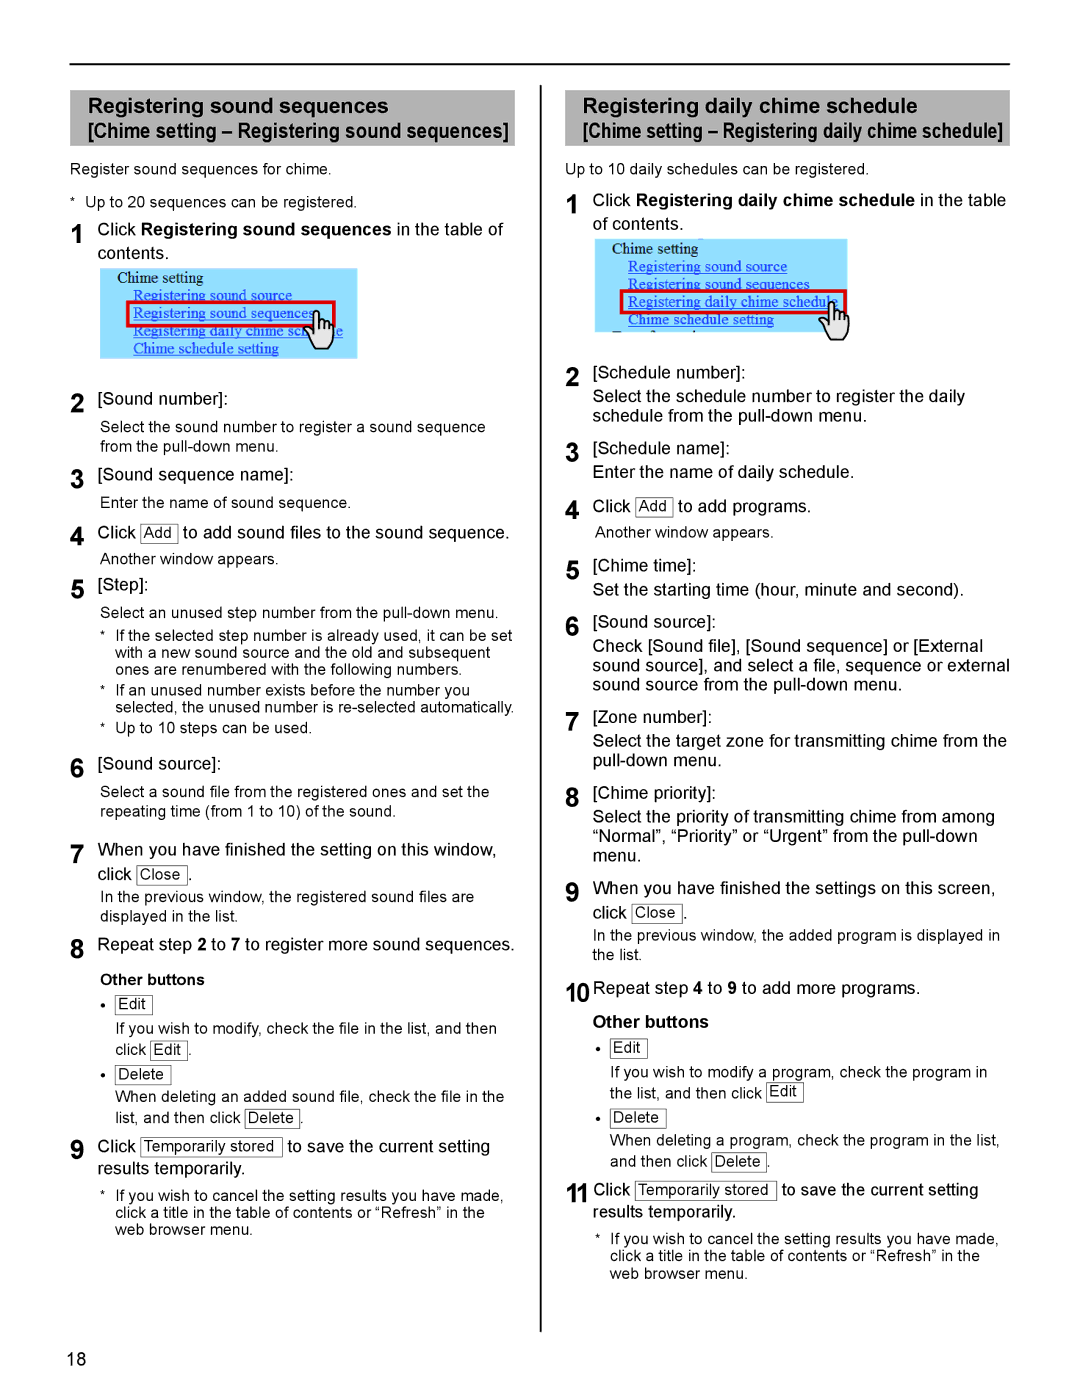
1 Click Registering daily chime schedule in the table
of contents.
2 [Schedule number]:
Select the schedule number to register the daily schedule from the
3 [Schedule name]:
Enter the name of daily schedule.
4 Click Add to add programs. Another window appears.
5 [Chime time]:
Set the starting time (hour, minute and second).
6 [Sound source]:
Check [Sound file], [Sound sequence] or [External sound source], and select a file, sequence or external sound source from the
7 [Zone number]:
Select the target zone for transmitting chime from the
8 [Chime priority]:
Select the priority of transmitting chime from among “Normal”, “Priority” or “Urgent” from the
9 When you have finished the settings on this screen, click Close .
In the previous window, the added program is displayed in the list.
10Repeat step 4 to 9 to add more programs.
Other buttons
•Edit
If you wish to modify a program, check the program in the list, and then click Edit
•Delete
When deleting a program, check the program in the list, and then click Delete .
11Click Temporarily stored to save the current setting results temporarily.
*If you wish to cancel the setting results you have made, click a title in the table of contents or “Refresh” in the web browser menu.
18