KSettings on [Weekly schedule] setting window
1)Select either [Every week] or [Every other week].
2)Set the schedule start and end dates.
*The monthly calendar is displayed by clicking
Refer calendar and you can select the start and end dates.
*If necessary, you can change the month by clicking ![]() or
or ![]() .
.
3)Set one of the registered daily transfer schedules or no schedule to each day of the week. (Select one from the
LSettings on [Individual schedule] setting window
Set an individual schedule to the target date.
*[Individual schedule] setting window will not open if you have not selected the target date on the calendar in the [Transfer schedule setting] window.
1)If necessary, you can change the date by clicking ![]() or
or ![]() repeatedly.
repeatedly.
2)[Daily transfer schedule]:
Select either of the registered daily schedules (DT1 or DT2) or no schedule from the
3)[Call transfer time]:
•When “DT1” or “DT2” is selected:
The call transfer time is automatically entered. If necessary, change the [Start time (hour and minute)] and [End time (hour and minute)] of transferring manually.
•When no schedule is selected: Enter the call transfer time manually.
*When the time is entered or changed manually, [Daily transfer schedule] changes to “Individual schedule”.
Setting the timer [Timer setting]
Set the time for each operation.
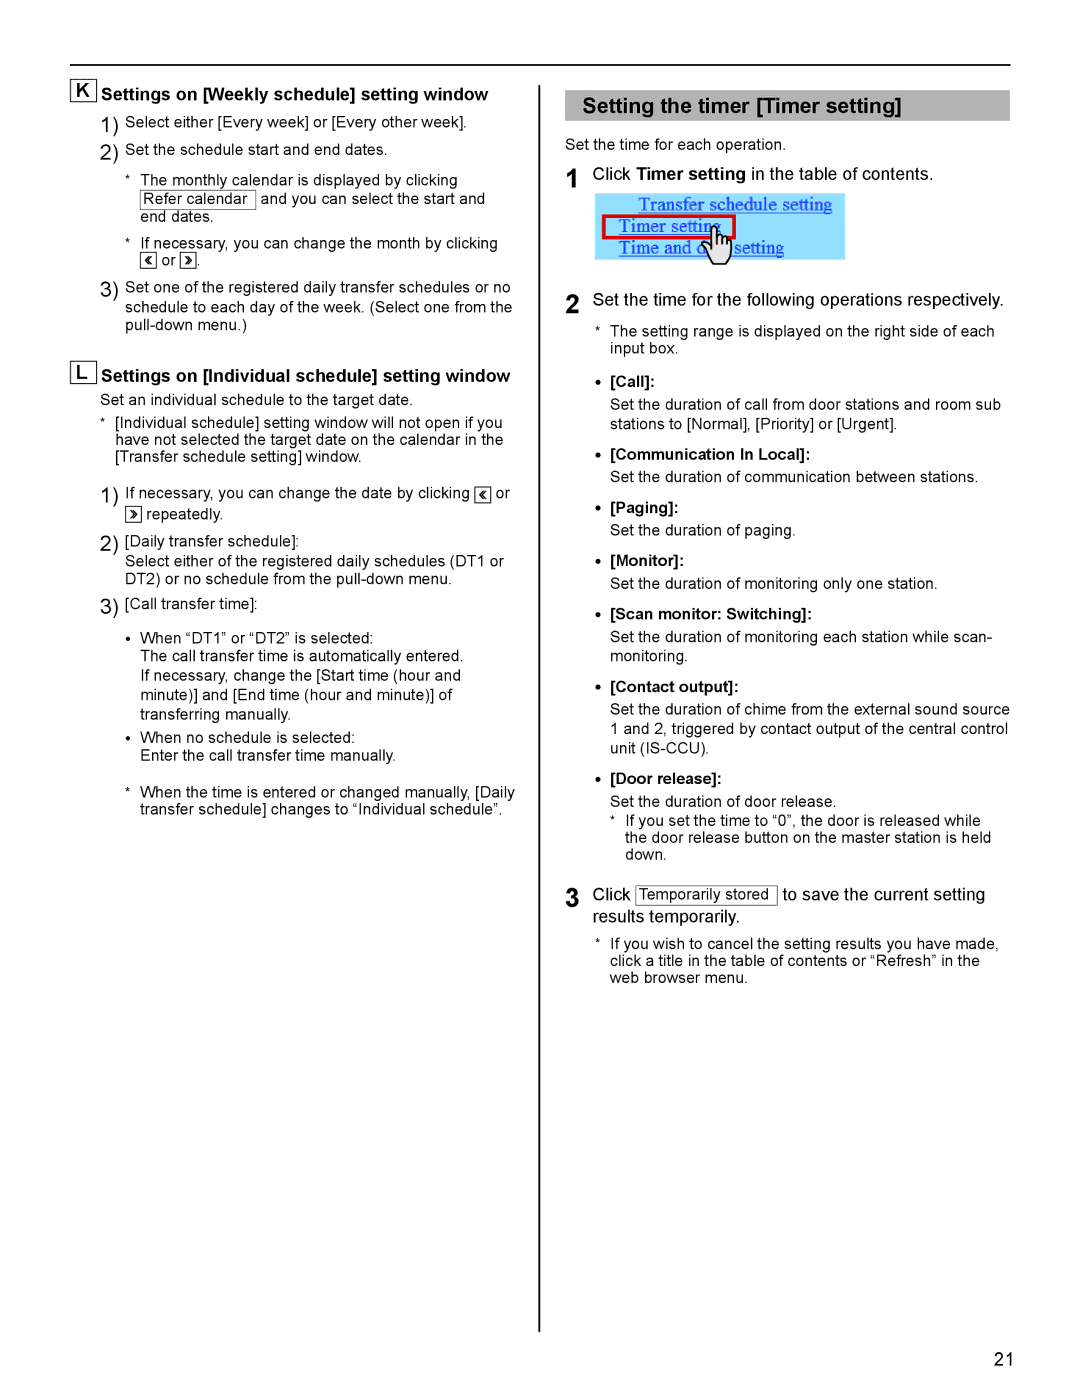
1 Click Timer setting in the table of contents.
2 Set the time for the following operations respectively.
*The setting range is displayed on the right side of each input box.
•[Call]:
Set the duration of call from door stations and room sub stations to [Normal], [Priority] or [Urgent].
•[Communication In Local]:
Set the duration of communication between stations.
•[Paging]:
Set the duration of paging.
•[Monitor]:
Set the duration of monitoring only one station.
•[Scan monitor: Switching]:
Set the duration of monitoring each station while scan- monitoring.
•[Contact output]:
Set the duration of chime from the external sound source 1 and 2, triggered by contact output of the central control unit
•[Door release]:
Set the duration of door release.
*If you set the time to “0”, the door is released while the door release button on the master station is held down.
3 Click Temporarily stored to save the current setting results temporarily.
*If you wish to cancel the setting results you have made, click a title in the table of contents or “Refresh” in the web browser menu.
GETTING STARTED SETTING THE SYSTEM USING THE SYSTEM
APPENDIX
21
