GB
Put the additionally supplied sleeve in place and if necessary use the cover collar on the inside. If necessary saw the sleeve to the right length.
C. Mains lead
Inspect where the mains lead must come out of the internal unit, left or right. Chip off the small plate for the lead, take the lead out and fix it temporarily with tape, so that it will not be in the way when mounting the internal unit.
Get someone to help you mount the internal unit and thread the duct through.
D. Duct
Carefully and without bending uncoil the bundle of ducts and thread the end bit through the hole with the sleeve.
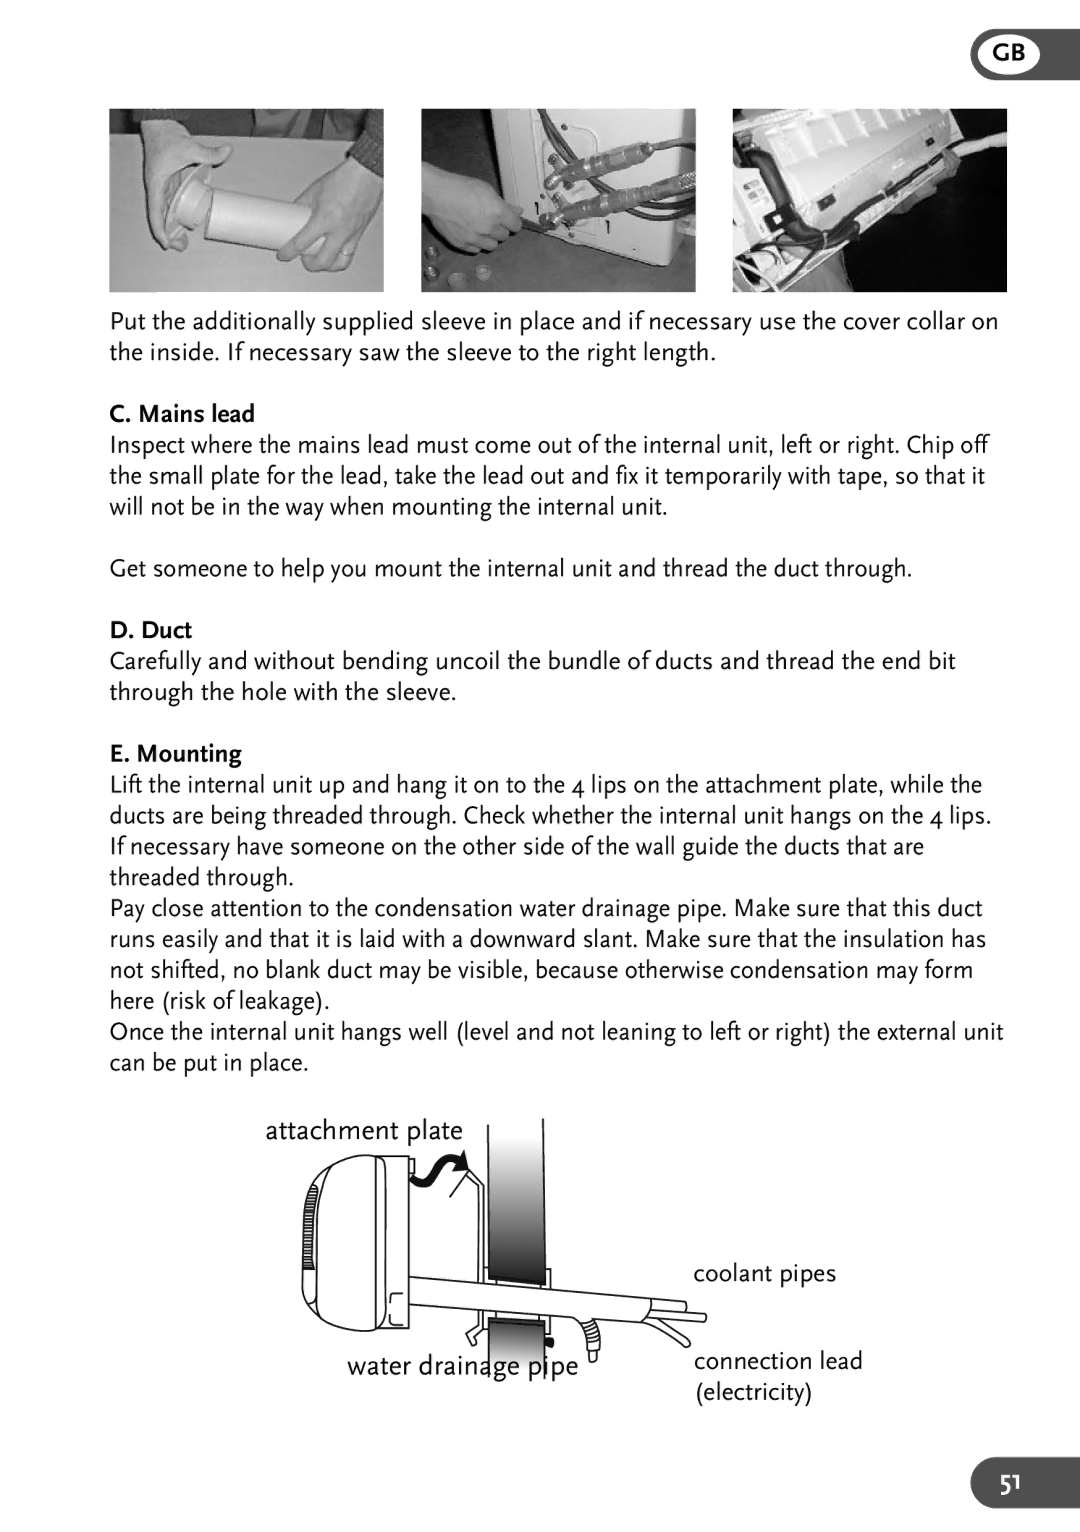
E. Mounting
Lift the internal unit up and hang it on to the 4 lips on the attachment plate, while the ducts are being threaded through. Check whether the internal unit hangs on the 4 lips. If necessary have someone on the other side of the wall guide the ducts that are threaded through.
Pay close attention to the condensation water drainage pipe. Make sure that this duct runs easily and that it is laid with a downward slant. Make sure that the insulation has not shifted, no blank duct may be visible, because otherwise condensation may form here (risk of leakage).
Once the internal unit hangs well (level and not leaning to left or right) the external unit can be put in place.
attachment plate
| coolant pipes |
water drainage pipe | connection lead |
| (electricity) |
51