BASIC OPERATIONS (CONT.)
Storing A Cue Point:
Once you have set your CUE Point by one of the two means listed on page 16, you may store your cue point in one of the FLASH BUTTONS (8). Once you store this cue point in memory you may recall it at any time and you may even recall if the disc has been remove or power had been disconnected. You may store a maximum of three cue points per a disc and maximum of 384 cue points can be saved in unit's memory. The MEMORY BUCKET (55) in the LCD DISPLAY (19) will approximate the available memory. Either a CUE POINT or a SAMPLE (See creating a sample loop on page 17) can be stored into a FLASH BUTTON (8), not both. To
Store a cue point:
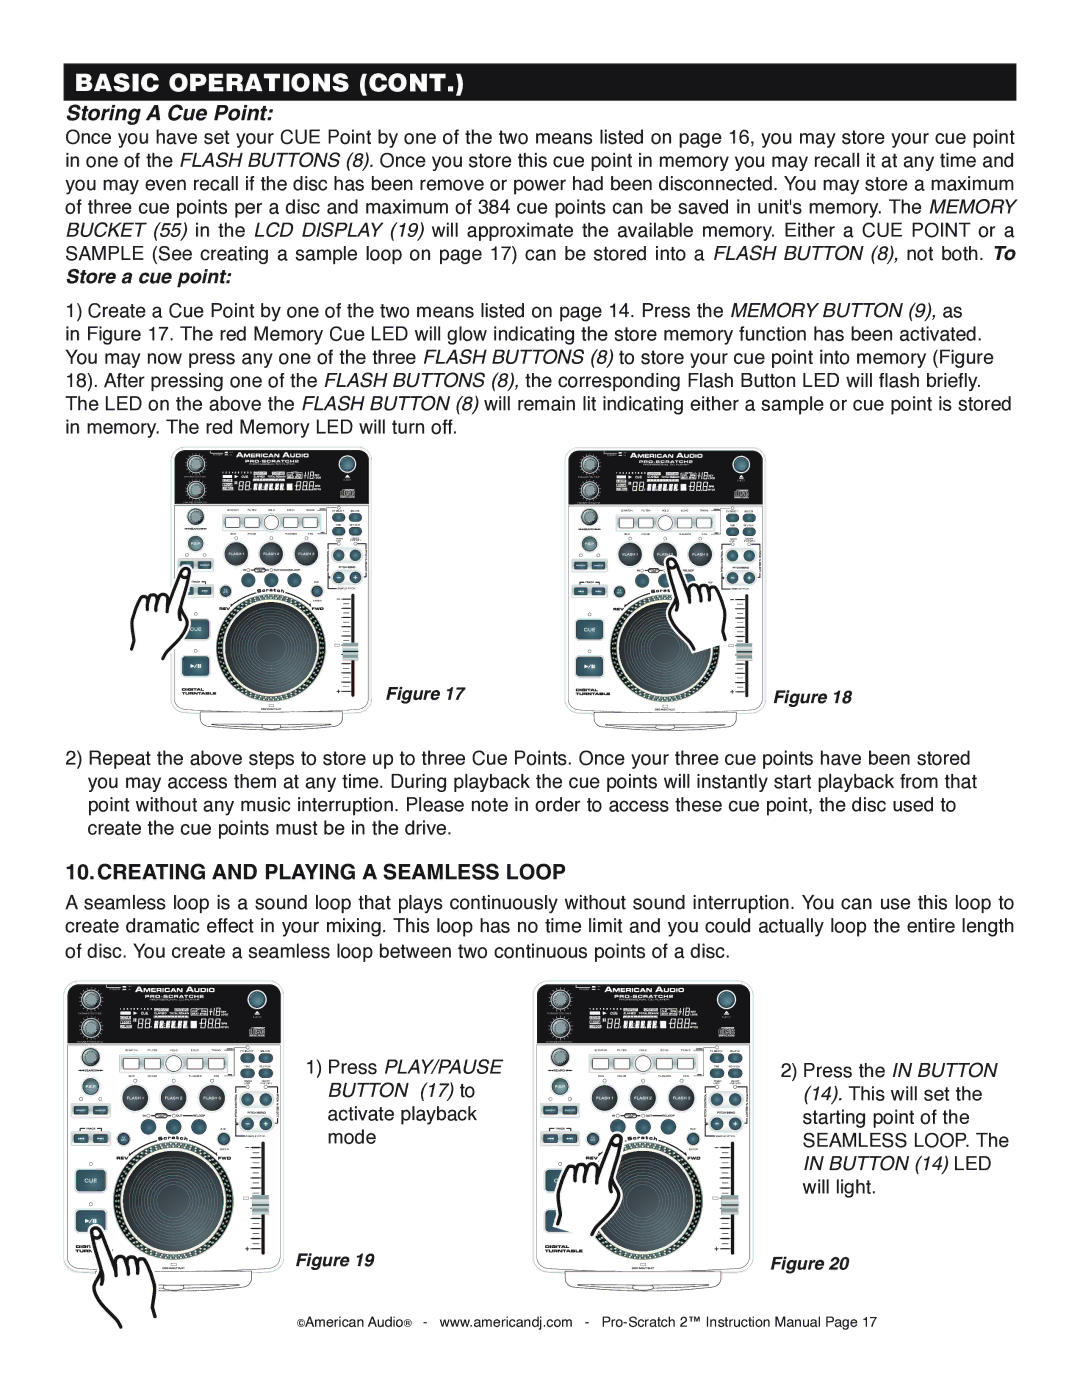
1)Create a Cue Point by one of the two means listed on page 14. Press the MEMORY BUTTON (9), as in Figure 17. The red Memory Cue LED will glow indicating the store memory function has been activated. You may now press any one of the three FLASH BUTTONS (8) to store your cue point into memory (Figure
18).After pressing one of the FLASH BUTTONS (8), the corresponding Flash Button LED will flash briefly. The LED on the above the FLASH BUTTON (8) will remain lit indicating either a sample or cue point is stored in memory. The red Memory LED will turn off.
POWER
1 2 3 4 5 6 | 7 8 9 0 | PROGRAM | NONSTOP | AUTO |
| |
PARAMETER TIME | CUE | ELAPSED | TOTAL REMAIN | CUE BPM | KEY | |
BEAT SYNC. | LOCK | |||||
SINGLE |
|
|
|
|
|
|
LOOP |
|
|
|
|
| BPM |
RELOOP | T | M | S | F |
| PITCH |
PARAMETER RATIO |
|
|
|
| |
| SCRATCH | FILTER | HOLD | ECHO | TRANS |
|
|
|
|
|
|
|
|
|
|
|
|
| SKID | PHASE |
| FLANGER | PAN |
EJECT
FX SELECT | SGL/CTN |
TIME REV.PLAY
TEMPO ON/OFF
LOCK 4%/8%/16%
BOP
FX
SAMPLE PITCH
BOP
FX
SAMPLE PITCH
MIXMIX
ENTER | ENTER |
Figure 17 | Figure 18 |
2)Repeat the above steps to store up to three Cue Points. Once your three cue points have been stored you may access them at any time. During playback the cue points will instantly start playback from that point without any music interruption. Please note in order to access these cue point, the disc used to create the cue points must be in the drive.
10. CREATING AND PLAYING A SEAMLESS LOOP
A seamless loop is a sound loop that plays continuously without sound interruption. You can use this loop to create dramatic effect in your mixing. This loop has no time limit and you could actually loop the entire length of disc. You create a seamless loop between two continuous points of a disc.
| OFF |
|
|
|
|
|
|
POWER | ON |
|
|
|
|
|
|
1 | 2 3 4 5 6 | 7 8 9 0 | PROGRAM | NONSTOP | AUTO |
| |
PARAMETER TIME |
| CUE | ELAPSED | TOTAL REMAIN | CUE BPM | KEY | |
| BEAT SYNC. | LOCK | |||||
SINGLE |
|
|
|
|
|
| |
| LOOP |
|
|
|
|
| BPM |
RELOOP | T | M | S | F |
| PITCH | |
PARAMETER RATIO |
|
|
|
| |
| SCRATCH | FILTER | HOLD | ECHO | TRANS |
|
|
|
|
|
|
|
|
|
|
|
|
| SKID | PHASE |
| FLANGER | PAN |
BOP
FX
MIX
ENTER
EJECT
FX SELECT | SGL/CTN |
TIME REV.PLAY
TEMPO ON/OFF
LOCK 4%/8%/16%
SAMPLE PITCH
1)Press PLAY/PAUSE BUTTON (17) to activate playback mode
| OFF |
|
|
|
|
|
|
POWER | ON |
|
|
|
|
|
|
1 | 2 3 4 5 6 | 7 8 9 0 | PROGRAM | NONSTOP | AUTO |
| |
PARAMETER TIME |
| CUE | ELAPSED | TOTAL REMAIN | CUE BPM | KEY | |
| BEAT SYNC. | LOCK | |||||
SINGLE |
|
|
|
|
|
| |
| LOOP |
|
|
|
|
| BPM |
RELOOP | T | M | S | F |
| PITCH | |
PARAMETER RATIO |
|
|
|
| |
| SCRATCH | FILTER | HOLD | ECHO | TRANS |
|
|
|
|
|
|
|
|
|
|
|
|
| SKID | PHASE |
| FLANGER | PAN |
BOP
FX
MIX
ENTER
EJECT
FX SELECT | SGL/CTN |
TIME REV.PLAY
TEMPO ON/OFF
LOCK 4%/8%/16%
SAMPLE PITCH
2)Press the IN BUTTON (14). This will set the starting point of the SEAMLESS LOOP. The
IN BUTTON (14) LED will light.
Figure 19 | Figure 20 |
©American Audio® - www.americandj.com -