PITCH ADJUSTMENTS
| OFF |
|
|
|
|
|
|
POWER | ON |
|
|
|
|
|
|
1 | 2 3 4 5 6 | 7 8 9 0 | PROGRAM | NONSTOP | AUTO |
| |
PARAMETER TIME |
| CUE | ELAPSED | TOTAL REMAIN | CUE BPM | KEY | |
| BEAT SYNC. | LOCK | |||||
SINGLE |
|
|
|
|
|
| |
| LOOP |
|
|
|
|
| BPM |
RELOOP | T | M | S | F |
| PITCH | |
PARAMETER RATIO |
|
|
|
| |
| SCRATCH | FILTER | HOLD | ECHO | TRANS |
|
|
|
|
|
|
|
|
|
|
|
|
| SKID | PHASE |
| FLANGER | PAN |
BOP
FX
MIX
ENTER
EJECT
FX SELECT | SGL/CTN |
TIME REV.PLAY
TEMPO ON/OFF
LOCK 4%/8%/16%
SAMPLE PITCH
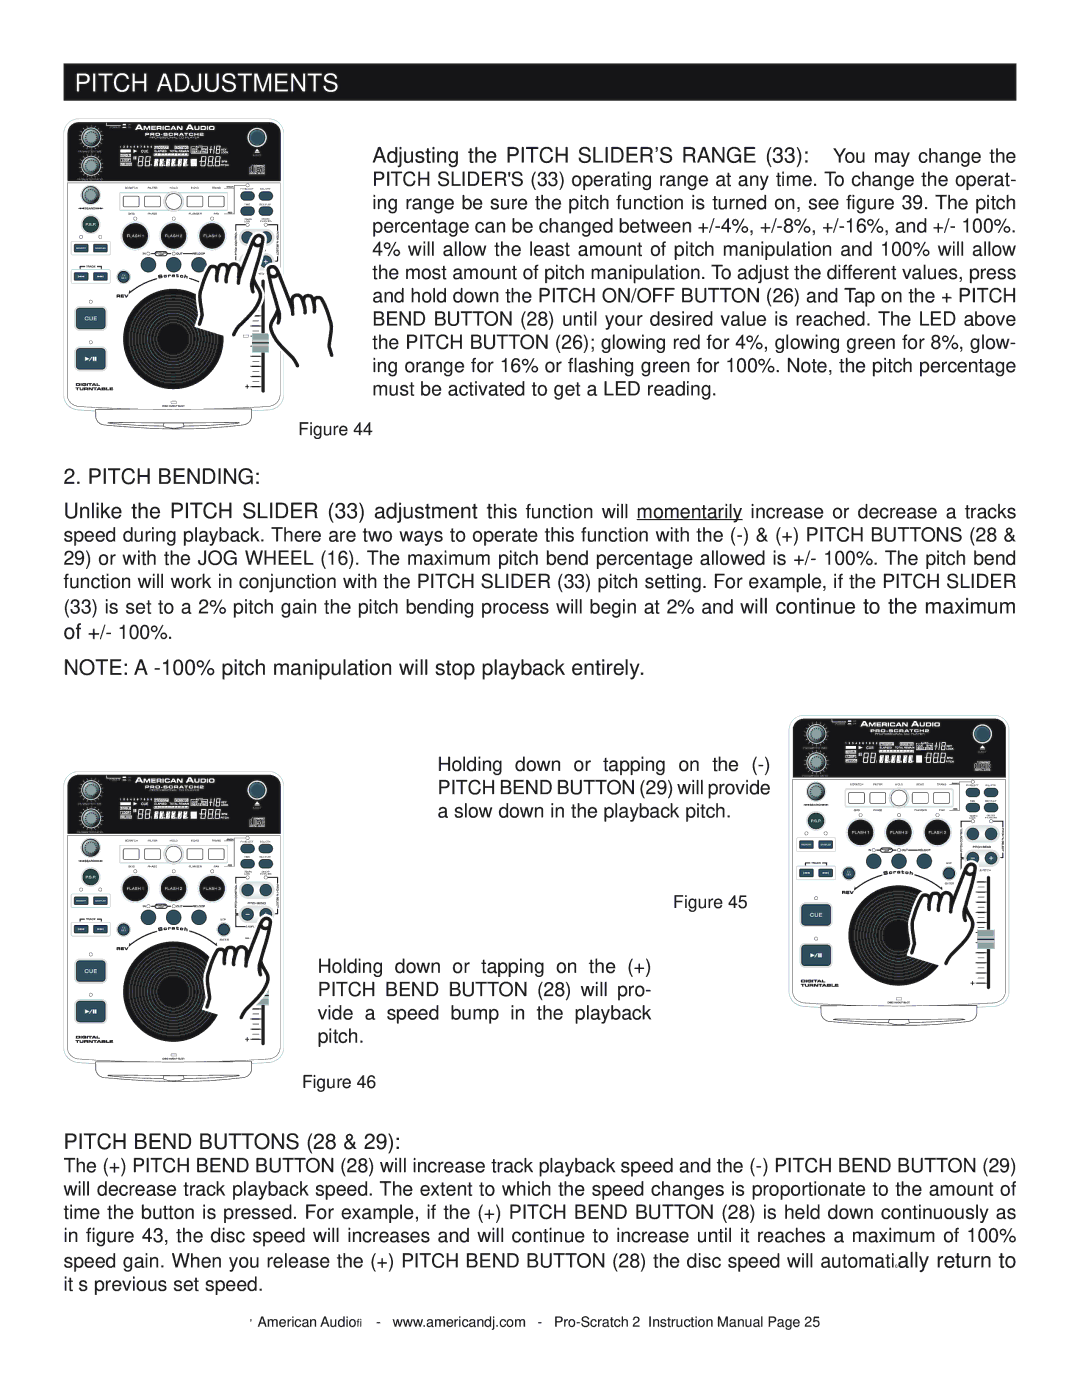
Adjusting the PITCH SLIDER'S RANGE (33): You may change the PITCH SLIDER'S (33) operating range at any time. To change the operat- ing range be sure the pitch function is turned on, see figure 39. The pitch percentage can be changed between
Figure 44
2. PITCH BENDING:
Unlike the PITCH SLIDER (33) adjustment this function will momentarily increase or decrease a tracks speed during playback. There are two ways to operate this function with the
29)or with the JOG WHEEL (16). The maximum pitch bend percentage allowed is +/- 100%. The pitch bend function will work in conjunction with the PITCH SLIDER (33) pitch setting. For example, if the PITCH SLIDER (33) is set to a 2% pitch gain the pitch bending process will begin at 2% and will continue to the maximum of +/- 100%.
NOTE: A
| OFF |
|
|
|
|
POWER | ON |
|
|
|
|
1 | 2 3 4 5 6 7 8 9 0 | PROGRAM | NONSTOP | AUTO |
|
PARAMETER TIME | CUE | ELAPSED | TOTAL REMAIN | CUE BPM | KEY |
BEAT SYNC. | LOCK | ||||
SINGLE |
|
|
|
| |
EJECT
| OFF |
|
|
|
|
|
|
POWER | ON |
|
|
|
|
|
|
1 | 2 3 4 5 6 | 7 8 9 0 | PROGRAM | NONSTOP | AUTO |
| |
PARAMETER TIME |
| CUE | ELAPSED | TOTAL REMAIN | CUE BPM | KEY | |
| BEAT SYNC. | LOCK | |||||
SINGLE |
|
|
|
|
|
| |
| LOOP |
|
|
|
|
| BPM |
RELOOP | T | M | S | F |
| PITCH | |
PARAMETER RATIO |
|
|
|
| |
| SCRATCH | FILTER | HOLD | ECHO | TRANS |
|
|
|
|
|
|
|
|
|
|
|
|
| SKID | PHASE |
| FLANGER | PAN |
BOP
FX
MIX
ENTER
EJECT
FX SELECT | SGL/CTN |
TIME REV.PLAY
TEMPO ON/OFF
LOCK 4%/8%/16%
SAMPLE PITCH
Holding down or tapping on the
Figure 45
Holding down or tapping on the (+) PITCH BEND BUTTON (28) will pro- vide a speed bump in the playback pitch.
LOOP |
|
|
|
| BPM |
RELOOP | T | M | S | F | PITCH |
PARAMETER RATIO |
|
|
|
| |
| SCRATCH | FILTER | HOLD | ECHO | TRANS |
|
|
|
|
|
|
|
|
|
|
|
|
| SKID | PHASE |
| FLANGER | PAN |
BOP
FX
MIX
ENTER
FX SELECT | SGL/CTN |
TIME REV.PLAY
TEMPO ON/OFF
LOCK 4%/8%/16%
SAMPLE PITCH
Figure 46
PITCH BEND BUTTONS (28 & 29):
The (+) PITCH BEND BUTTON (28) will increase track playback speed and the
©American Audio® - www.americandj.com -
