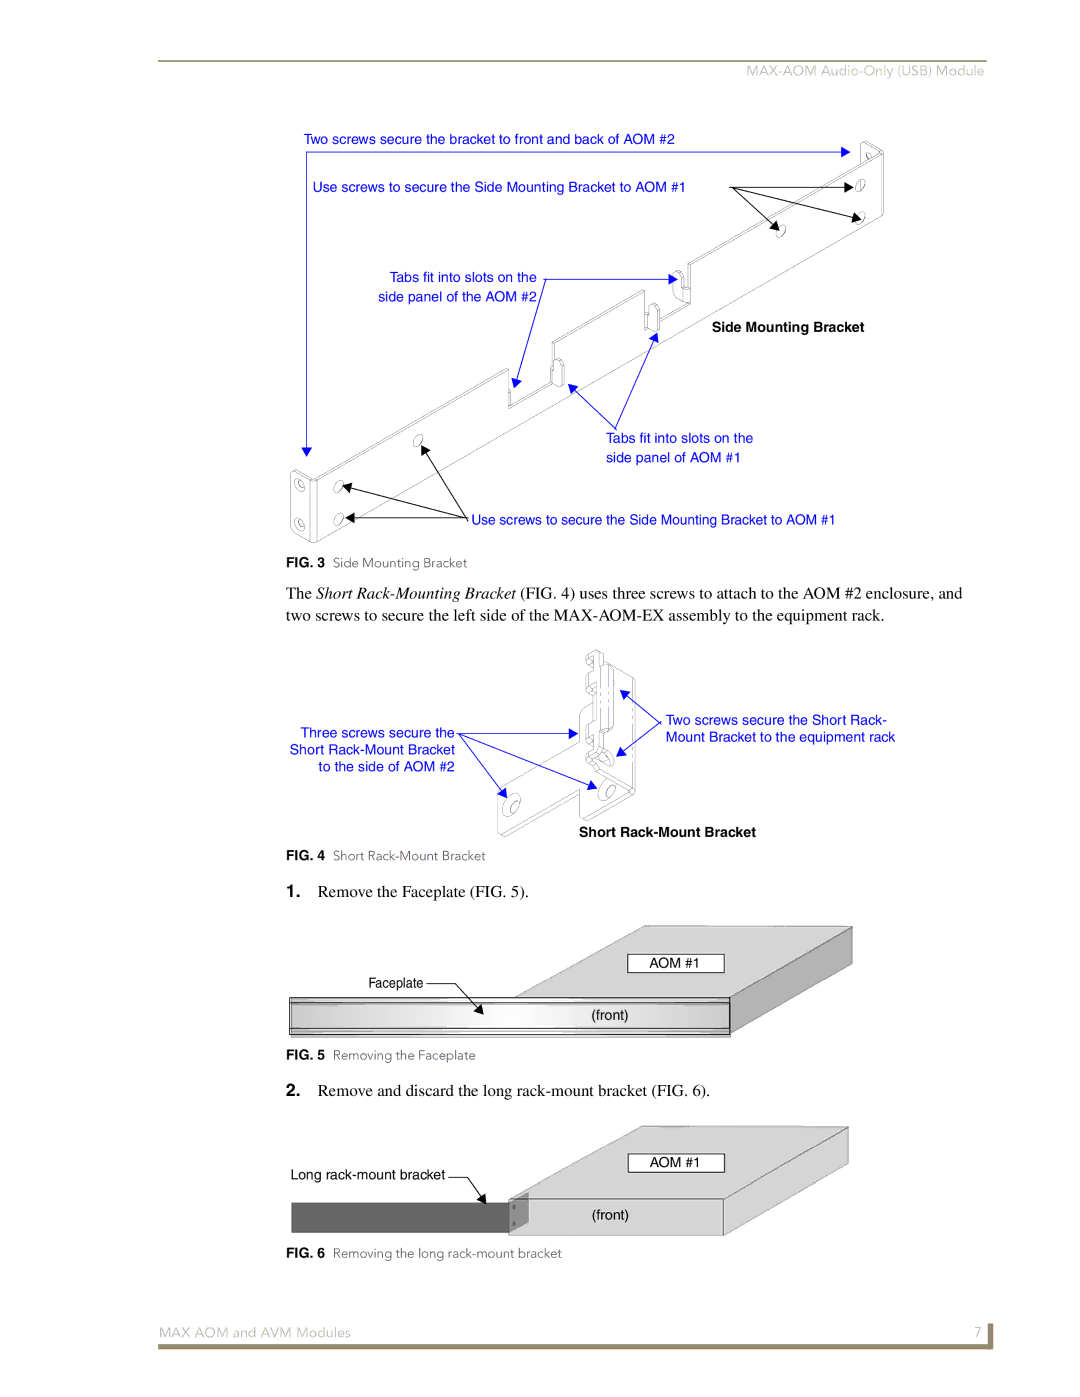
Two screws secure the bracket to front and back of AOM #2
Use screws to secure the Side Mounting Bracket to AOM #1
Tabs fit into slots on the ![]()
![]() side panel of the AOM #2
side panel of the AOM #2
Side Mounting Bracket
Tabs fit into slots on the side panel of AOM #1
![]() Use screws to secure the Side Mounting Bracket to AOM #1
Use screws to secure the Side Mounting Bracket to AOM #1
FIG. 3 Side Mounting Bracket
The Short
![]() Two screws secure the Short Rack-
Two screws secure the Short Rack-
Three screws secure the | Mount Bracket to the equipment rack | |
Short | ||
| ||
to the side of AOM #2 |
|
Short
FIG. 4 Short Rack-Mount Bracket
1.Remove the Faceplate (FIG. 5).
AOM #1
Faceplate
(front)
FIG. 5 Removing the Faceplate
2.Remove and discard the long
Long
AOM #1
(front)
FIG. 6 Removing the long rack-mount bracket
MAX AOM and AVM Modules | 7 |
|
|