Battery Replacement
Battery Replacement
Overview
1.When the Battery Replacement LED (Red) lights up, you may leave the UPS to be
2.In case the Red LED remains unchanged, you may unscrew the Hot Swappable Battery cover to replace a new battery, then press the “On” Switch to disable the Red LED.
Once the battery is disconnected, the loads are not protected from power outages.
Assembling the Battery Pack
The UPS battery needs to be assembled before installation: the battery pack consists of four individual batteries, a connector wiring package (one large wire harness with two black and two red wires attached to a
Refer to the Assembling the Battery Pack section on page 7 for details on wiring the Battery Pack.
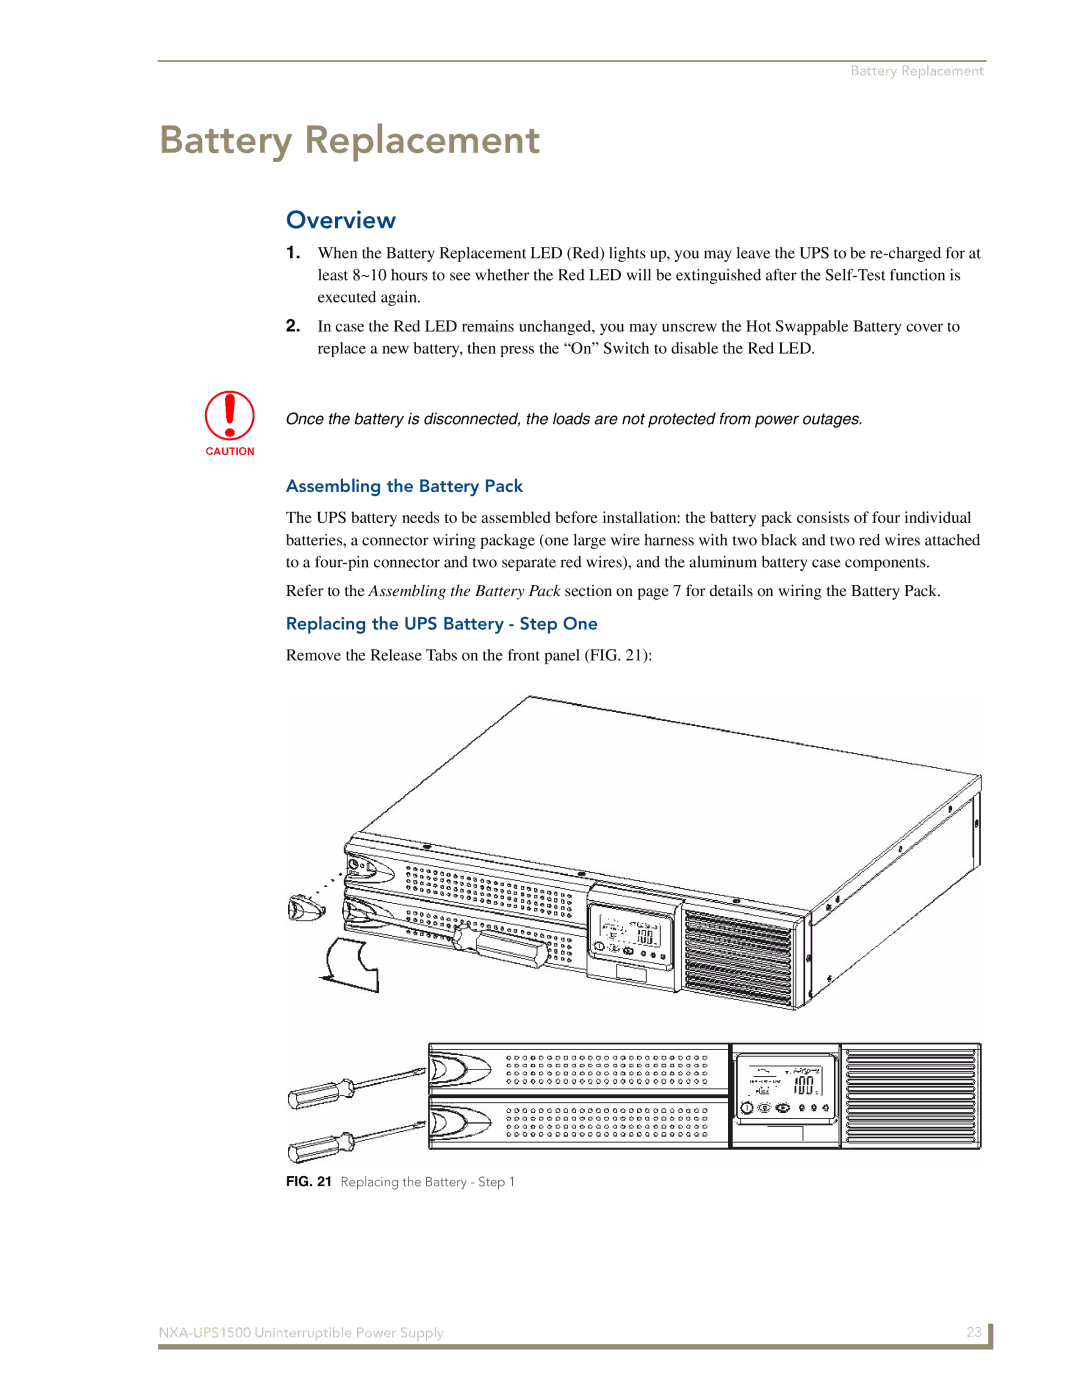
Replacing the UPS Battery - Step One
Remove the Release Tabs on the front panel (FIG. 21):
FIG. 21 Replacing the Battery - Step 1
| 23 |
|
|