S251B specifications
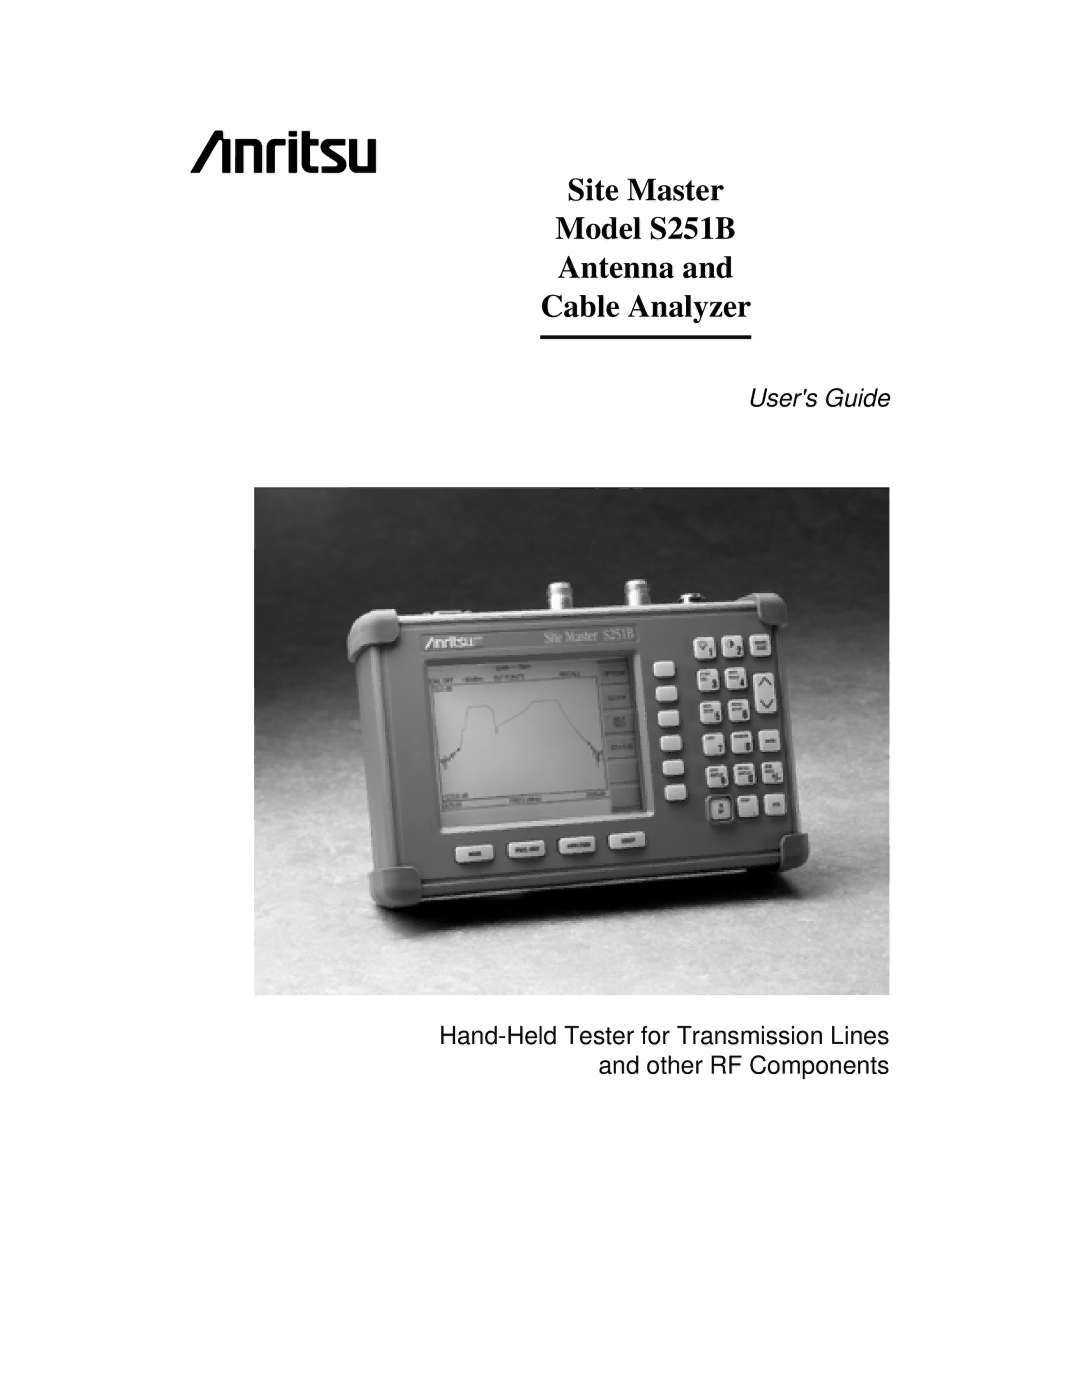
The Anritsu S251B is a state-of-the-art handheld spectrum analyzer designed for wireless communication applications. This compact yet powerful device is engineered to provide engineers and technicians with versatile and reliable measurements in both field and laboratory environments. Its lightweight design, weighing under 1.5 kilograms, allows for easy portability, making it an ideal solution for on-site testing.One of the standout features of the S251B is its frequency range, which spans from 100 kHz to 6 GHz. This broad coverage is essential for monitoring various wireless technologies, including LTE, Wi-Fi, Bluetooth, and many others. The exceptional resolution bandwidth options from 1 kHz to 1 MHz help in detecting weak signals and interference, ensuring that users can analyze signals with precision.
The S251B utilizes advanced digital signal processing (DSP) technology, which significantly enhances measurement accuracy and speed. This allows for real-time spectrum analysis, ensuring that users can quickly identify and troubleshoot issues. The device supports a range of measurement applications, including spectrum analysis, interference analysis, and channel power measurements, making it a versatile tool for many scenarios.
For ease of use, the analyzer features a bright, color display that provides clear visibility in various lighting conditions. The intuitive graphical user interface enables quick navigation through settings and configuration options. Additionally, the S251B is equipped with a long-lasting battery that provides hours of continuous operation, further enhancing its suitability for field applications.
Connectivity is another key area where the Anritsu S251B excels. It offers USB and Ethernet ports for easy data transfer and remote control capabilities. This feature is particularly useful for engineers who need to integrate the analyzer into automated testing setups or require remote access for more profound analysis.
Moreover, the S251B is designed with ruggedness in mind. It is built to withstand the challenges of field use, including dropping and exposure to various environmental conditions, ensuring reliable performance even in demanding situations.
In conclusion, the Anritsu S251B handheld spectrum analyzer combines portability, advanced measurement techniques, and durability. With its wide frequency range, user-friendly interface, and connectivity options, it is a vital tool for professionals involved in the testing and deployment of wireless communication systems. Its robust capabilities make it an impressive asset for troubleshooting, maintenance, and installation tasks in the field.