Optimizing the image
Selecting a picture mode
The projector is preset with several predefined picture modes so that you can choose one to suit your operating environment and input signal picture type.
To select a operation mode that suits your need, you can follow one of the following steps.
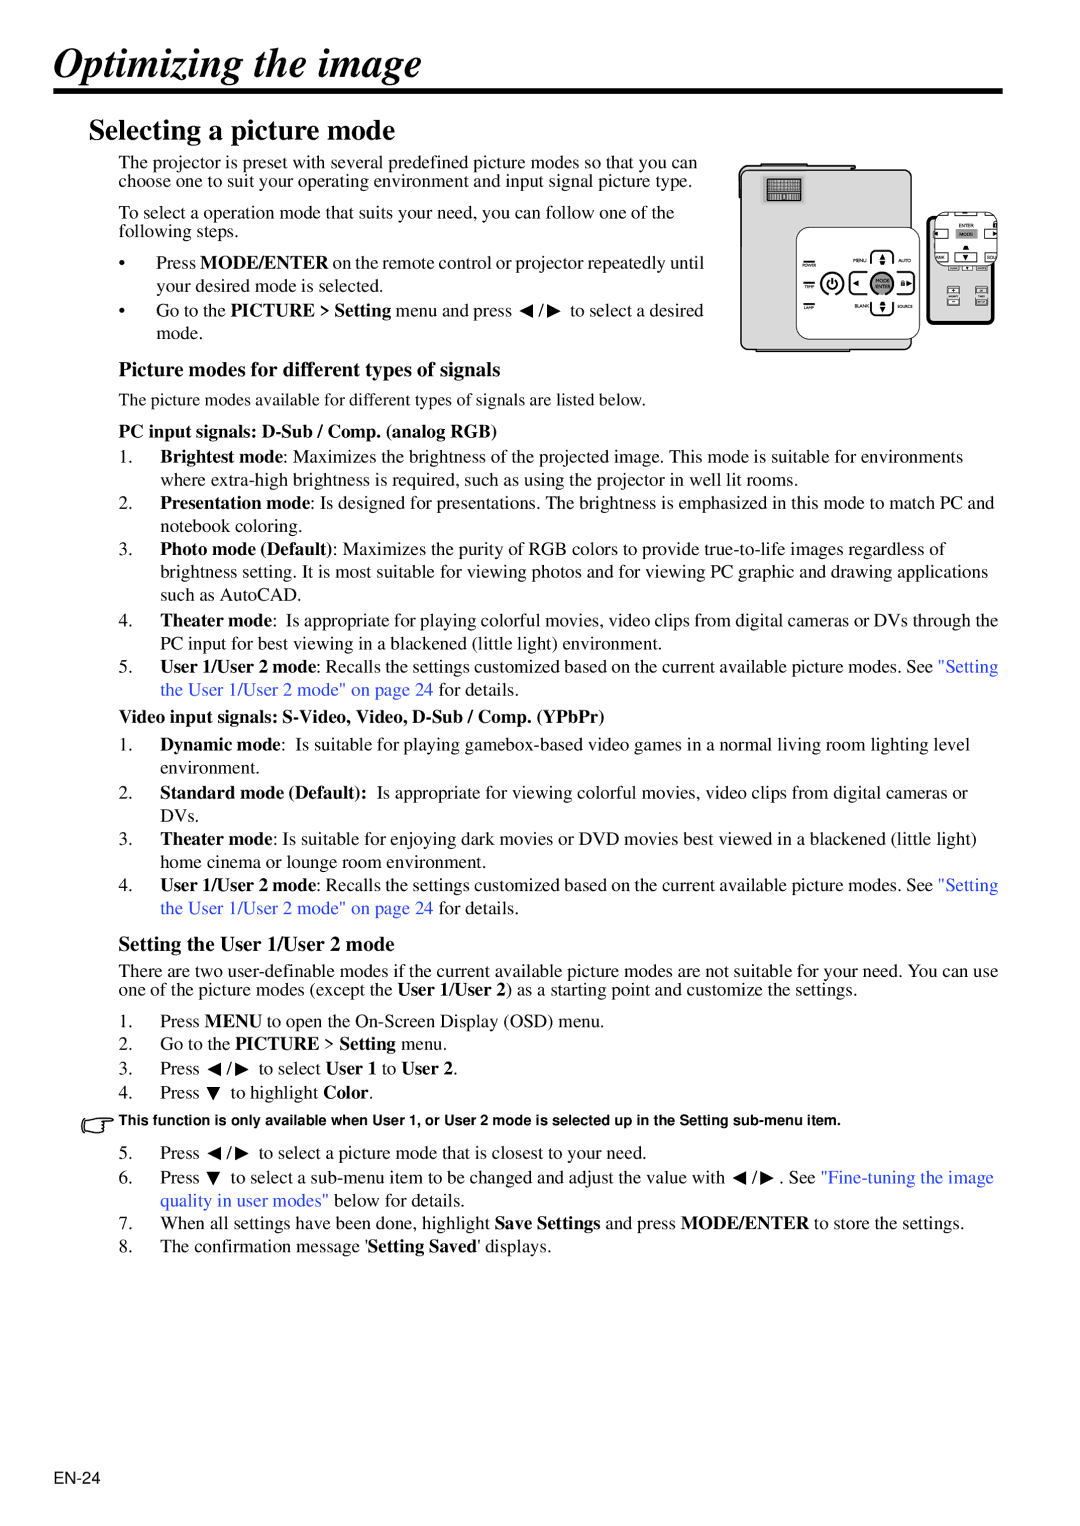
• Press MODE/ENTER on the remote control or projector repeatedly until your desired mode is selected.
• Go to the PICTURE > Setting menu and press ![]() /
/ ![]() to select a desired mode.
to select a desired mode.
Picture modes for different types of signals
The picture modes available for different types of signals are listed below.
PC input signals: D-Sub / Comp. (analog RGB)
1.Brightest mode: Maximizes the brightness of the projected image. This mode is suitable for environments where
2.Presentation mode: Is designed for presentations. The brightness is emphasized in this mode to match PC and notebook coloring.
3.Photo mode (Default): Maximizes the purity of RGB colors to provide
4.Theater mode: Is appropriate for playing colorful movies, video clips from digital cameras or DVs through the PC input for best viewing in a blackened (little light) environment.
5.User 1/User 2 mode: Recalls the settings customized based on the current available picture modes. See "Setting the User 1/User 2 mode" on page 24 for details.
Video input signals: S-Video, Video, D-Sub / Comp. (YPbPr)
1.Dynamic mode: Is suitable for playing
2.Standard mode (Default): Is appropriate for viewing colorful movies, video clips from digital cameras or DVs.
3.Theater mode: Is suitable for enjoying dark movies or DVD movies best viewed in a blackened (little light) home cinema or lounge room environment.
4.User 1/User 2 mode: Recalls the settings customized based on the current available picture modes. See "Setting the User 1/User 2 mode" on page 24 for details.
Setting the User 1/User 2 mode
There are two
1.Press MENU to open the
2.Go to the PICTURE > Setting menu.
3.Press ![]() /
/ ![]() to select User 1 to User 2.
to select User 1 to User 2.
4.Press ![]() to highlight Color.
to highlight Color.
![]() This function is only available when User 1, or User 2 mode is selected up in the Setting
This function is only available when User 1, or User 2 mode is selected up in the Setting
5.Press ![]() /
/ ![]() to select a picture mode that is closest to your need.
to select a picture mode that is closest to your need.
6.Press ![]() to select a
to select a ![]() /
/ ![]() . See
. See
7.When all settings have been done, highlight Save Settings and press MODE/ENTER to store the settings.
8.The confirmation message 'Setting Saved' displays.