Operating in a high altitude environment
We recommend you use the High Altitude Mode when your environment is between 1500 m
Do not use the High Altitude Mode if your altitude is between 0 m and 1500 m and temperature is between 0°C and 35°C. The projector will be over cooled, if you turn the mode on under such condition.
To activate the High Altitude Mode:
1.Press MENU and then press ![]() /
/ ![]() until the SYSTEM SETUP: Advanced menu is highlighted.
until the SYSTEM SETUP: Advanced menu is highlighted.
2.Press ![]() to highlight High Altitude Mode and press
to highlight High Altitude Mode and press ![]() /
/ ![]() to select On. A confirmation message displays.
to select On. A confirmation message displays.
3.Highlight Yes and press MODE/ENTER.
Operation under "High Altitude Mode" may cause a higher decibel operating noise level because of increased fan speed necessary to improve overall system cooling and performance.
If you use this projector under other extreme conditions excluding the above, it may display auto
Personalizing the projector menu display
The
•Menu display time in the SYSTEM SETUP: Advanced > Menu Settings menu sets the length of time the OSD will remain active after your last key press. The time length ranges from 5 to 30 seconds in ![]() /
/ ![]() to select a suitable time frame.
to select a suitable time frame.
•Menu position in the SYSTEM SETUP: Advanced > Menu Settings menu sets the OSD position in five locations. Use ![]() /
/ ![]() to select a preferred position.
to select a preferred position.
•Language in the SYSTEM SETUP: Basic menu sets your familiar language for the OSD menus. Use ![]() /
/ ![]() to select your language.
to select your language.
•Splash Screen in the SYSTEM SETUP: Basic menu sets a preferred logo screen to be displayed during projector ![]() /
/ ![]() to select a screen.
to select a screen.
Shutting down the projector
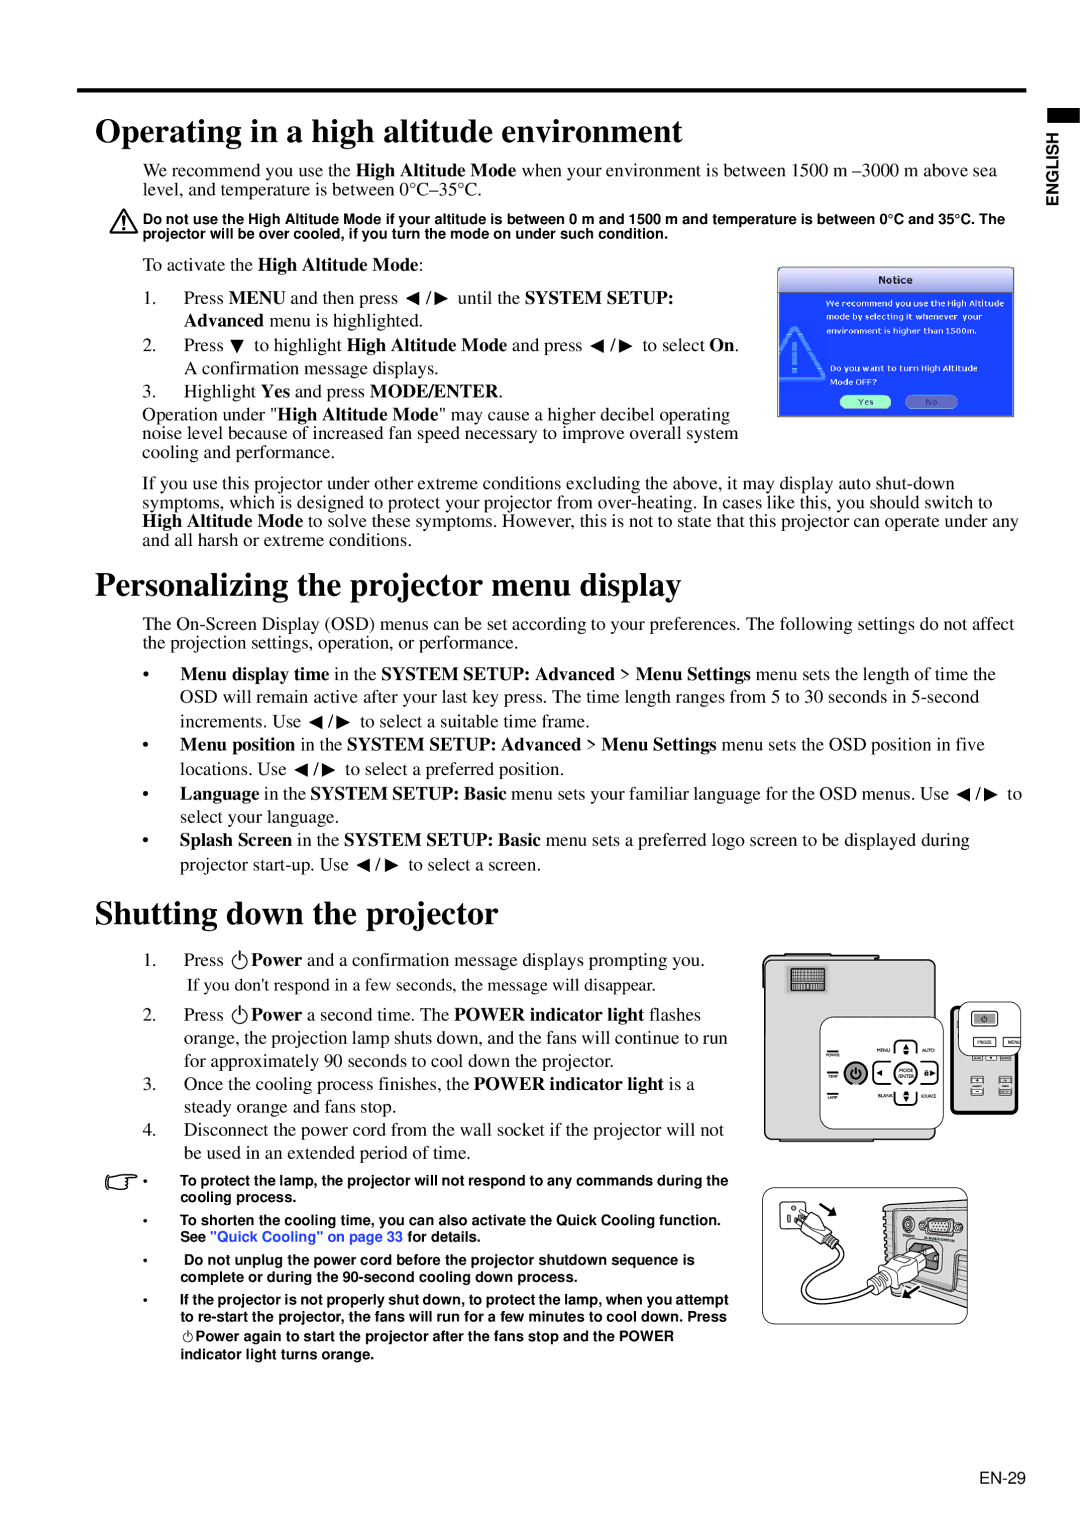
1.Press II Power and a confirmation message displays prompting you.
If you don't respond in a few seconds, the message will disappear.
2. Press II Power a second time. The POWER indicator light flashes orange, the projection lamp shuts down, and the fans will continue to run for approximately 90 seconds to cool down the projector.
3. Once the cooling process finishes, the POWER indicator light is a steady orange and fans stop.
4.Disconnect the power cord from the wall socket if the projector will not be used in an extended period of time.
•To protect the lamp, the projector will not respond to any commands during the cooling process.
• To shorten the cooling time, you can also activate the Quick Cooling function. See "Quick Cooling" on page 33 for details.
• Do not unplug the power cord before the projector shutdown sequence is complete or during the
• If the projector is not properly shut down, to protect the lamp, when you attempt to
II Power again to start the projector after the fans stop and the POWER indicator light turns orange.
ENGLISH
