Positioning your projector
Choosing a location
Your room layout or personal preference will dictate which installation location you select. Take into consideration the size and position of your screen, the location of a suitable power outlet, as well as the location and distance between the projector and the rest of your equipment.
Your projector is designed to be installed in one of the possible installation locations:
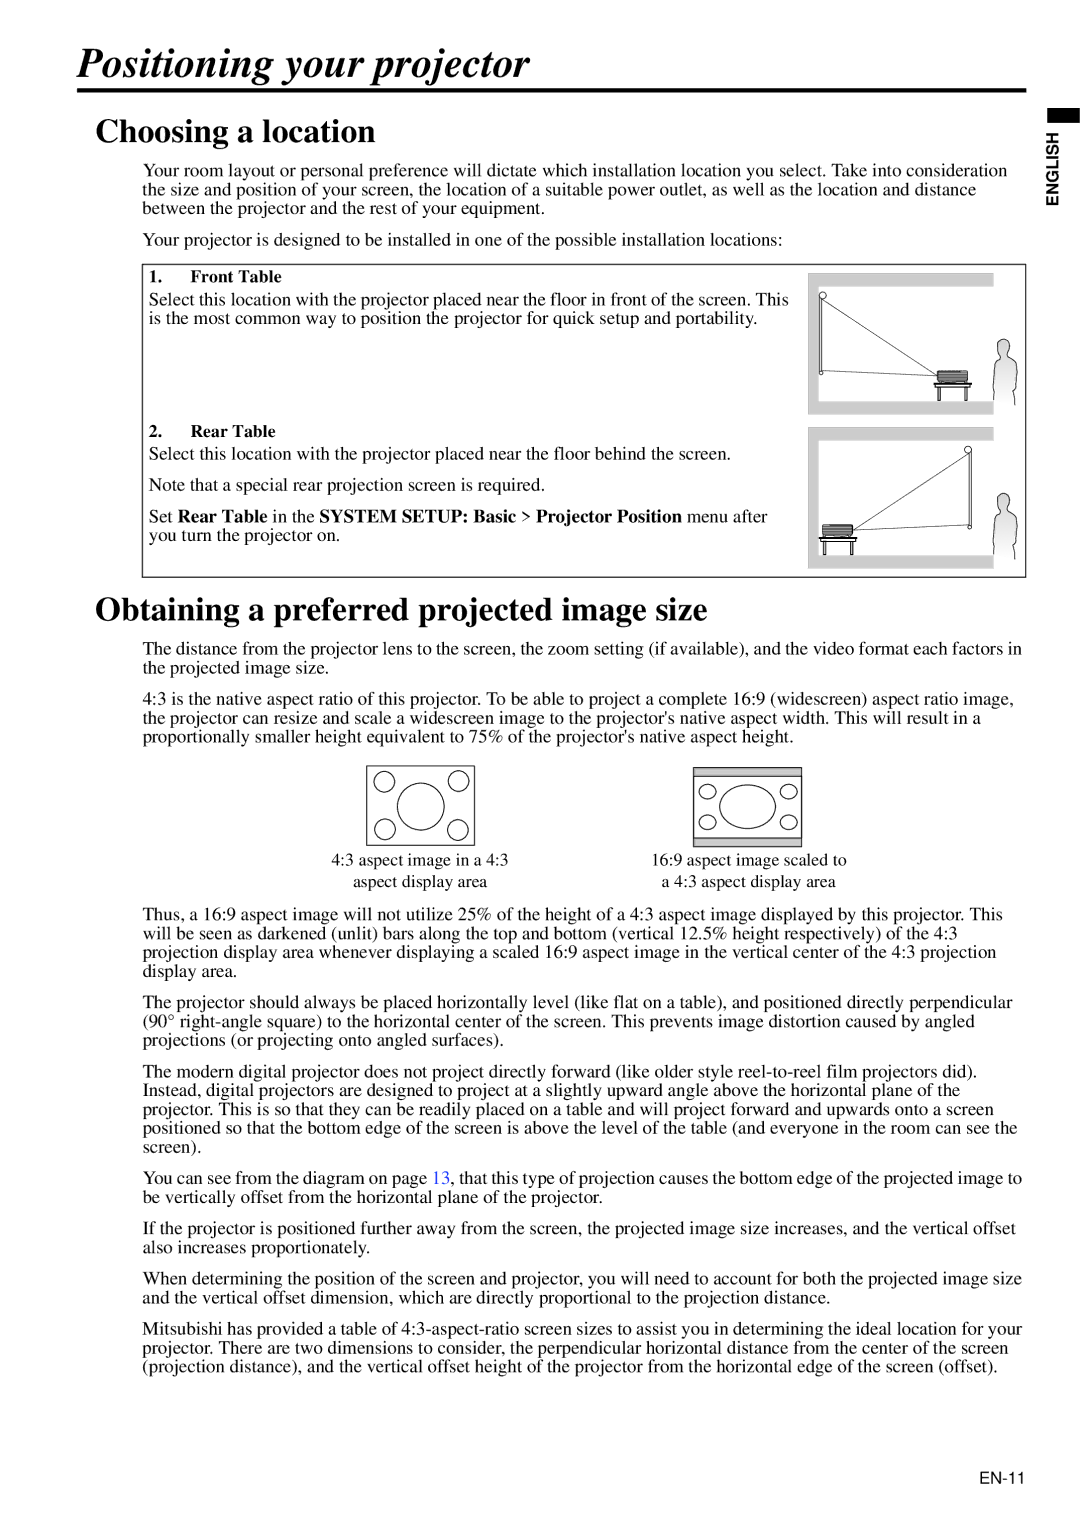
1. Front Table
Select this location with the projector placed near the floor in front of the screen. This is the most common way to position the projector for quick setup and portability.
2. Rear Table
Select this location with the projector placed near the floor behind the screen.
Note that a special rear projection screen is required.
Set Rear Table in the SYSTEM SETUP: Basic > Projector Position menu after you turn the projector on.
ENGLISH
Obtaining a preferred projected image size
The distance from the projector lens to the screen, the zoom setting (if available), and the video format each factors in the projected image size.
4:3 is the native aspect ratio of this projector. To be able to project a complete 16:9 (widescreen) aspect ratio image, the projector can resize and scale a widescreen image to the projector's native aspect width. This will result in a proportionally smaller height equivalent to 75% of the projector's native aspect height.
4:3 aspect image in a 4:3 | 16:9 aspect image scaled to |
aspect display area | a 4:3 aspect display area |
Thus, a 16:9 aspect image will not utilize 25% of the height of a 4:3 aspect image displayed by this projector. This will be seen as darkened (unlit) bars along the top and bottom (vertical 12.5% height respectively) of the 4:3 projection display area whenever displaying a scaled 16:9 aspect image in the vertical center of the 4:3 projection display area.
The projector should always be placed horizontally level (like flat on a table), and positioned directly perpendicular (90°
The modern digital projector does not project directly forward (like older style
You can see from the diagram on page 13, that this type of projection causes the bottom edge of the projected image to be vertically offset from the horizontal plane of the projector.
If the projector is positioned further away from the screen, the projected image size increases, and the vertical offset also increases proportionately.
When determining the position of the screen and projector, you will need to account for both the projected image size and the vertical offset dimension, which are directly proportional to the projection distance.
Mitsubishi has provided a table of