Mounting PagePac Plus AmpliCenter
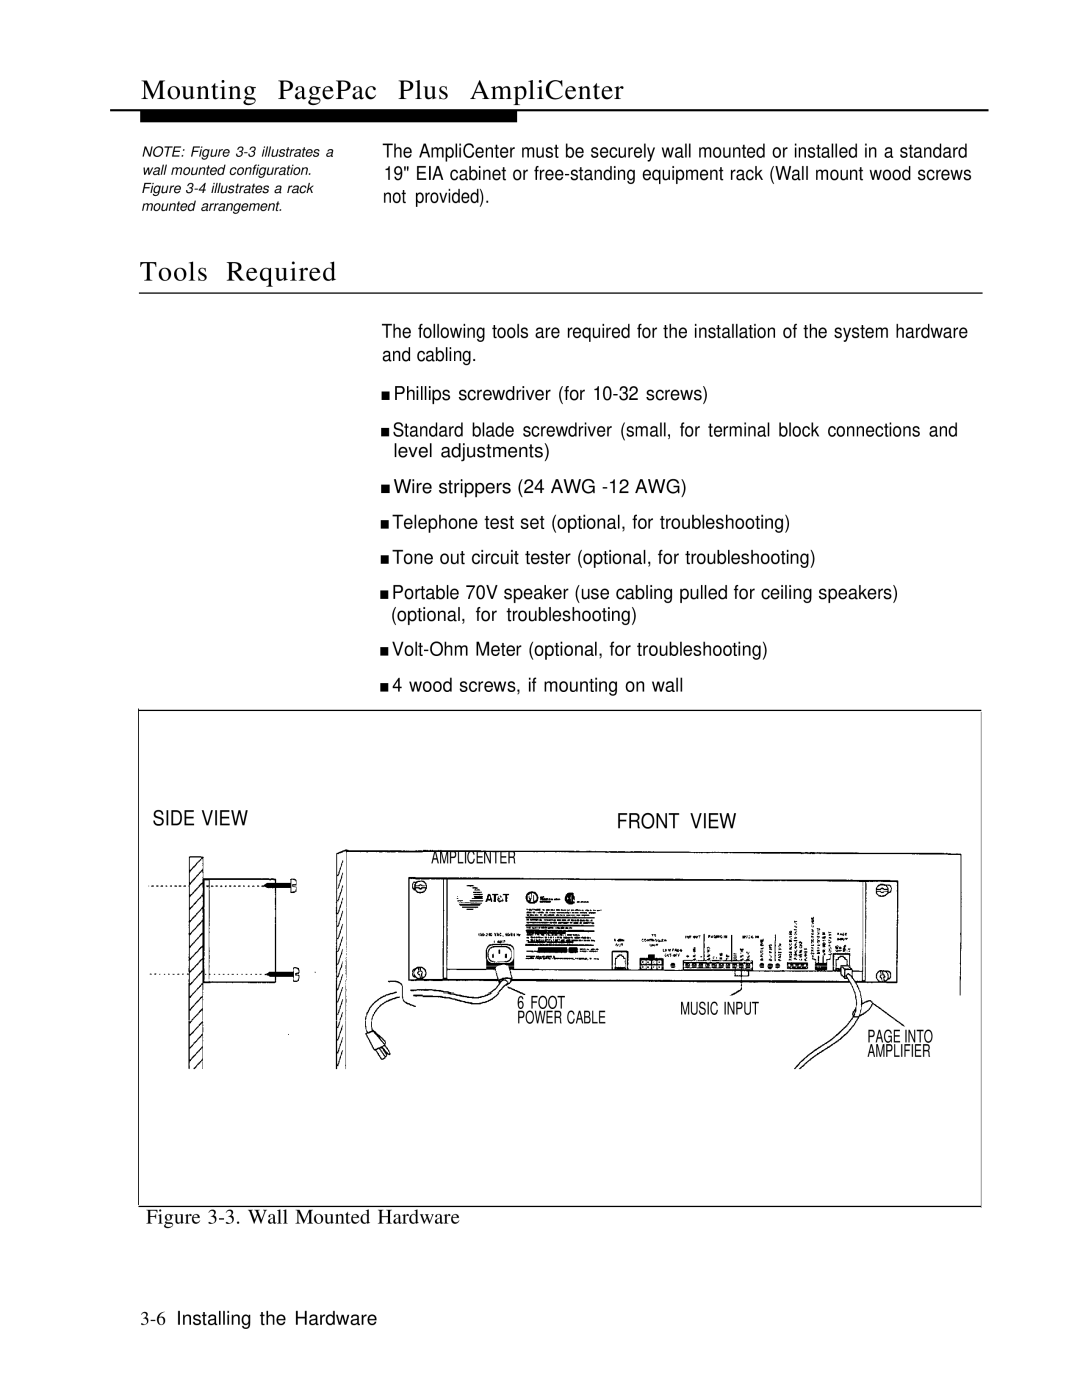
NOTE: Figure
The AmpliCenter must be securely wall mounted or installed in a standard 19" EIA cabinet or
Tools Required
The following tools are required for the installation of the system hardware and cabling.
■Phillips screwdriver (for
■Standard blade screwdriver (small, for terminal block connections and level adjustments)
■Wire strippers (24 AWG
■Telephone test set (optional, for troubleshooting)
■Tone out circuit tester (optional, for troubleshooting)
■Portable 70V speaker (use cabling pulled for ceiling speakers) (optional, for troubleshooting)
■
■4 wood screws, if mounting on wall
SIDE VIEW | FRONT VIEW |
AMPLICENTER
6 FOOT | MUSIC INPUT | |
POWER CABLE | ||
|
PAGE INTO
AMPLIFIER
