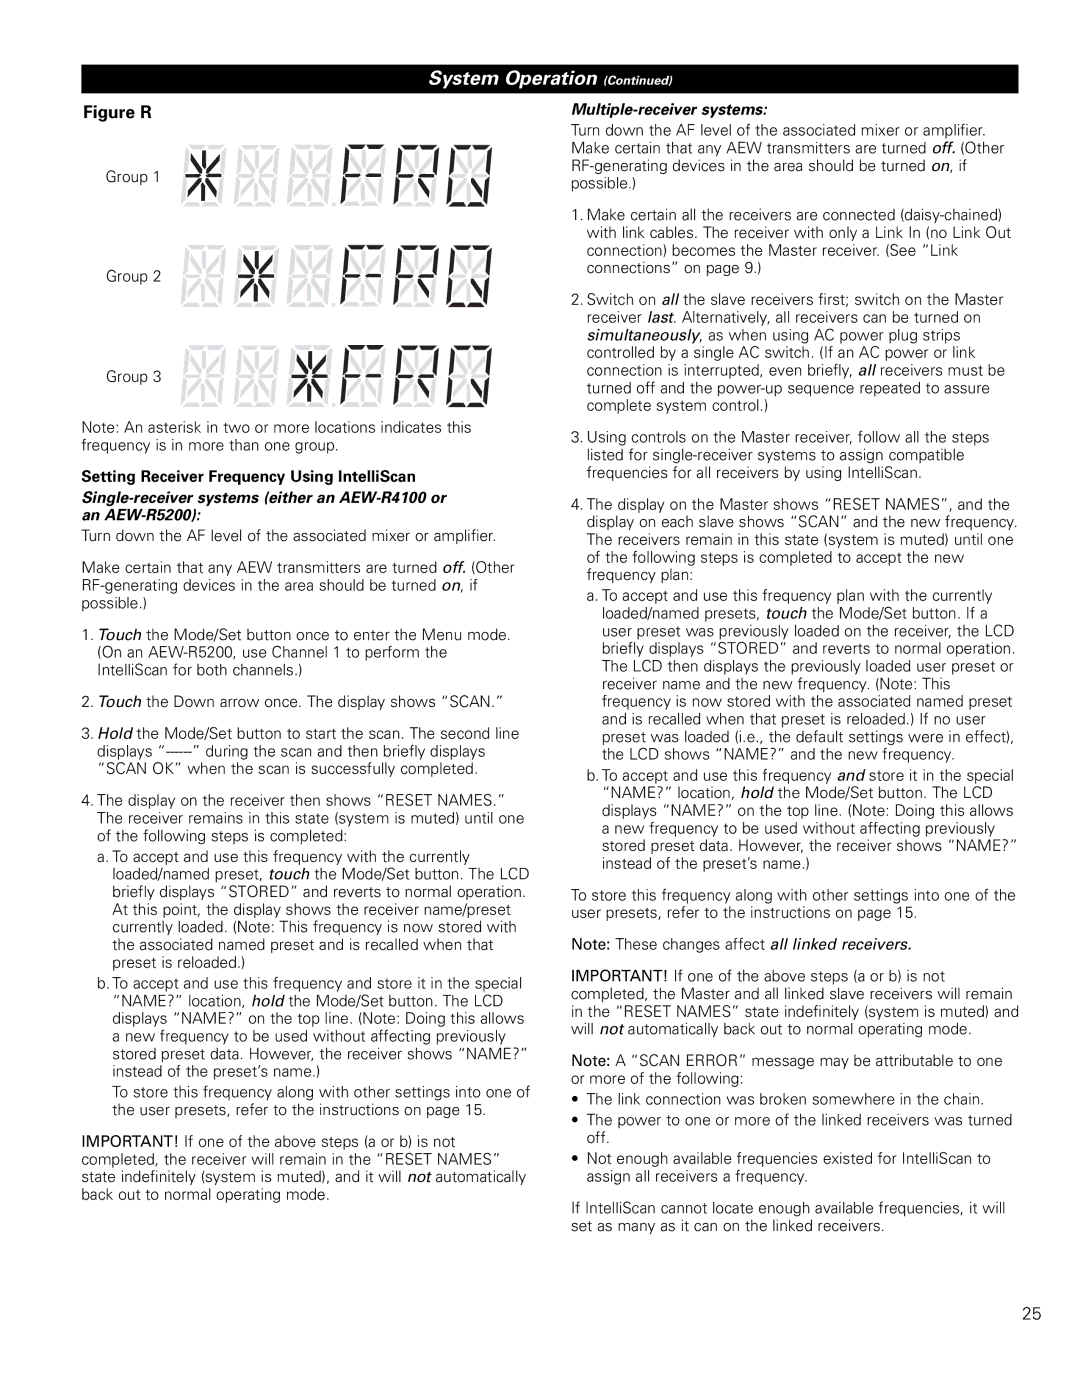
Figure R
Group 1
Group 2
Group 3
System Operation (Continued)
Multiple-receiver systems:
Turn down the AF level of the associated mixer or amplifier. Make certain that any AEW transmitters are turned off. (Other
1.Make certain all the receivers are connected
connection) becomes the Master receiver. (See “Link connections” on page 9.)
2. Switch on all the slave receivers first; switch on the Master receiver last. Alternatively, all receivers can be turned on simultaneously, as when using AC power plug strips controlled by a single AC switch. (If an AC power or link connection is interrupted, even briefly, all receivers must be turned off and the
Note: An asterisk in two or more locations indicates this frequency is in more than one group.
Setting Receiver Frequency Using IntelliScan
Single-receiver systems (either an AEW-R4100 or an AEW-R5200):
Turn down the AF level of the associated mixer or amplifier.
Make certain that any AEW transmitters are turned off. (Other
1.Touch the Mode/Set button once to enter the Menu mode. (On an
2.Touch the Down arrow once. The display shows “SCAN.”
3.Hold the Mode/Set button to start the scan. The second line displays
4.The display on the receiver then shows “RESET NAMES.” The receiver remains in this state (system is muted) until one of the following steps is completed:
a.To accept and use this frequency with the currently loaded/named preset, touch the Mode/Set button. The LCD briefly displays “STORED” and reverts to normal operation. At this point, the display shows the receiver name/preset currently loaded. (Note: This frequency is now stored with the associated named preset and is recalled when that preset is reloaded.)
b.To accept and use this frequency and store it in the special “NAME?” location, hold the Mode/Set button. The LCD displays “NAME?” on the top line. (Note: Doing this allows a new frequency to be used without affecting previously stored preset data. However, the receiver shows “NAME?” instead of the preset’s name.)
To store this frequency along with other settings into one of the user presets, refer to the instructions on page 15.
IMPORTANT! If one of the above steps (a or b) is not completed, the receiver will remain in the “RESET NAMES” state indefinitely (system is muted), and it will not automatically back out to normal operating mode.
3.Using controls on the Master receiver, follow all the steps listed for
4.The display on the Master shows “RESET NAMES”, and the display on each slave shows “SCAN” and the new frequency. The receivers remain in this state (system is muted) until one of the following steps is completed to accept the new frequency plan:
a.To accept and use this frequency plan with the currently loaded/named presets, touch the Mode/Set button. If a user preset was previously loaded on the receiver, the LCD briefly displays “STORED” and reverts to normal operation. The LCD then displays the previously loaded user preset or receiver name and the new frequency. (Note: This frequency is now stored with the associated named preset and is recalled when that preset is reloaded.) If no user preset was loaded (i.e., the default settings were in effect), the LCD shows “NAME?” and the new frequency.
b.To accept and use this frequency and store it in the special “NAME?” location, hold the Mode/Set button. The LCD displays “NAME?” on the top line. (Note: Doing this allows a new frequency to be used without affecting previously stored preset data. However, the receiver shows “NAME?” instead of the preset’s name.)
To store this frequency along with other settings into one of the user presets, refer to the instructions on page 15.
Note: These changes affect all linked receivers.
IMPORTANT! If one of the above steps (a or b) is not completed, the Master and all linked slave receivers will remain in the “RESET NAMES” state indefinitely (system is muted) and will not automatically back out to normal operating mode.
Note: A “SCAN ERROR” message may be attributable to one or more of the following:
•The link connection was broken somewhere in the chain.
•The power to one or more of the linked receivers was turned off.
•Not enough available frequencies existed for IntelliScan to assign all receivers a frequency.
If IntelliScan cannot locate enough available frequencies, it will set as many as it can on the linked receivers.
25