32AXIS 233D - Dome Configuration
The camera uses the coordinates of the center of the image to set the lower left and upper right zone areas. First navigate where you would like the most lower left point of the OSDI Zone to be located. By clicking on the Get button the coordinates are set. Proceed to where the upper right point of the zone should be located and click on its Get button. Give the zone a descriptive name and go to Overlay Settings, on page 19 for information about including the name of OSDI Zone in the Image text.
Advanced
Limits
Note: Once a limit has been saved, this position can not be exceeded by the AXIS 233D unless the values have been reset and saved to a greater value first (i.e. reset the default values of the mechanical restrictions).
Move speed sets the speed of the camera's Pan/Tilt movements. The default setting is maximum speed.
Ctrl Panel - Shortcut command buttons can be created to provide direct access to various commands provided by the AXIS 233D. The buttons are then displayed in the PTZ Panel which is available on the Live View page by clicking Ctrl Panel (see page 10). AXIS VAPIX gives you the possibility to create your own commands. For more information go to www.axis.com
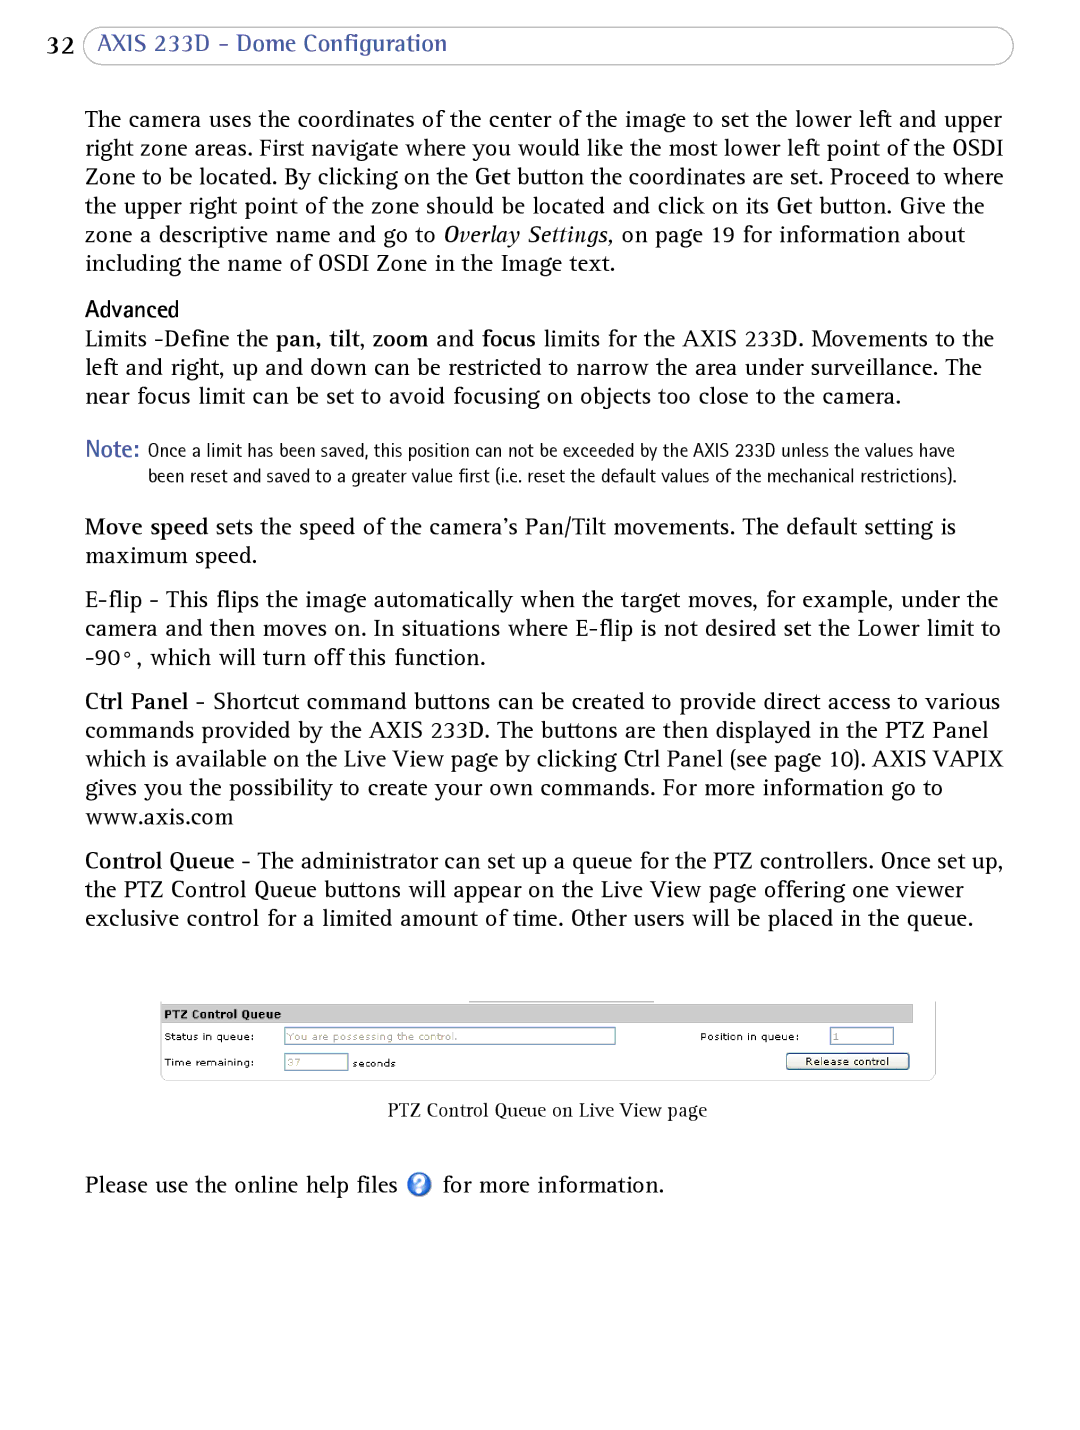
Control Queue - The administrator can set up a queue for the PTZ controllers. Once set up, the PTZ Control Queue buttons will appear on the Live View page offering one viewer exclusive control for a limited amount of time. Other users will be placed in the queue.
PTZ Control Queue on Live View page
Please use the online help files ![]() for more information.
for more information.
