Installing the KVM Switch
Pre-Configuration
Where to Place the KVM Switch
The compact size of the KVM Switch makes it perfect for desktop placement. Consider the following when deciding where to place the KVM Switch: whether or not you intend to use the
Cable-Distance Requirements
For PS/2 computers: VGA signals are best retained when transmitted up to 25 feet (7.6m). Beyond 25 feet (7.6m), probability of video degradation increases with an increase in distance. For this reason, your PS/2 computer should be placed within 25 feet (7.6m) of the KVM Switch.
For USB computers: USB signals can be transmitted up to 15 feet (4.6m) between the KVM Switch and the CPU. Beyond 15 feet (4.6m), probability of signal failure is likely.
Cautions and Warnings
Avoid having cables near fluorescent lights,
Single-Switch Installation
This section provides complete instructions for the hardware setup of a single KVM Switch. (F1DS102J or F1DS104J)
Important Note: Before attempting to connect anything to the KVM Switch or into your computer(s), make sure that everything is powered off. Plugging and unplugging cables while computers are powered on may cause irreversible damage to the computers and KVM Switch. Belkin will not be responsible for damage caused by these actions.
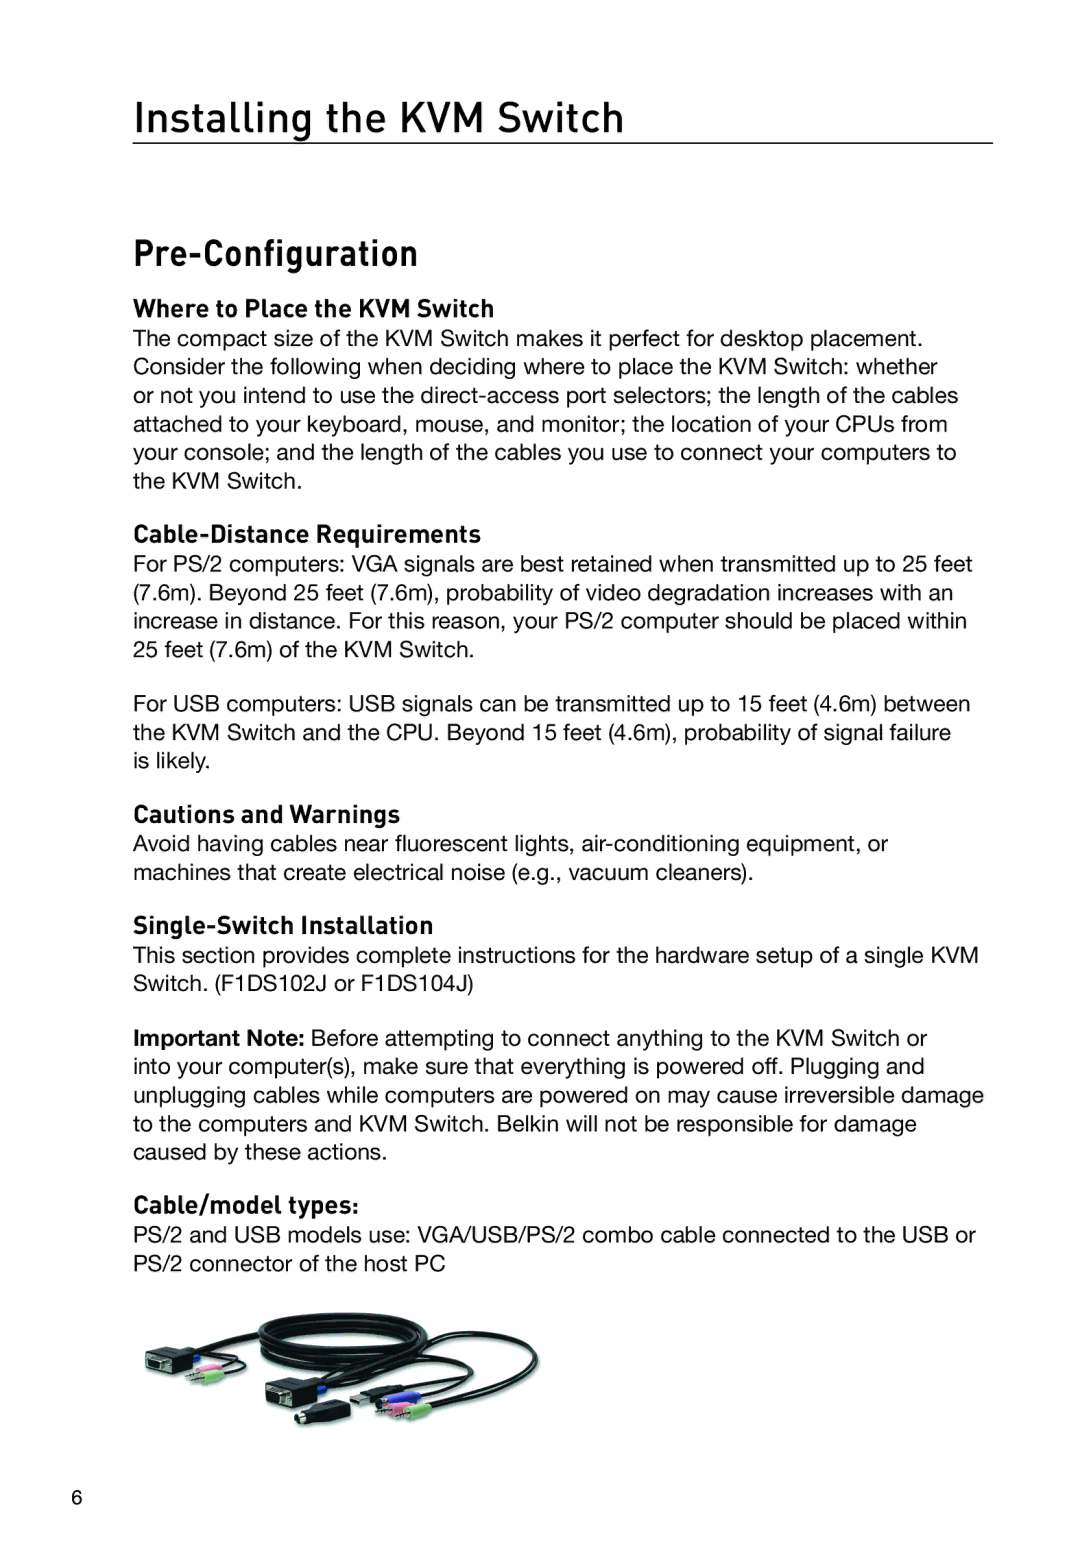
Cable/model types:
PS/2 and USB models use: VGA/USB/PS/2 combo cable connected to the USB or PS/2 connector of the host PC
6