QL-650TD, QL-550, QL-500 specifications
The Brother QL-500 is a high-performance label printer that caters to a variety of labeling needs, making it an essential tool for both personal and professional applications. Known for its versatility and ease of use, this device is particularly suited for small businesses, offices, and home users who require efficient labeling solutions.One of the standout features of the Brother QL-500 is its printing speed. Capable of producing labels at a maximum speed of 68 labels per minute, it significantly reduces the time spent on printing tasks. This efficiency is further enhanced by its ability to print on a wide range of label sizes, including both standard and custom dimensions, which are perfect for addressing envelopes, shipping labels, and product stickers.
The QL-500 employs thermal printing technology, eliminating the need for expensive ink cartridges. This not only cuts down on operational costs but also ensures that labels are printed with sharp text and graphics. The printer utilizes Brother’s DK label rolls, which are available in various sizes and styles. Users can choose from pre-cut labels or continuous rolls, allowing for maximum flexibility depending on the specific labeling project at hand.
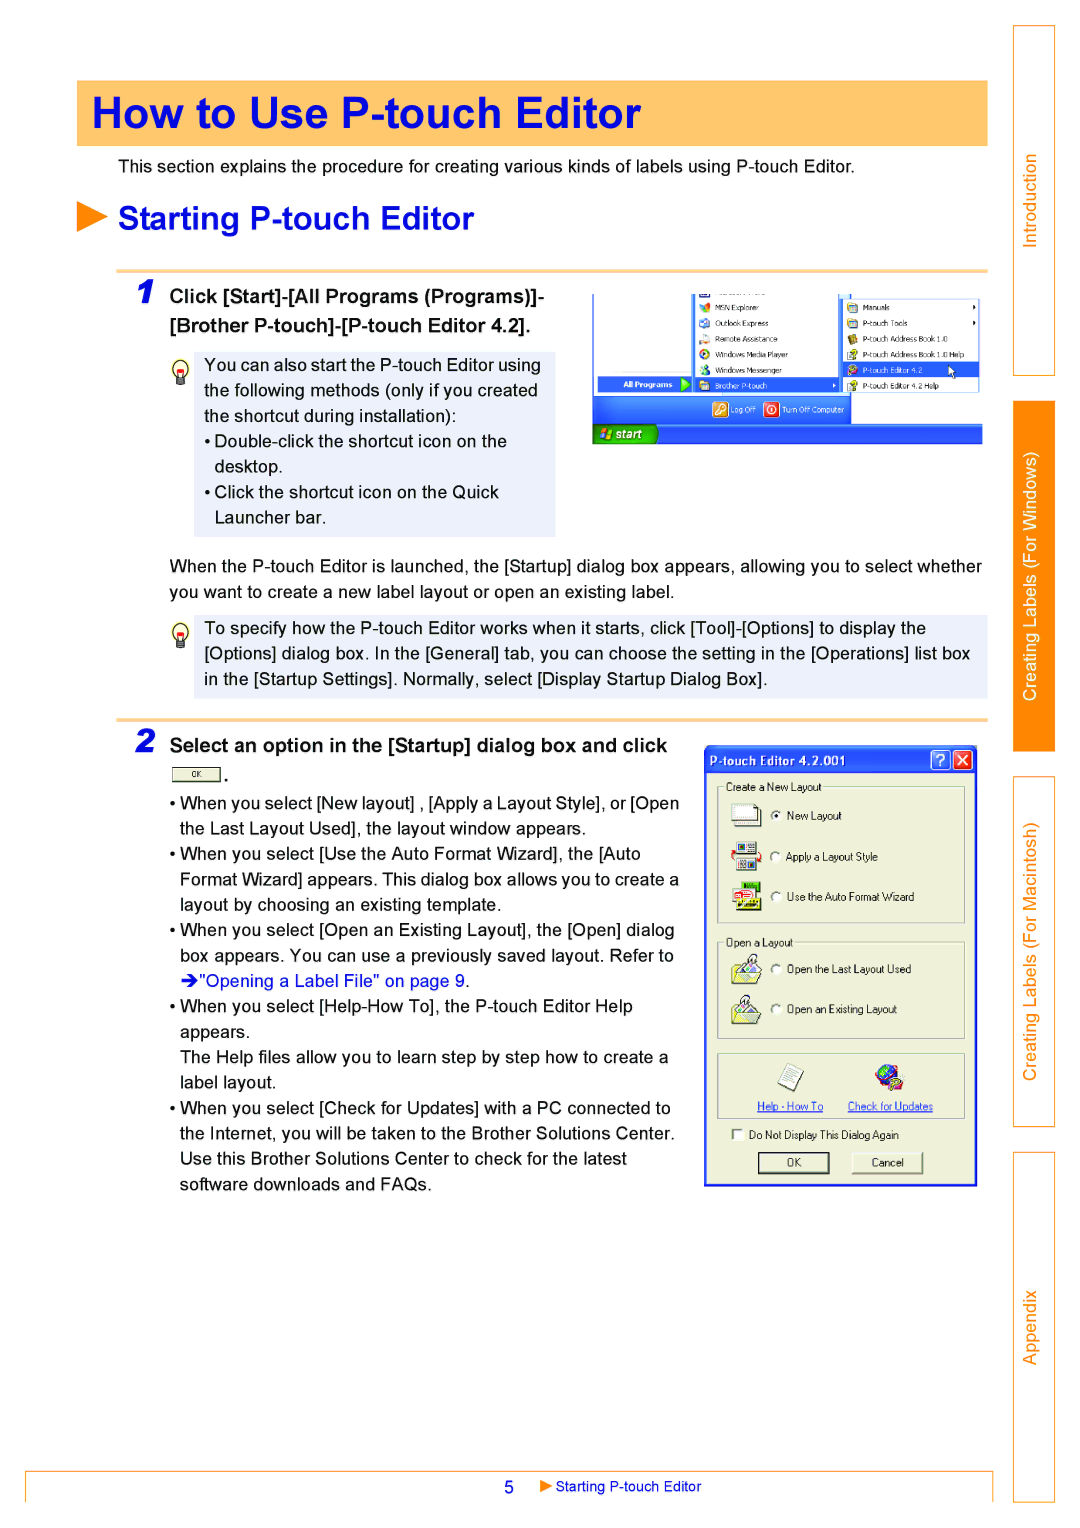
Another significant characteristic of the Brother QL-500 is its user-friendly interface. Featuring a convenient keypad and an LCD display, users can navigate the printer settings with ease. Additionally, it comes with built-in templates and a straightforward labeling software, facilitating the creation of personalized labels quickly. The software supports various formats, including text, barcodes, and images, making it versatile for different labeling applications.
Connectivity is also a strong point for the QL-500, as it can be easily connected to a computer via USB. This seamless integration enables users to design and print labels directly from their computers using the accompanying software. The printer is compatible with both Windows and macOS operating systems, ensuring a wide usability across different platforms.
Moreover, the Brother QL-500 is designed with a compact and lightweight build, making it easy to store and transport. Its durable construction guarantees longevity, making it a worthwhile investment in labeling technology. With its combination of speed, efficiency, and user-friendly features, the Brother QL-500 stands out as a reliable label printer for various applications. Whether for shipping, organization, or crafting, it meets the demands of modern users effectively.

