SET UP and CALIBRATION OF THE SP1.7
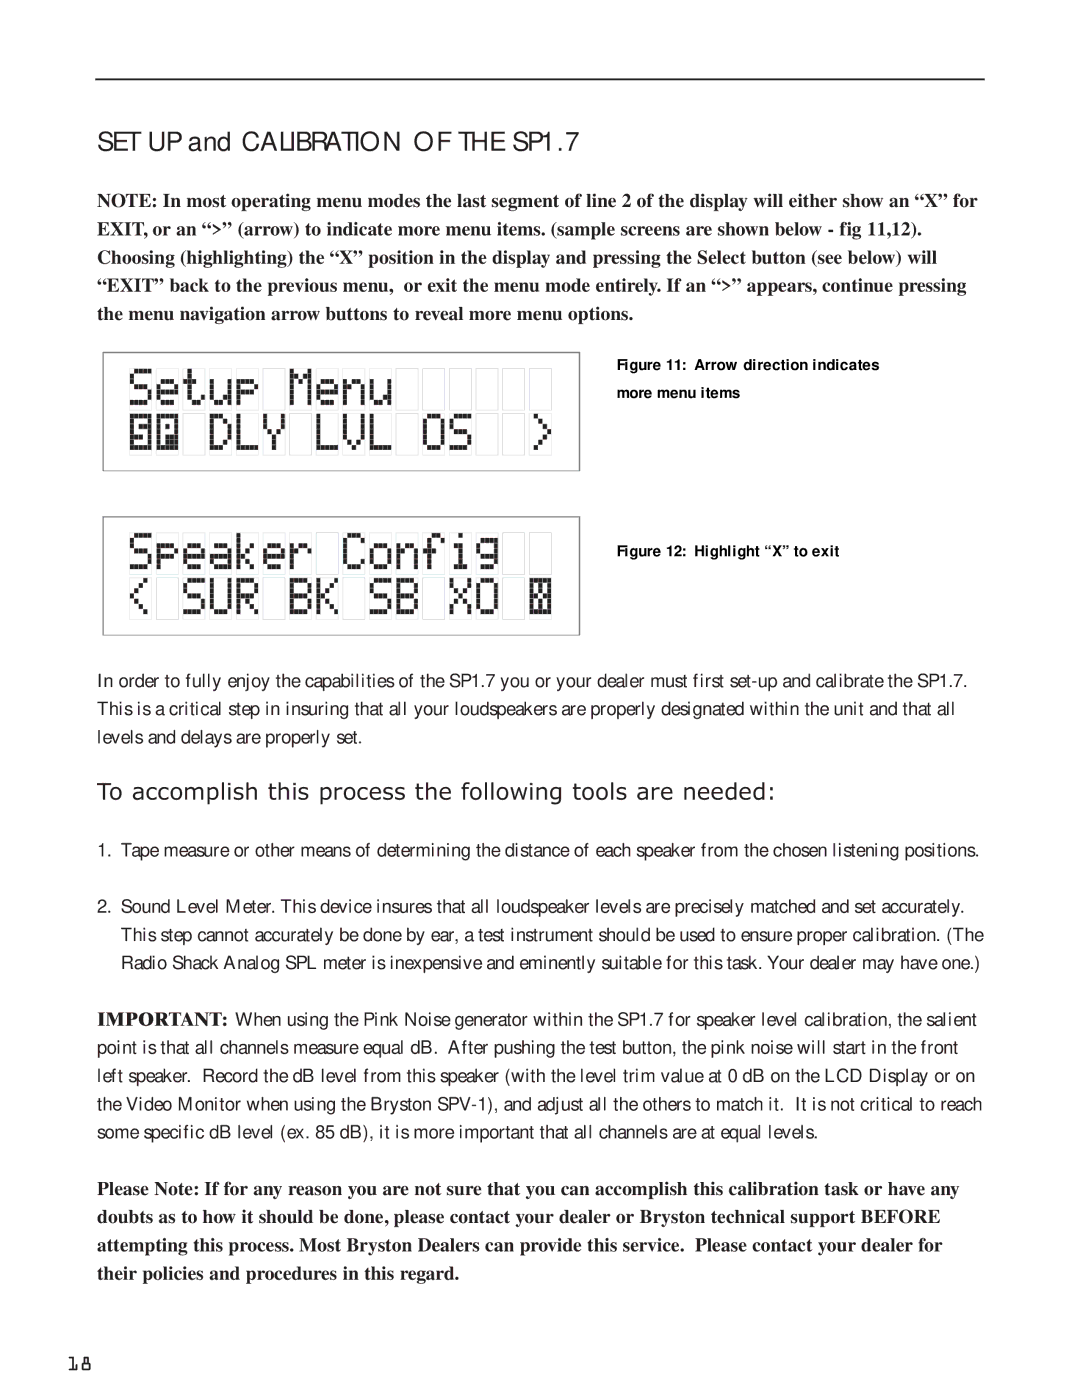
NOTE: In most operating menu modes the last segment of line 2 of the display will either show an “X” for EXIT, or an “>” (arrow) to indicate more menu items. (sample screens are shown below - fig 11,12). Choosing (highlighting) the “X” position in the display and pressing the Select button (see below) will “EXIT” back to the previous menu, or exit the menu mode entirely. If an “>” appears, continue pressing the menu navigation arrow buttons to reveal more menu options.
Figure 11: Arrow direction indicates more menu items
Figure 12: Highlight “X” to exit
In order to fully enjoy the capabilities of the SP1.7 you or your dealer must first
To accomplish this process the following tools are needed:
1.Tape measure or other means of determining the distance of each speaker from the chosen listening positions.
2.Sound Level Meter. This device insures that all loudspeaker levels are precisely matched and set accurately. This step cannot accurately be done by ear, a test instrument should be used to ensure proper calibration. (The Radio Shack Analog SPL meter is inexpensive and eminently suitable for this task. Your dealer may have one.)
IMPORTANT: When using the Pink Noise generator within the SP1.7 for speaker level calibration, the salient point is that all channels measure equal dB. After pushing the test button, the pink noise will start in the front left speaker. Record the dB level from this speaker (with the level trim value at 0 dB on the LCD Display or on the Video Monitor when using the Bryston
Please Note: If for any reason you are not sure that you can accomplish this calibration task or have any doubts as to how it should be done, please contact your dealer or Bryston technical support BEFORE attempting this process. Most Bryston Dealers can provide this service. Please contact your dealer for their policies and procedures in this regard.
18