AXIS 1610 User’s Manual | Section 3: Installation | 15 |
|
|
|
Section 3 | Installation |
Connecting a printer to the Network
Follow the instructions below to connect a printer to the network via the AXIS 1610 print server.
Caution! ❏ Make sure that the AXIS 1610 external power supply you are using is marked with the correct voltage!
1.Switch off the printer and disconnect the AXIS 1610 external power supply.
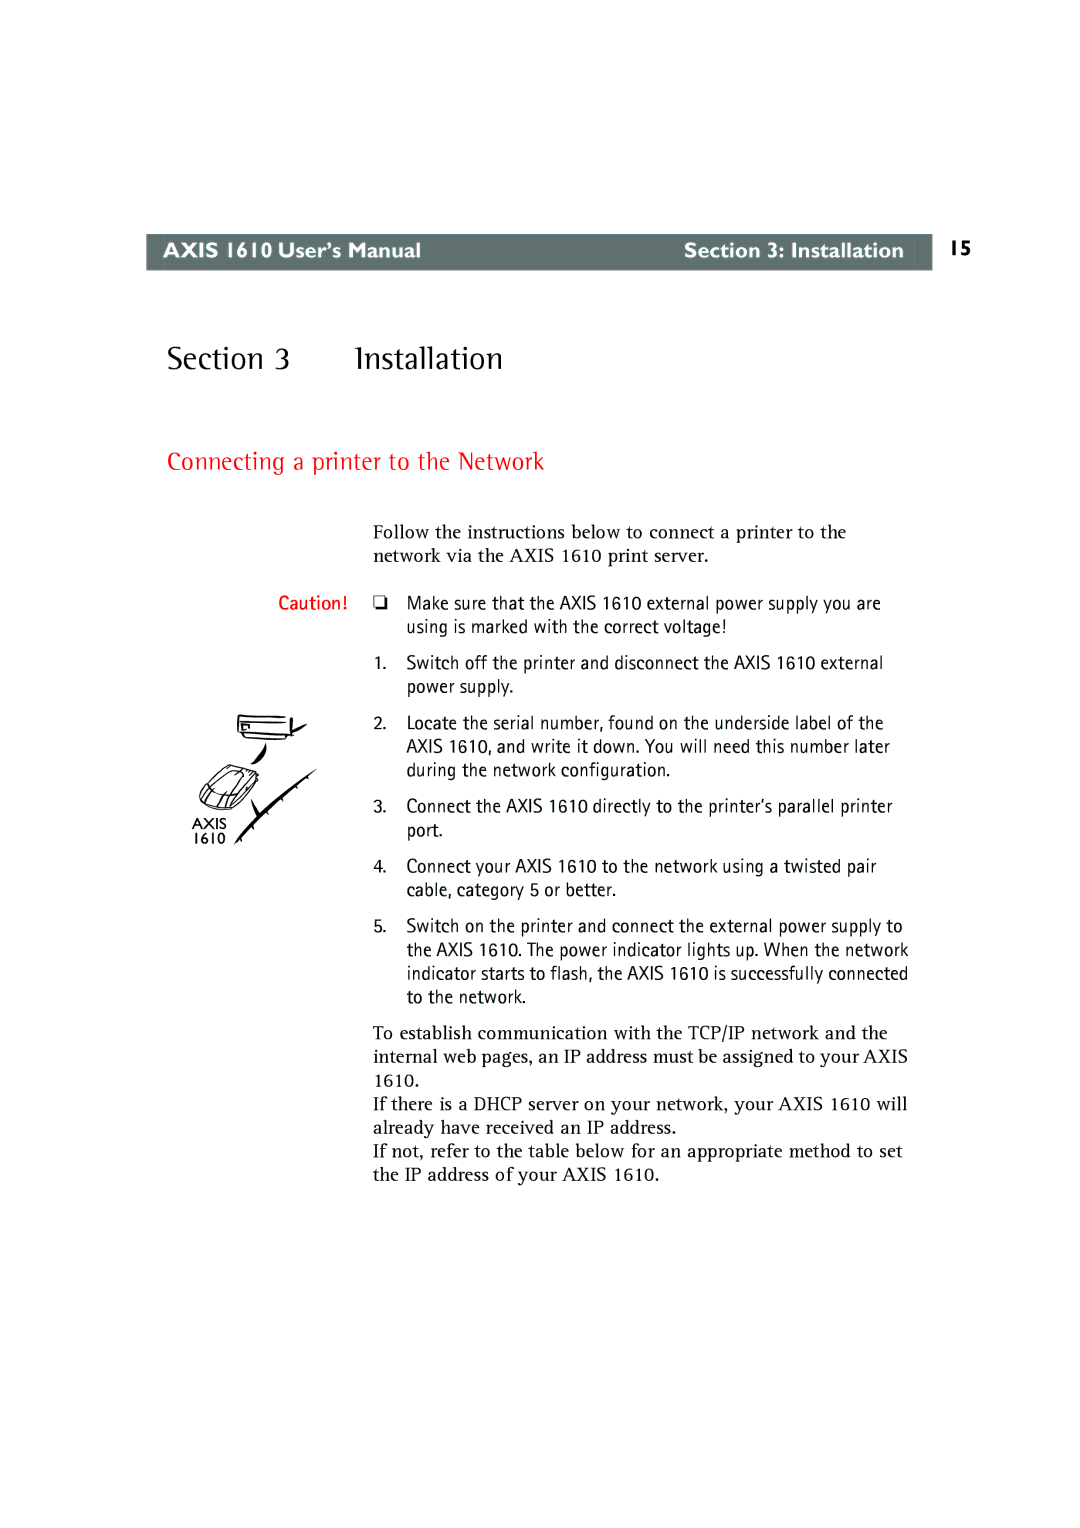
2. Locate the serial number, found on the underside label of the AXIS 1610, and write it down. You will need this number later during the network configuration.
3. Connect the AXIS 1610 directly to the printer’s parallel printer port.
4.Connect your AXIS 1610 to the network using a twisted pair cable, category 5 or better.
5.Switch on the printer and connect the external power supply to the AXIS 1610. The power indicator lights up. When the network indicator starts to flash, the AXIS 1610 is successfully connected to the network.
To establish communication with the TCP/IP network and the internal web pages, an IP address must be assigned to your AXIS 1610.
If there is a DHCP server on your network, your AXIS 1610 will already have received an IP address.
If not, refer to the table below for an appropriate method to set the IP address of your AXIS 1610.