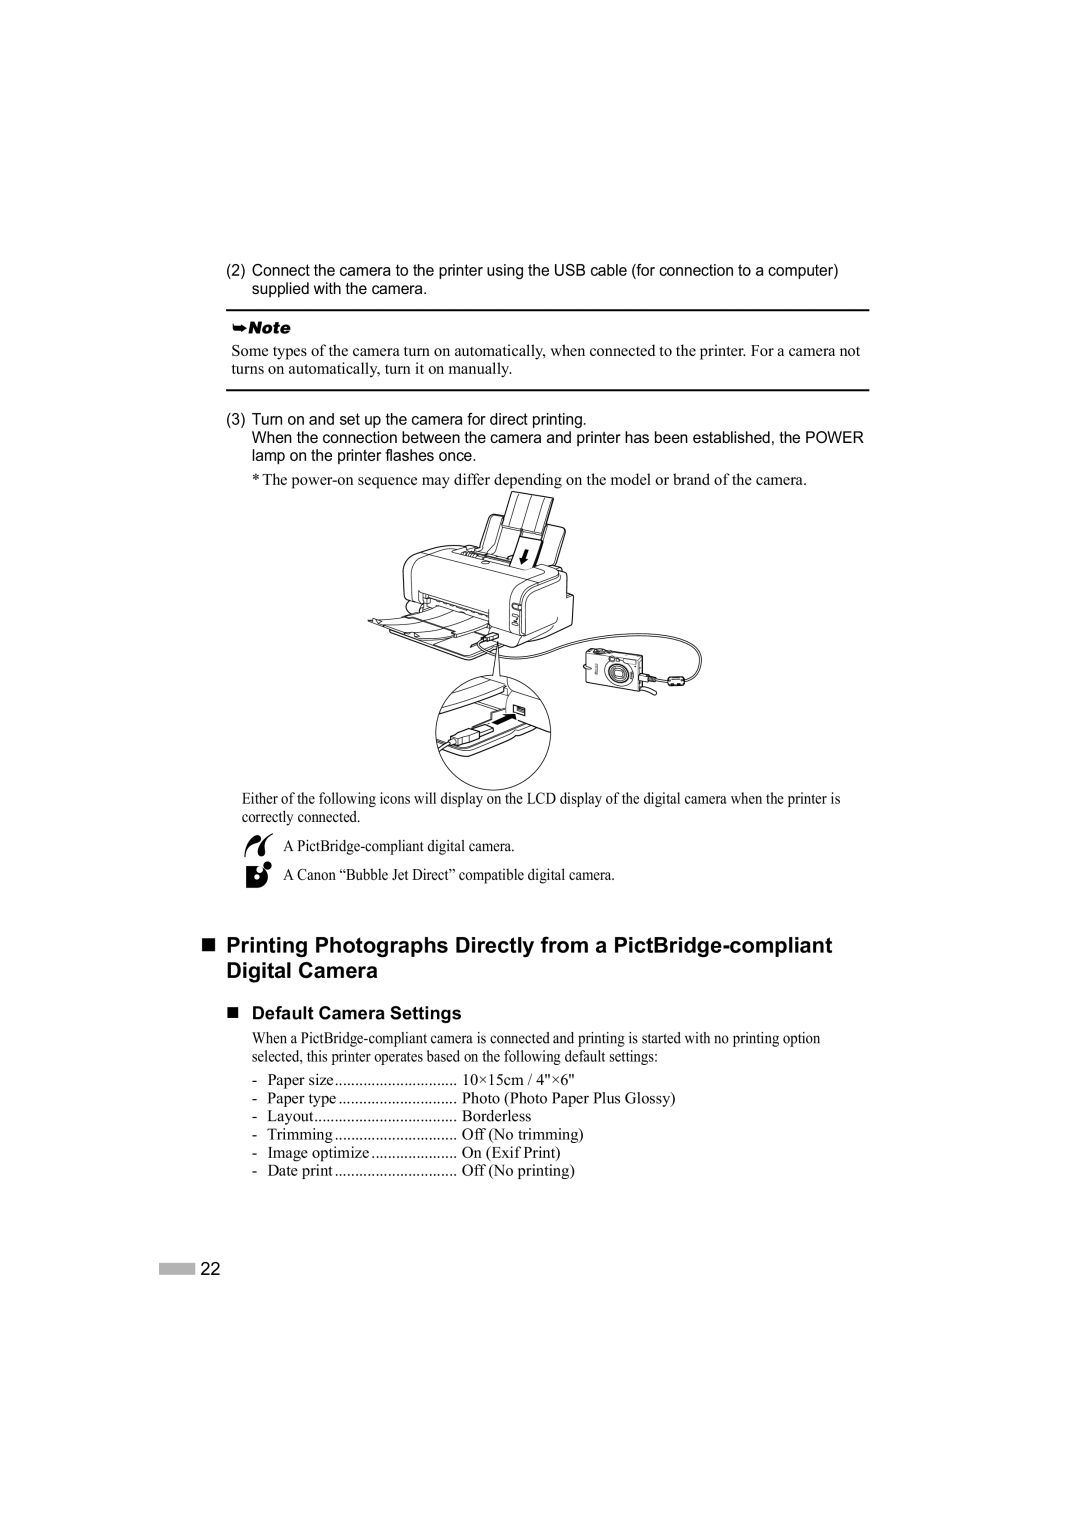
(2)Connect the camera to the printer using the USB cable (for connection to a computer) supplied with the camera.
Some types of the camera turn on automatically, when connected to the printer. For a camera not turns on automatically, turn it on manually.
(3)Turn on and set up the camera for direct printing.
When the connection between the camera and printer has been established, the POWER lamp on the printer flashes once.
*The
Either of the following icons will display on the LCD display of the digital camera when the printer is correctly connected.
![]() A
A
A Canon “Bubble Jet Direct” compatible digital camera.
Printing Photographs Directly from a
Default Camera Settings
When a
- | Paper size | 10×15cm / 4"×6" |
- | Paper type | Photo (Photo Paper Plus Glossy) |
- | Layout | Borderless |
- | Trimming | Off (No trimming) |
- | Image optimize | On (Exif Print) |
- | Date print | Off (No printing) |
![]() 22
22