Jefferson Direct Vent /Natural Vent Gas Heater
Operation
Your First Fire
Read these instructions carefully and familiarize yourself with the burner controls shown in Figure 47. Locate the pilot assembly, Figure 46. Follow the lighting instructions on Page 26 exactly.
During the first fire, it is not unusual to smell some odor associated with new logs, paint and metal being heated. Odors should dissipate within the first eight to ten hours, however, you can open a window to provide fresh air to alleviate the condition.
Pilot and Burner Inspection
Each time you light your heater check that the pilot flame and burner flame patterns are as shown in Fig- ures 48, 49, 50. If flame patterns are incorrect, turn the heater off. Contact your dealer or a qualified gas techni- cian for assistance. Do not operate the heater until the pilot flame is correct.
Follow regular maintenance procedures as described on Page 30.
|
| Pilot Assembly |
| Thermocouple | ST232 |
|
| |
Fig. 46 | Pilot assembly location. |
|
Flame & Temperature Adjustment
For stoves equipped with HI/LO valves, flame adjust- ment is accomplished by rotating the HI/LO adjustment knob located near the center of the gas control valve. (Fig. 47)
Turn |
|
|
|
counterclockwise | �� | �� | Turn clockwise |
to decrease |
| to increase | |
|
| ||
flame height |
|
| flame height |
Flame Characteristics
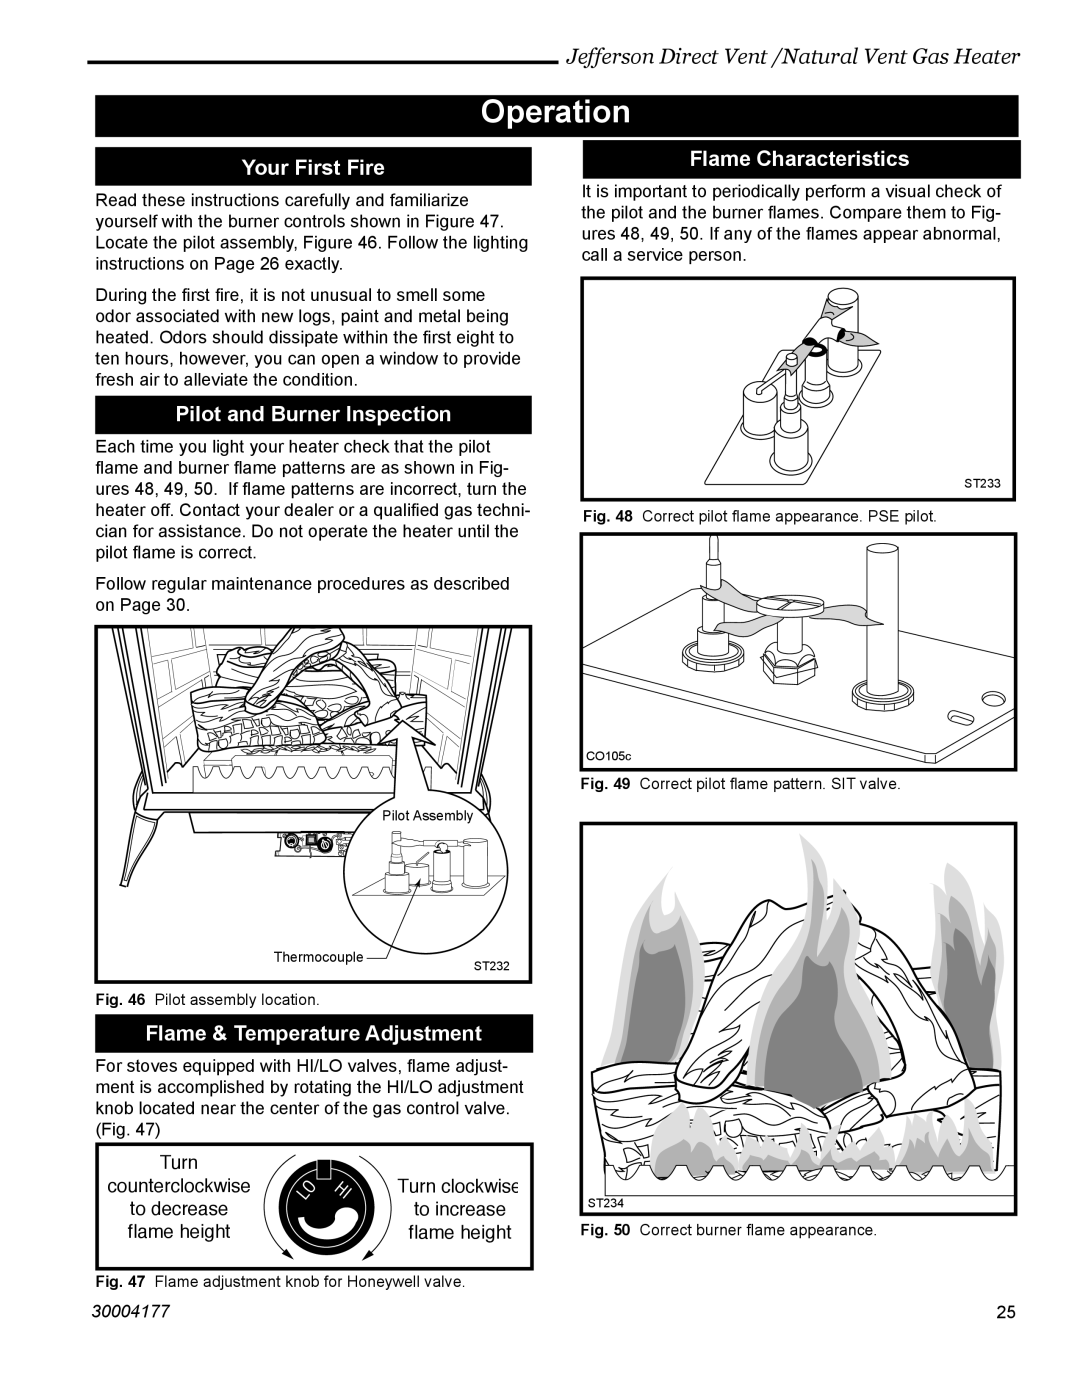
It is important to periodically perform a visual check of the pilot and the burner flames. Compare them to Fig- ures 48, 49, 50. If any of the flames appear abnormal, call a service person.
| ST233 |
Fig. 48 | Correct pilot flame appearance. PSE pilot. |
CO105c |
|
Fig. 49 | Correct pilot flame pattern. SIT valve. |
ST234
Fig. 50 Correct burner flame appearance.
Fig. 47 Flame adjustment knob for Honeywell valve.
30004177 | 25 |