Appendix: Documentation and Technical Assistance
Conventions
Step 5 Locate the subkey in which the value Service Provider Name is D41MT.TSP.
Step 6 In this subkey, in the Edit menu click New > DWORD Value. A new value appears in the subkey. Step 7 Enter the name DeviceID Lower Bound and press Enter.
Step 8
Step 10 in the Edit menu click New > DWORD Value. A new value appears in the subkey.
Step 11 Enter the name DeviceID Upper Bound and press Enter.
Step 12
Step 15 For the settings to take effect, exit and restart the Cisco Unity software.
Appendix: Documentation and Technical
Assistance
Conventions
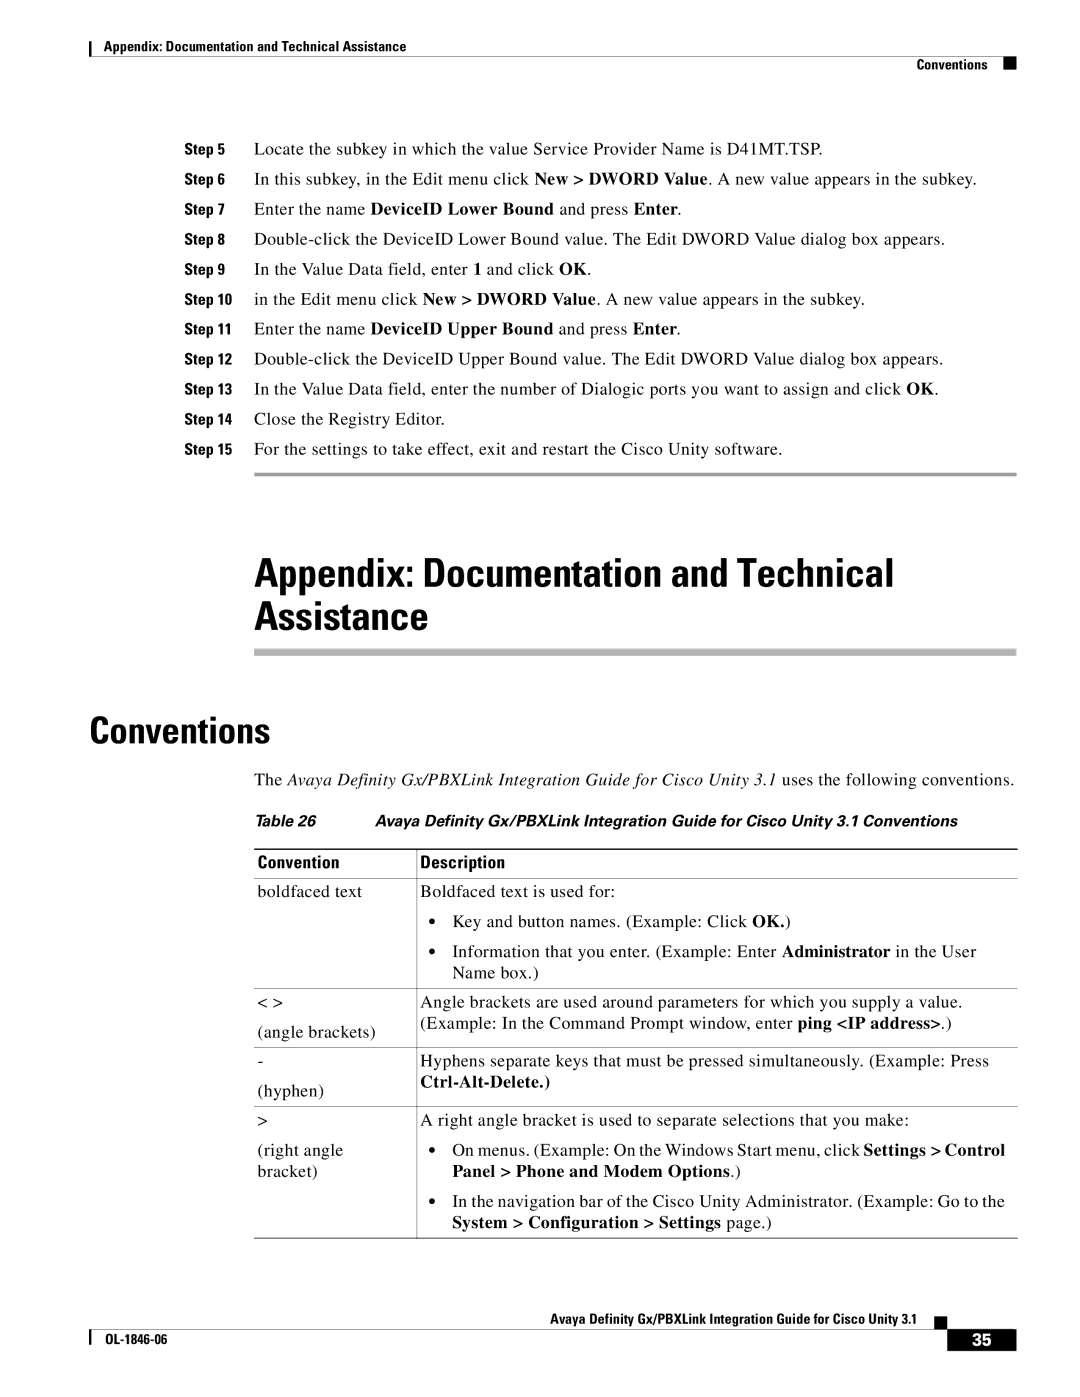
The Avaya Definity Gx/PBXLink Integration Guide for Cisco Unity 3.1 uses the following conventions.
Table 26 | Avaya Definity Gx/PBXLink Integration Guide for Cisco Unity 3.1 Conventions | |
|
|
|
Convention |
| Description |
|
|
|
boldfaced text |
| Boldfaced text is used for: |
|
| • Key and button names. (Example: Click OK.) |
|
| • Information that you enter. (Example: Enter Administrator in the User |
|
| Name box.) |
|
|
|
< > |
| Angle brackets are used around parameters for which you supply a value. |
(angle brackets) | (Example: In the Command Prompt window, enter ping <IP address>.) | |
| ||
|
|
|
- |
| Hyphens separate keys that must be pressed simultaneously. (Example: Press |
(hyphen) |
|
|
|
| |
|
|
|
> |
| A right angle bracket is used to separate selections that you make: |
(right angle |
| • On menus. (Example: On the Windows Start menu, click Settings > Control |
bracket) |
| Panel > Phone and Modem Options.) |
|
| • In the navigation bar of the Cisco Unity Administrator. (Example: Go to the |
|
| System > Configuration > Settings page.) |
|
|
|
Avaya Definity Gx/PBXLink Integration Guide for Cisco Unity 3.1
| 35 |
| |
|
|