Using LEDs to Check FEIP Status
Using LEDs to Check FEIP Status
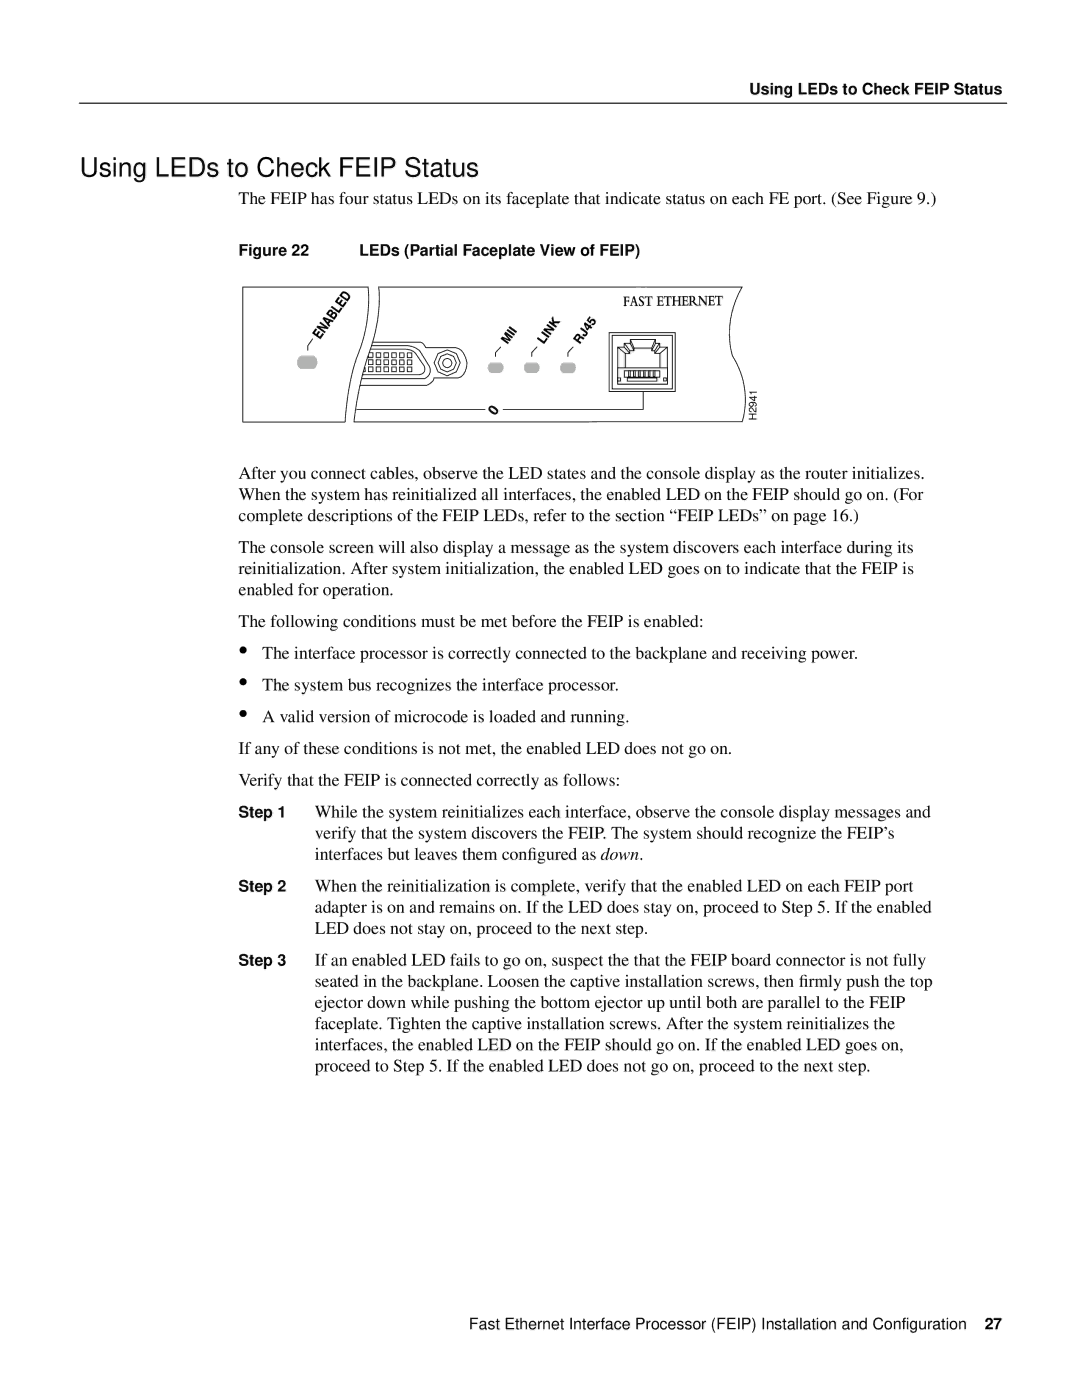
The FEIP has four status LEDs on its faceplate that indicate status on each FE port. (See Figure 9.)
Figure 22 LEDs (Partial Faceplate View of FEIP)
H2941
After you connect cables, observe the LED states and the console display as the router initializes. When the system has reinitialized all interfaces, the enabled LED on the FEIP should go on. (For complete descriptions of the FEIP LEDs, refer to the section “FEIP LEDs” on page 16.)
The console screen will also display a message as the system discovers each interface during its reinitialization. After system initialization, the enabled LED goes on to indicate that the FEIP is enabled for operation.
The following conditions must be met before the FEIP is enabled:
•
•
•
The interface processor is correctly connected to the backplane and receiving power.
The system bus recognizes the interface processor.
A valid version of microcode is loaded and running.
If any of these conditions is not met, the enabled LED does not go on.
Verify that the FEIP is connected correctly as follows:
Step 1 While the system reinitializes each interface, observe the console display messages and verify that the system discovers the FEIP. The system should recognize the FEIP’s interfaces but leaves them configured as down.
Step 2 When the reinitialization is complete, verify that the enabled LED on each FEIP port adapter is on and remains on. If the LED does stay on, proceed to Step 5. If the enabled LED does not stay on, proceed to the next step.
Step 3 If an enabled LED fails to go on, suspect the that the FEIP board connector is not fully seated in the backplane. Loosen the captive installation screws, then firmly push the top ejector down while pushing the bottom ejector up until both are parallel to the FEIP faceplate. Tighten the captive installation screws. After the system reinitializes the interfaces, the enabled LED on the FEIP should go on. If the enabled LED goes on, proceed to Step 5. If the enabled LED does not go on, proceed to the next step.
Fast Ethernet Interface Processor (FEIP) Installation and Configuration 27