Chapter 4 Replacing Components
Replacing an I/O Module for a Cisco Nexus 5548 Switch
Se n d d o c u m e n t a t i o n c o m m e n t s t o n ex u s 5 k d o c s @ c i s c o . c o m .
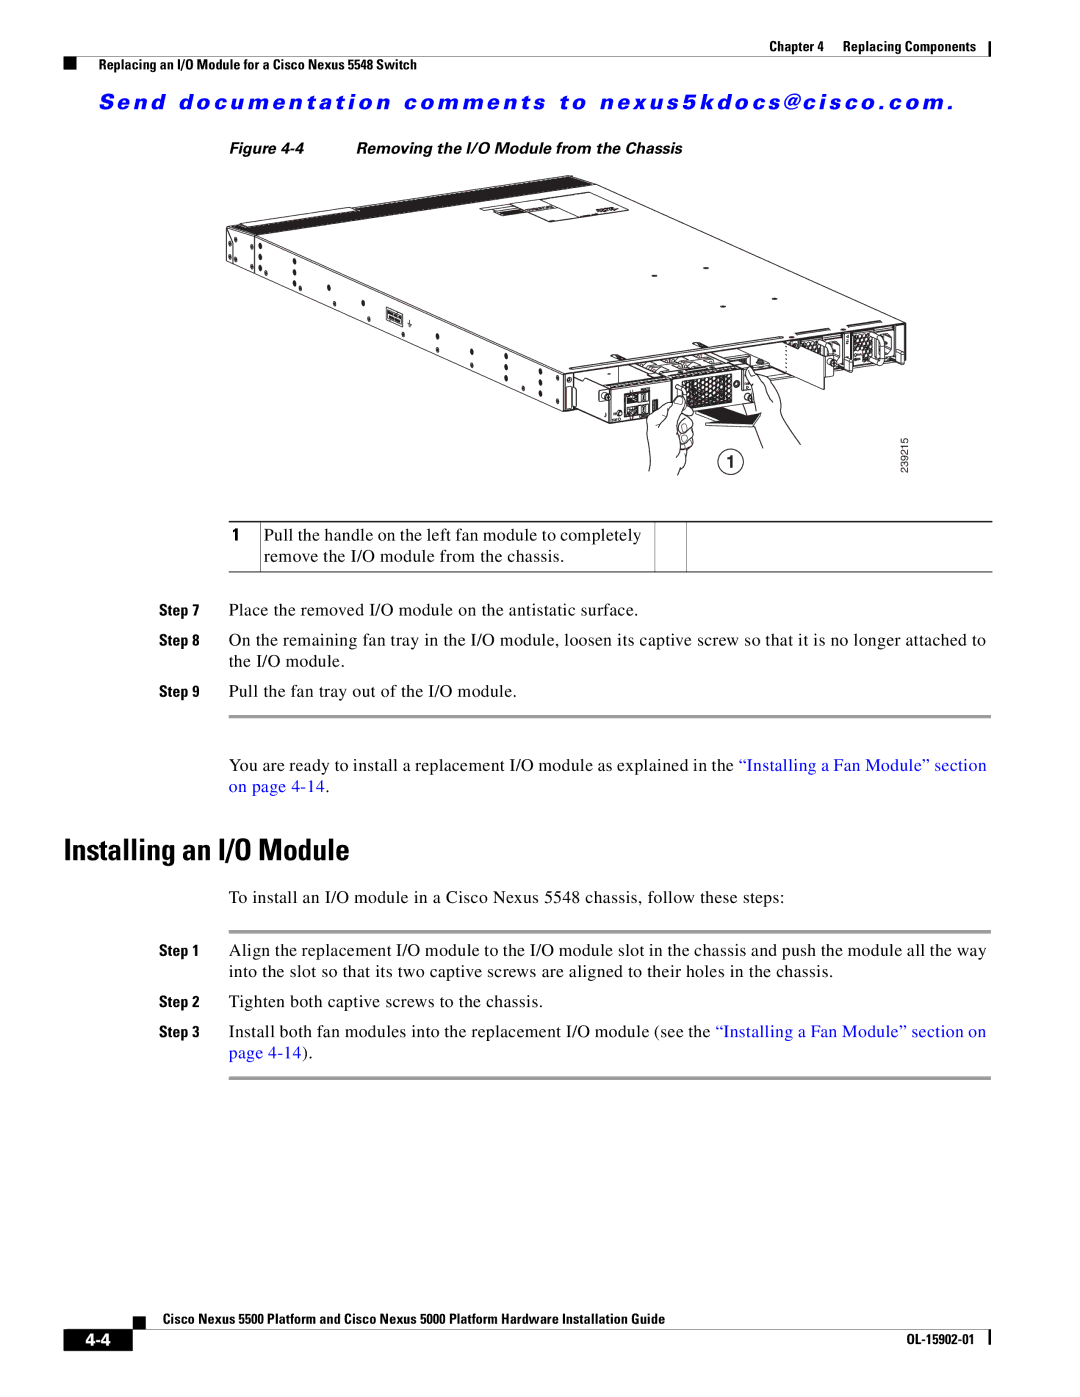
Figure 4-4 Removing the I/O Module from the Chassis
1
1Pull the handle on the left fan module to completely remove the I/O module from the chassis.
239215
Step 7 Place the removed I/O module on the antistatic surface.
Step 8 On the remaining fan tray in the I/O module, loosen its captive screw so that it is no longer attached to the I/O module.
Step 9 Pull the fan tray out of the I/O module.
You are ready to install a replacement I/O module as explained in the “Installing a Fan Module” section on page
Installing an I/O Module
To install an I/O module in a Cisco Nexus 5548 chassis, follow these steps:
Step 1 Align the replacement I/O module to the I/O module slot in the chassis and push the module all the way into the slot so that its two captive screws are aligned to their holes in the chassis.
Step 2 Tighten both captive screws to the chassis.
Step 3 Install both fan modules into the replacement I/O module (see the “Installing a Fan Module” section on page
Cisco Nexus 5500 Platform and Cisco Nexus 5000 Platform Hardware Installation Guide
| ||
|