Chapter 2 Installing the Cisco Nexus 5000 Series Switches
Installing the Switch
Se n d d o c u m e n t a t i o n c o m m e n t s t o n ex u s 5 k d o c s @ c i s c o . c o m .
1 | Front | 3 | |
|
|
|
|
2 | Attach bracket with four M4 screws | 4 | Attach guide with two M4 screws |
|
|
|
|
Step 2 Install the
a.Position one of the
b.Repeat with the other
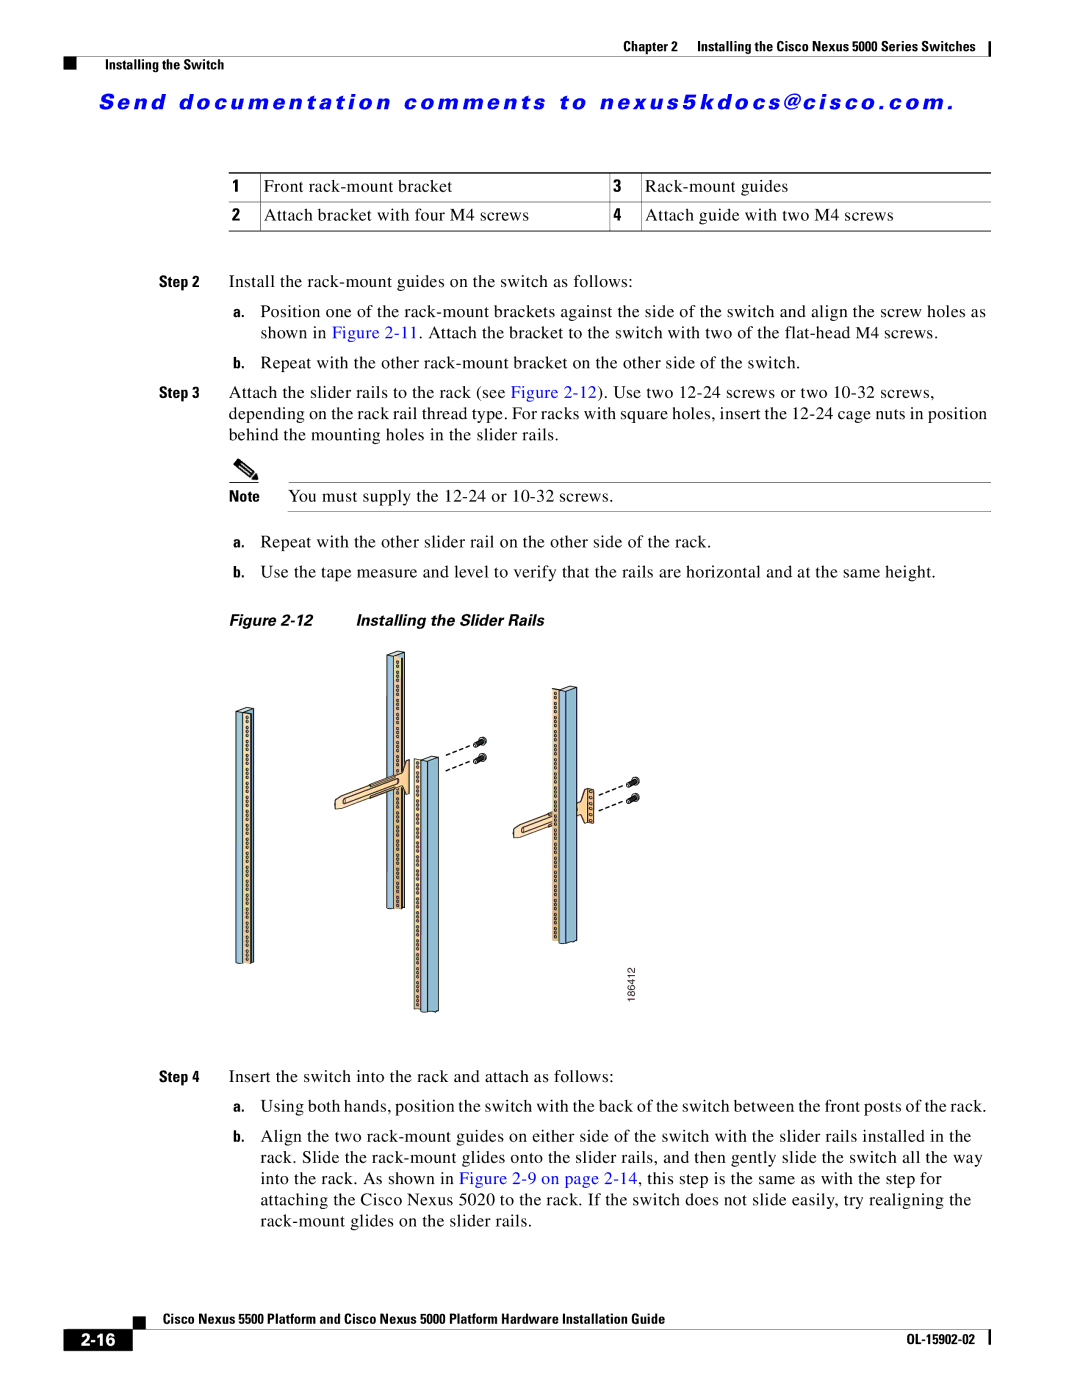
Step 3 Attach the slider rails to the rack (see Figure
Note You must supply the
a.Repeat with the other slider rail on the other side of the rack.
b.Use the tape measure and level to verify that the rails are horizontal and at the same height.
Figure 2-12 Installing the Slider Rails
186412
Step 4 Insert the switch into the rack and attach as follows:
a.Using both hands, position the switch with the back of the switch between the front posts of the rack.
b.Align the two
| Cisco Nexus 5500 Platform and Cisco Nexus 5000 Platform Hardware Installation Guide |
