3.Make note of the IP address and press the CLEAR key. The phone will exit Program mode.
4.Start Internet Explorer.
Note: Only Internet Explorer, release 6.0 or later with Java 1.5 or later installed, is supported by the MAX IP Response Point phone.
5.Enter the phone’s IP address into the Internet Explorer address field and press the ENTER key on your computer’s keyboard. (You can also enter the DNS name or the phone’s name on the network in order to get to the web interface login screen.)
6.The MAX IP Response Point’s web portal will appear, displaying the Device Information screen.
Web Portal Screens
The following sections display each of the screens included in the MAX IP Response Point web portal and describe all of the settings that can be modified through each of the screens.
Device Information screen
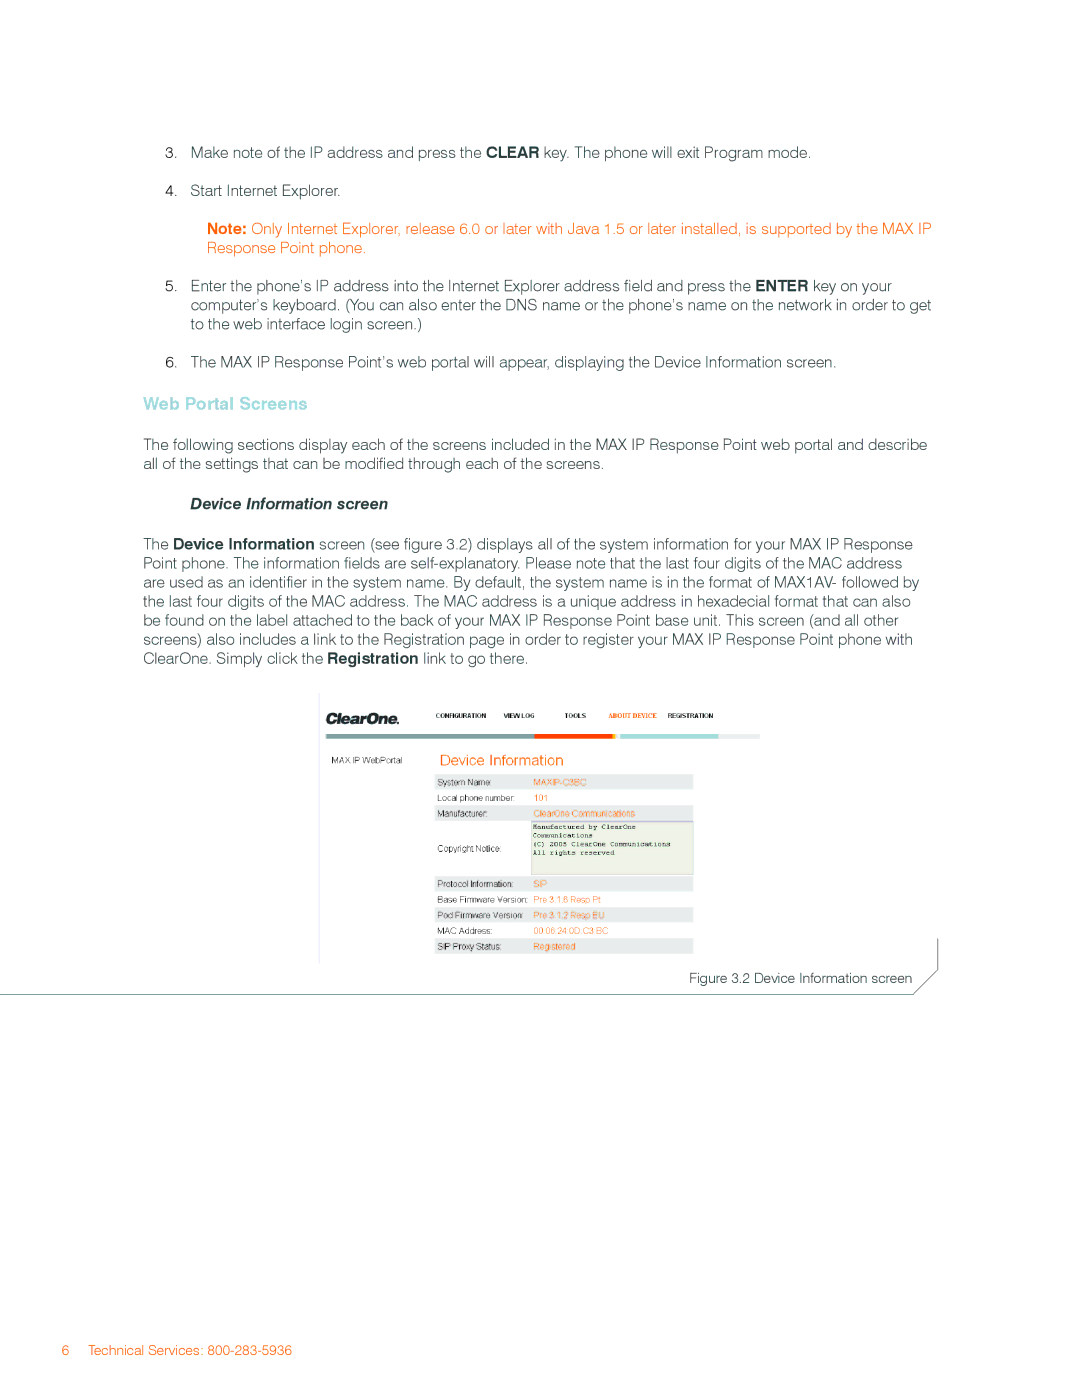
The Device Information screen (see figure 3.2) displays all of the system information for your MAX IP Response Point phone. The information fields are
Figure 3.2 Device Information screen
6 Technical Services:
