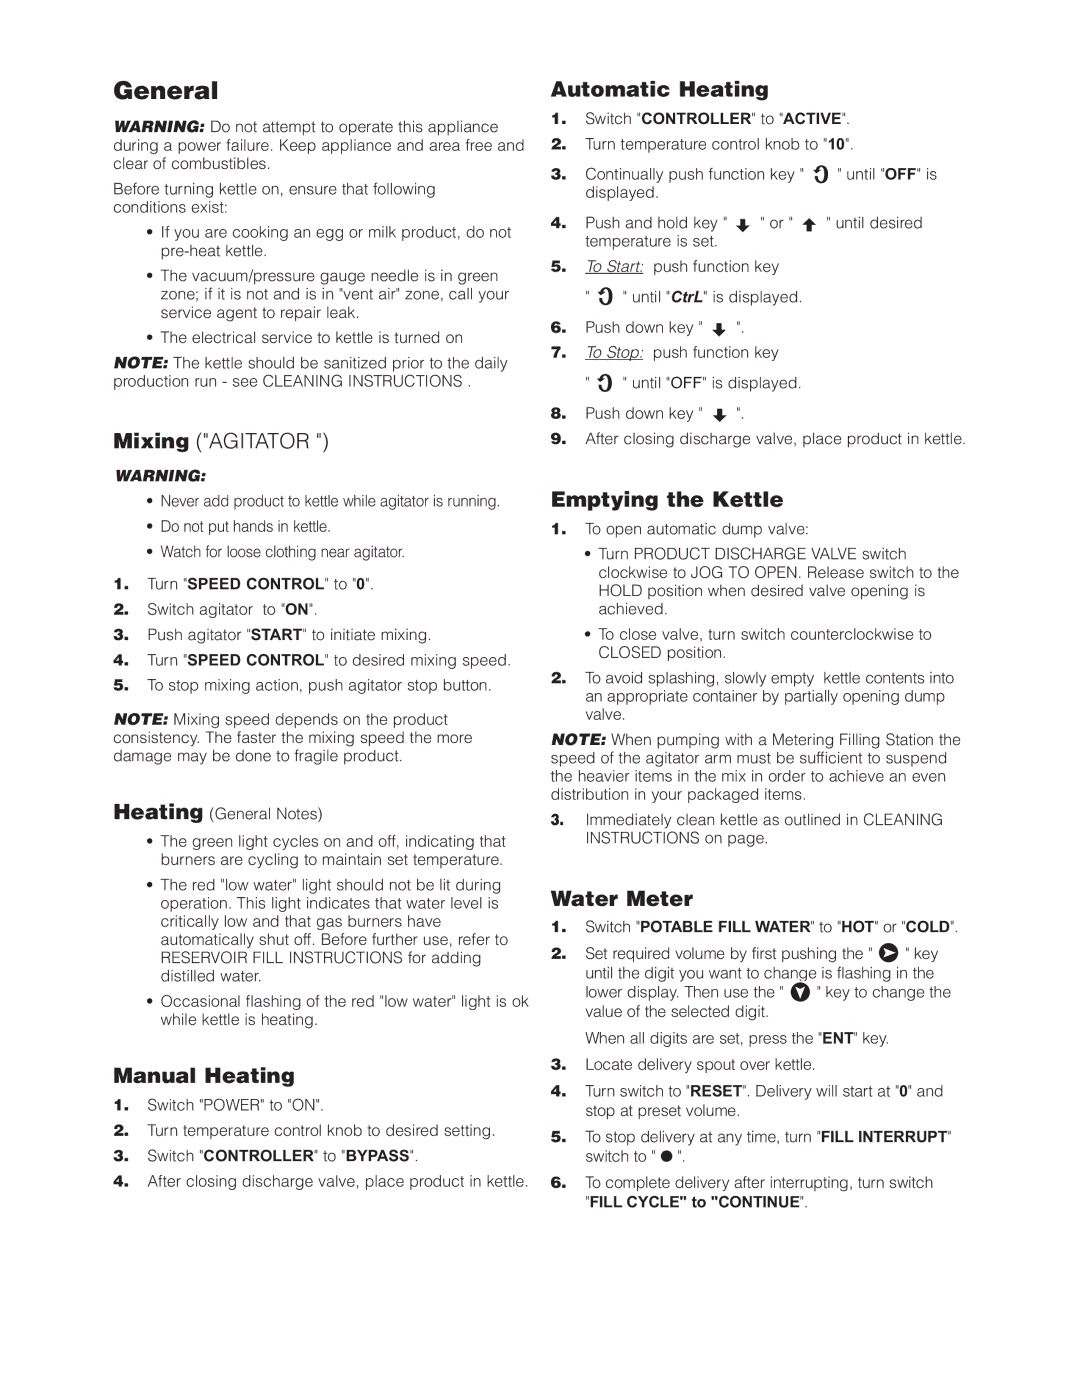
HA-MKGL-60, HA-MKGL-80-CC-T, HA-MKGL-80-CC, HA-MKGL-100, HA-MKGL-80-T specifications
The Cleveland Range HA-MKGL series includes several models designed for high-performance cooking in commercial kitchens. Among these are the HA-MKGL-100-CC, HA-MKGL-100-CC-T, HA-MKGL-60-T, HA-MKGL-80, and HA-MKGL-60-CC. These cookers are ideal for institutions such as schools, hospitals, and restaurants that require reliability and efficiency.One of the main features of the Cleveland Range HA-MKGL series is the SmartSteam technology. This innovation allows for precise control of cooking temperatures and humidity levels, ensuring that food is cooked evenly while retaining moisture and flavor. This technology is particularly beneficial for steaming vegetables, seafood, and rice, making it an excellent choice for chefs who prioritize quality and taste.
Another notable characteristic is the programmable controls that allow for set-and-forget operation. These controls enable chefs and kitchen staff to input specific cooking times and temperatures, reducing labor costs and minimizing the risk of overcooking. With the integration of user-friendly interfaces, staff members can efficiently operate the equipment without extensive training.
The HA-MKGL-100-CC and HA-MKGL-100-CC-T models feature a large cooking capacity, making them capable of handling high volume meal production. The added T in the model designation indicates a turbo model, which is designed for accelerated cooking speeds, catering to the needs of busy kitchens. The HA-MKGL-60-T and HA-MKGL-80 models also offer robust cooking capabilities while optimizing space in smaller kitchens.
Durability is another hallmark of the Cleveland Range HA-MKGL series. Constructed from high-quality stainless steel, these cookers are built to withstand the rigorous demands of a busy kitchen environment. The easy-clean design further enhances their usability, as chefs can quickly maintain hygiene and cleanliness in their cooking areas.
The energy efficiency of the Cleveland Range HA-MKGL series also stands out, contributing to low operational costs. With a focus on sustainability, these models minimize energy consumption without sacrificing performance, allowing institutions to save on utility bills while being environmentally conscious.
In summary, the Cleveland Range HA-MKGL series, including the HA-MKGL-100-CC, HA-MKGL-100-CC-T, HA-MKGL-60-T, HA-MKGL-80, and HA-MKGL-60-CC, represents cutting-edge technology in commercial cooking. Their programmable controls, SmartSteam technology, high capacity, durability, and energy efficiency make them ideal for professionals looking to enhance their culinary output while maintaining consistent quality in their food preparation.
