Basic Cold-Mount® Procedure
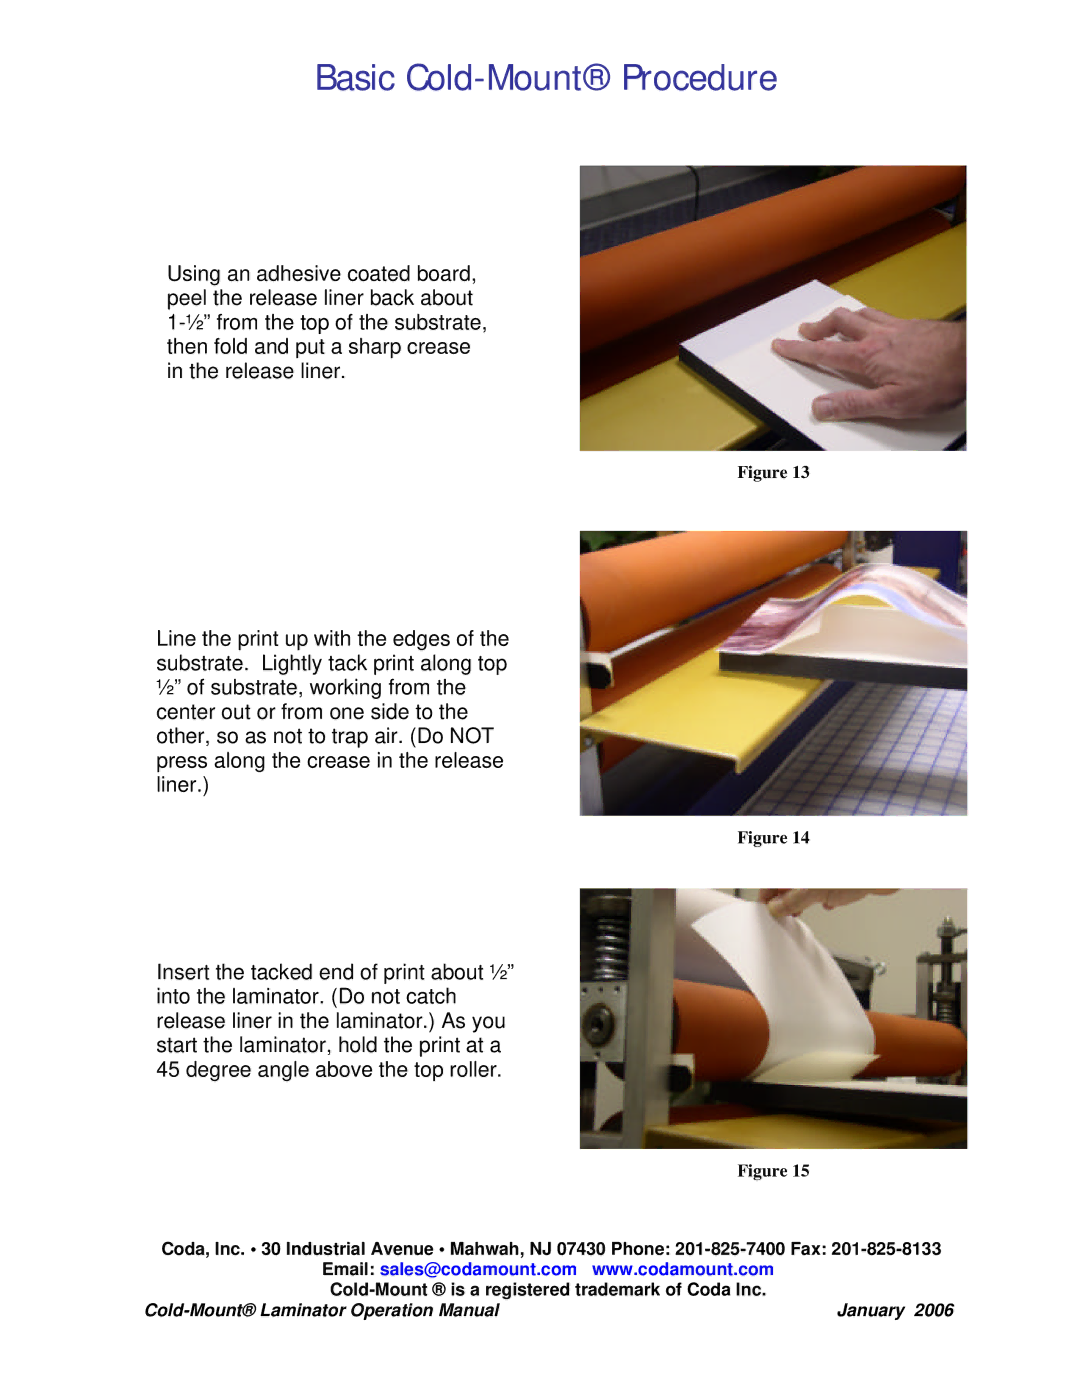
Using an adhesive coated board, peel the release liner back about
Figure 13
Line the print up with the edges of the substrate. Lightly tack print along top ½” of substrate, working from the center out or from one side to the other, so as not to trap air. (Do NOT press along the crease in the release liner.)
Figure 14
Insert the tacked end of print about ½” into the laminator. (Do not catch release liner in the laminator.) As you start the laminator, hold the print at a 45 degree angle above the top roller.
| Figure 15 |
Coda, Inc. • 30 Industrial Avenue • Mahwah, NJ 07430 Phone: | |
Email: sales@codamount.com | www.codamount.com |
January 2006 | |