Linux Installation and Configuration Guide for AlphaServer | 25 |
Password: user@ ftp> bin
ftp>
2.Insert a blank, formatted floppy into the computer, and copy the BOOT kernel to it: $ dd
With this floppy in hand, you are now prepared to begin the installation process on your AlphaServer or AlphaStation.
Firmware Inspection and Upgrade
After powering up your AlphaServer or AlphaStation computer, type the command "show version". Check that the version string printed is
System Resource Manager Configuration
There are several pieces of information that you need to configure in the SRM subsystem, as well as device identifiers that you should make note of, prior to beginning the installation process. The steps that follow take you through that process.
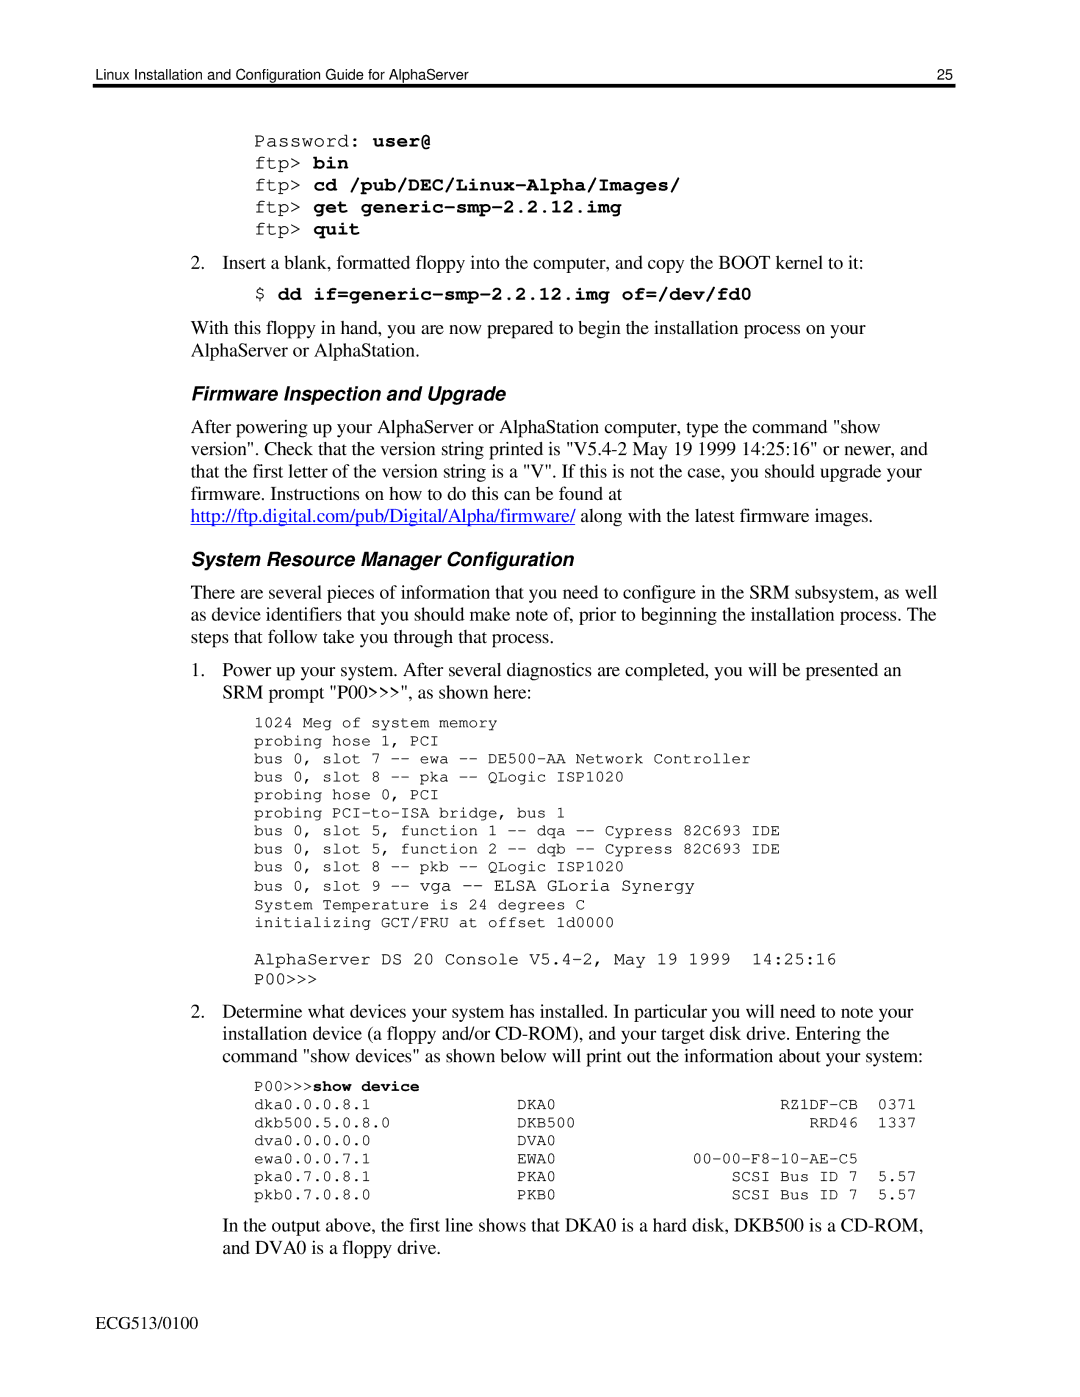
1.Power up your system. After several diagnostics are completed, you will be presented an SRM prompt "P00>>>", as shown here:
1024 Meg of system memory probing hose 1, PCI
bus 0, slot 7
probing hose 0, PCI
probing
bus 0, slot 5, function 1
bus 0, slot 9
AlphaServer DS 20 Console
P00>>>
2.Determine what devices your system has installed. In particular you will need to note your installation device (a floppy and/or
P00>>>show device |
|
|
|
dka0.0.0.8.1 | DKA0 | 0371 | |
dkb500.5.0.8.0 | DKB500 | RRD46 | 1337 |
dva0.0.0.0.0 | DVA0 |
|
|
ewa0.0.0.7.1 | EWA0 |
| |
pka0.7.0.8.1 | PKA0 | SCSI Bus ID 7 | 5.57 |
pkb0.7.0.8.0 | PKB0 | SCSI Bus ID 7 | 5.57 |
In the output above, the first line shows that DKA0 is a hard disk, DKB500 is a
ECG513/0100
