En
TAKING A PICTURE
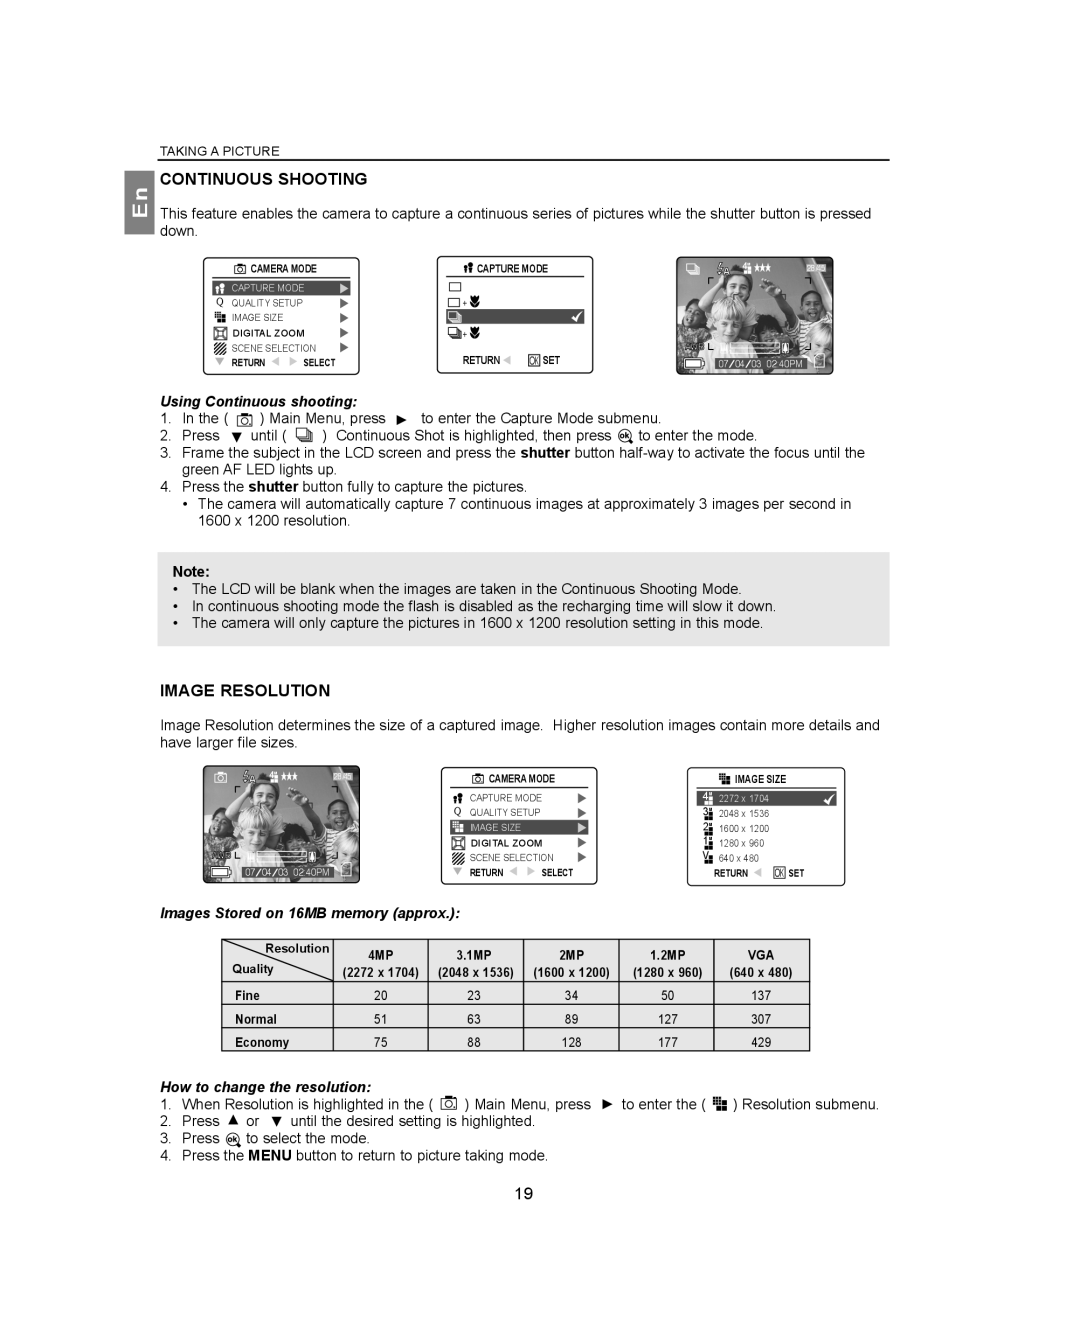
CONTINUOUS SHOOTING
This feature enables the camera to capture a continuous series of pictures while the shutter button is pressed down.
CAMERA MODE | CAPTURE MODE | A 4M | 28/45 |
CAPTURE MODE |
|
|
|
Q QUALITY SETUP | + |
|
|
IMAGE SIZE |
|
|
|
DIGITAL ZOOM | + | |
SCENE SELECTION |
| |
RETURN | SELECT | RETURN |
| AWB |
OK SET | 07 ⁄ 04 ⁄ 03 02:40PM |
Using Continuous shooting:
1.In the ( ![]() ) Main Menu, press
) Main Menu, press ![]() to enter the Capture Mode submenu.
to enter the Capture Mode submenu.
2.Press ![]() until (
until ( ![]()
![]()
![]() ) Continuous Shot is highlighted, then press
) Continuous Shot is highlighted, then press ![]() to enter the mode.
to enter the mode.
3.Frame the subject in the LCD screen and press the shutter button
4.Press the shutter button fully to capture the pictures.
•The camera will automatically capture 7 continuous images at approximately 3 images per second in 1600 x 1200 resolution.
Note:
•The LCD will be blank when the images are taken in the Continuous Shooting Mode.
•In continuous shooting mode the flash is disabled as the recharging time will slow it down.
•The camera will only capture the pictures in 1600 x 1200 resolution setting in this mode.
IMAGE RESOLUTION
Image Resolution determines the size of a captured image. Higher resolution images contain more details and have larger file sizes.
|
|
| A 4M |
|
|
|
|
|
| CAMERA MODE |
|
|
| |||
|
|
| 28/45 |
|
|
|
| IMAGE SIZE | ||||||||
|
|
|
|
|
|
|
|
|
| |||||||
|
|
|
|
|
|
|
| |||||||||
|
|
|
|
|
|
|
|
|
|
|
|
|
|
|
|
|
|
|
|
|
|
|
|
|
| CAPTURE MODE |
| 4M | 2272 x 1704 |
| |||
|
|
|
|
|
|
|
| Q | QUALITY SETUP |
|
| 3M | 2048 x 1536 |
| ||
|
|
|
|
|
|
|
|
| IMAGE SIZE |
|
| 2M | 1600 x 1200 |
| ||
|
|
|
|
|
|
|
|
| DIGITAL ZOOM |
| 1M | 1280 x 960 |
| |||
AWB |
|
|
|
|
| SCENE SELECTION |
| V | 640 x 480 |
| ||||||
|
|
|
|
|
|
|
|
| RETURN | SELECT |
|
|
| OK SET | ||
|
|
| 07 ⁄ 04 ⁄ | 03 02:40PM |
|
| RETURN | |||||||||
|
|
|
| |||||||||||||
|
|
|
|
|
|
|
|
|
|
|
|
|
|
|
|
|
Images Stored on 16MB memory (approx.):
Resolution | 4MP | 3.1MP | 2MP | 1.2MP | VGA | |
Quality | ||||||
(2272 x 1704) | (2048 x 1536) | (1600 x 1200) | (1280 x 960) | (640 x 480) | ||
Fine | 20 | 23 | 34 | 50 | 137 | |
Normal | 51 | 63 | 89 | 127 | 307 | |
Economy | 75 | 88 | 128 | 177 | 429 |
How to change the resolution:
1.When Resolution is highlighted in the ( ![]() ) Main Menu, press
) Main Menu, press ![]() to enter the (
to enter the ( ![]()
![]() ) Resolution submenu.
) Resolution submenu.
2.Press ![]() or
or ![]() until the desired setting is highlighted.
until the desired setting is highlighted.
3.Press ![]() to select the mode.
to select the mode.
4.Press the MENU button to return to picture taking mode.
19