_ WARNING: Always wear safety goggles or safety glasses with side shields when operating
tools. Failure to do so could result in objects being thrown into your eyes, resulting in possible sedous injury,
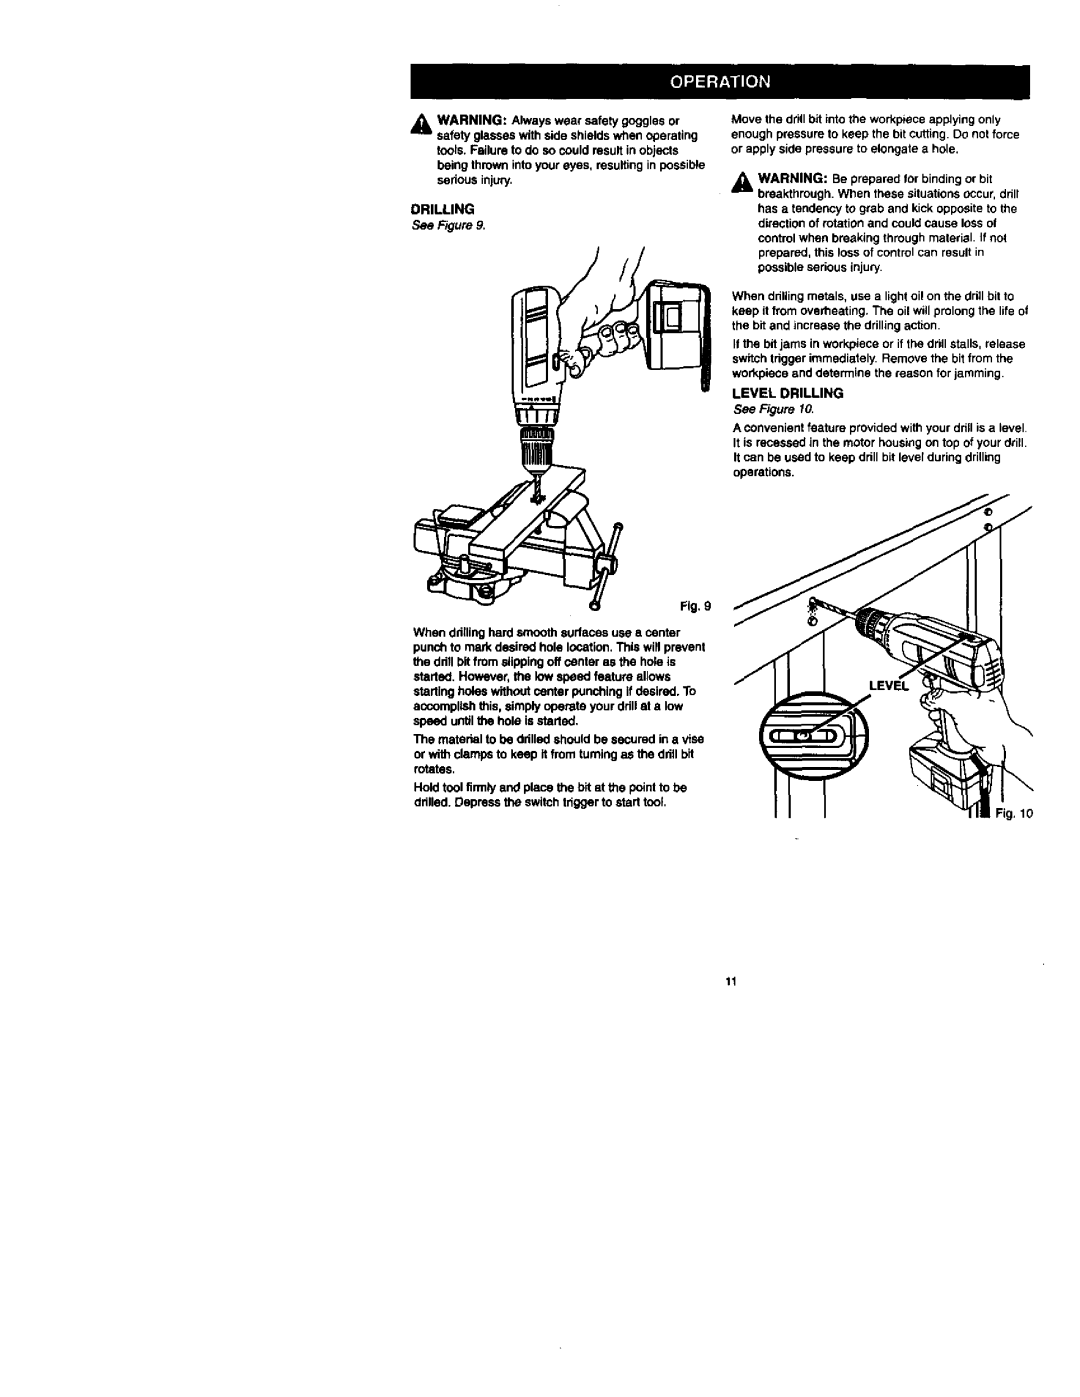
DRILLING
See Figure 9.
Move the drill bit into the workpiece applying only enough pressure to keep the bit cutting. DO not force or apply side pressure to elongate a hole.
_L WARNING: Be prepared for binding or bit breakthrough. When these situations occur, drill
has a tendency to grab and kick opposite to the direction of rotation and could cause loss of
control when breaking through material. If not prepared, this loss of control can result in possible serious injury.
When drilling metals, use a light oil on toe drill bit to keep it from overheating. The oil will prolong the life of the bR and increase the drilling action.
If the bit jams in work,piece or it the drill stalls, release switch trigger immediately. Remove the bit from the workpiece and determine the reason for jamming.
LEVEL DRILLING
See Figure 10.
A convenient feature provided with your dritl is a level
It is recessed in the motor housing on top of your drill. It can be used to keep drill bit level during drilling operations.
When ddllinghard smoothsurfacesuse a center punchto markdesiredhole location.Thiswillprevent the drillbitfrom slippingoffcenter as the hole is started. However,the lowspeed featureallows startingholeswithoutcenter punchingifdesired.To accomplishthis, simplyoperateyour ddllat a low speed untilthe hole is started.
The mater_l to be drilled shouldbe secured in a vise
or with clampsto keep it from tumlogas the dditbit rotates.
Holdtoolfirmly andplace the bit at the pointto be drilled.Depressthe switchtriggertostart tool
Fig. 10
11
