PROGRAMMING A RECORDING (TIMER)
Recording |
|
|
|
|
|
| |
Audio/Video |
|
|
|
|
|
| |
Disc |
|
|
|
|
|
|
|
General |
|
|
|
|
|
| |
Help |
|
|
|
|
|
|
|
Timer rec |
|
| 01/04/2005 11:18:13 | ||||
Date | Start | Length | Source | Quality | VPS/ | Repeat | Result |
PDC | |||||||
Programming a recording
1 Turn on the TV and the DVD recorder.
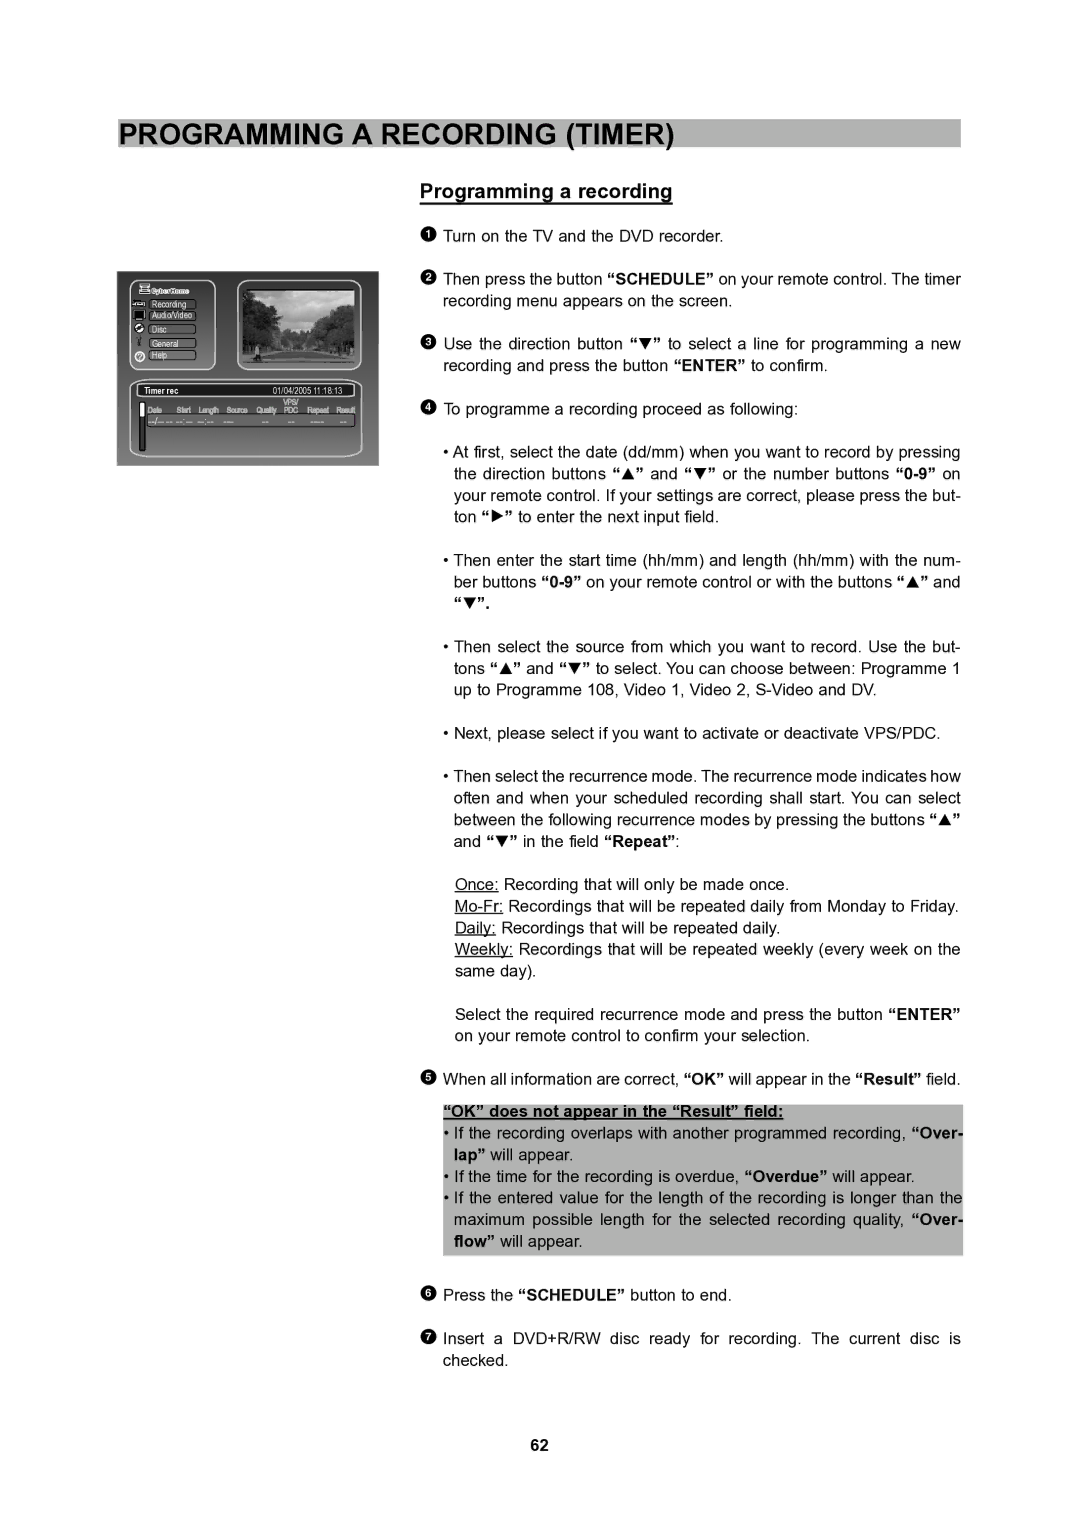
2Then press the button “SCHEDULE” on your remote control. The timer recording menu appears on the screen.
3Use the direction button “D” to select a line for programming a new recording and press the button “ENTER” to confirm.
4To programme a recording proceed as following:
•At first, select the date (dd/mm) when you want to record by pressing the direction buttons “C” and “D” or the number buttons
your remote control. If your settings are correct, please press the but- ton “A” to enter the next input field.
•Then enter the start time (hh/mm) and length (hh/mm) with the num- ber buttons
“D”.
•Then select the source from which you want to record. Use the but- tons “C” and “D” to select. You can choose between: Programme 1 up to Programme 108, Video 1, Video 2,
•Next, please select if you want to activate or deactivate VPS/PDC.
•Then select the recurrence mode. The recurrence mode indicates how
often and when your scheduled recording shall start. You can select between the following recurrence modes by pressing the buttons “C” and “D” in the field “Repeat”:
Once: Recording that will only be made once.
Daily: Recordings that will be repeated daily.
Weekly: Recordings that will be repeated weekly (every week on the same day).
Select the required recurrence mode and press the button “ENTER” on your remote control to confirm your selection.
5When all information are correct, “OK” will appear in the “Result” field.
“OK” does not appear in the “Result” field:
•If the recording overlaps with another programmed recording, “Over- lap” will appear.
•If the time for the recording is overdue, “Overdue” will appear.
•If the entered value for the length of the recording is longer than the maximum possible length for the selected recording quality, “Over- flow” will appear.
6Press the “SCHEDULE” button to end.
7Insert a DVD+R/RW disc ready for recording. The current disc is checked.
62
