Video Setup Options
Adjusting Video Settings in the Video Setup Page
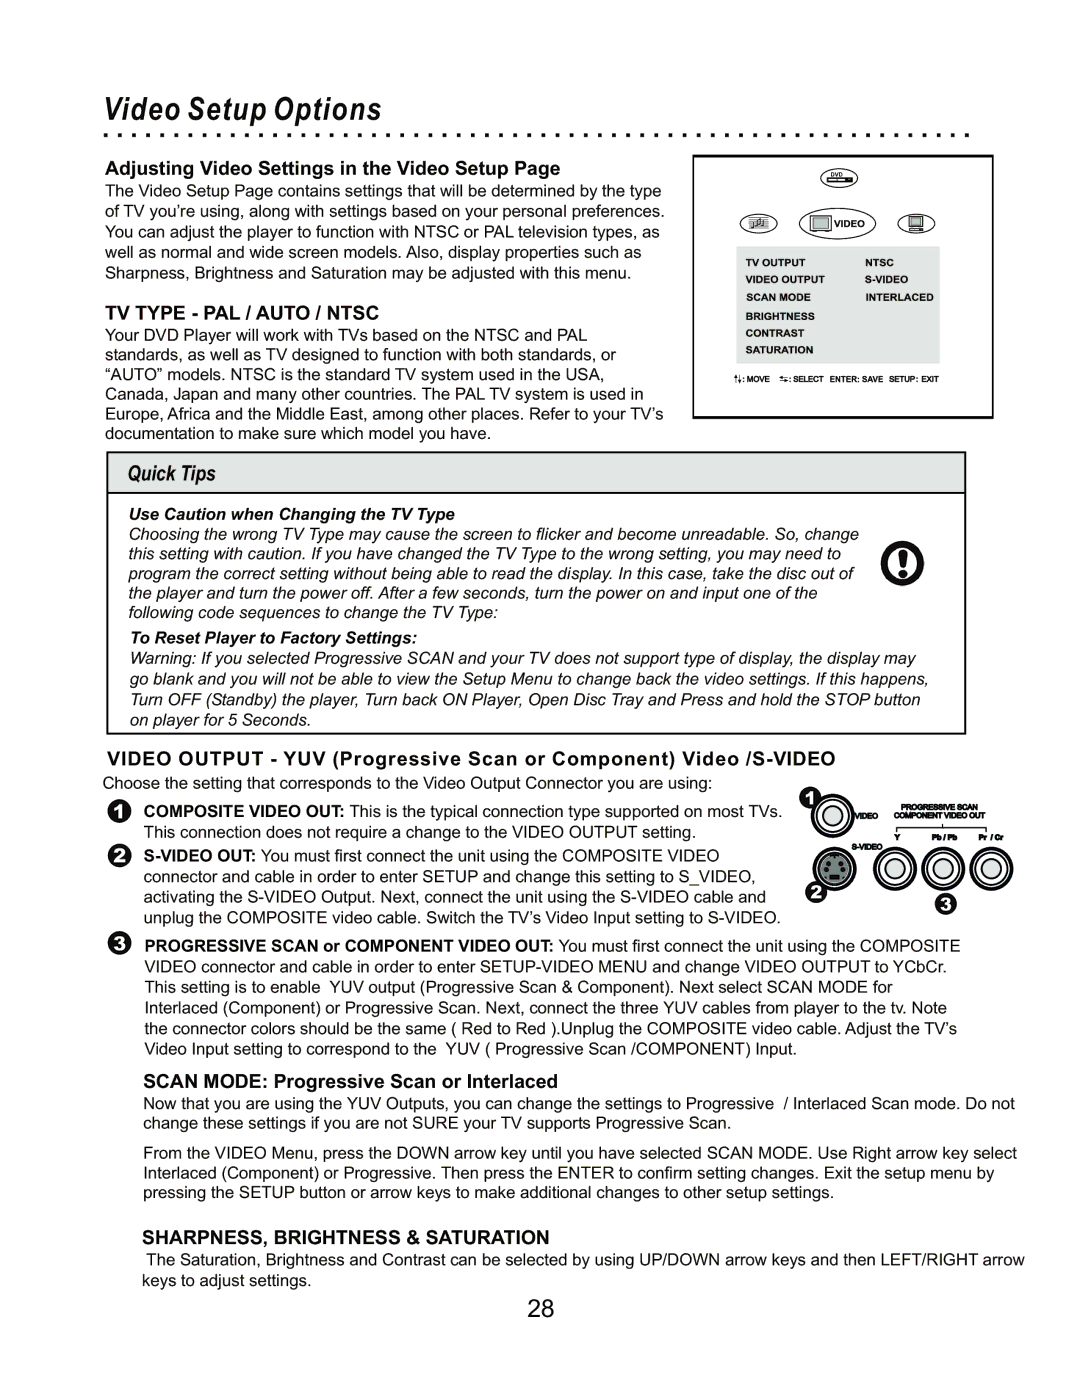
The Video Setup Page contains settings that will be determined by the type of TV you’re using, along with settings based on your personal preferences. You can adjust the player to function with NTSC or PAL television types, as well as normal and wide screen models. Also, display properties such as Sharpness, Brightness and Saturation may be adjusted with this menu.
TV TYPE - PAL / AUTO / NTSC
Your DVD Player will work with TVs based on the NTSC and PAL standards, as well as TV designed to function with both standards, or “AUTO” models. NTSC is the standard TV system used in the USA, Canada, Japan and many other countries. The PAL TV system is used in Europe, Africa and the Middle East, among other places. Refer to your TV’s documentation to make sure which model you have.
DVD
Quick Tips
Use Caution when Changing the TV Type
Choosing the wrong TV Type may cause the screen to flicker and become unreadable. So, change this setting with caution. If you have changed the TV Type to the wrong setting, you may need to program the correct setting without being able to read the display. In this case, take the disc out of the player and turn the power off. After a few seconds, turn the power on and input one of the following code sequences to change the TV Type:
To Reset Player to Factory Settings:
Warning: If you selected Progressive SCAN and your TV does not support type of display, the display may go blank and you will not be able to view the Setup Menu to change back the video settings. If this happens, Turn OFF (Standby) the player, Turn back ON Player, Open Disc Tray and Press and hold the STOP button on player for 5 Seconds.
VIDEO OUTPUT - YUV (Progressive Scan or Component)
Choose the setting that corresponds to the Video Output Connector you are using:
1COMPOSITE VIDEO OUT: This is the typical connection type supported on most TVs. This connection does not require a change to the VIDEO OUTPUT setting.
2
1
|
| PROGRESSIVE SCAN |
|
VIDEO | COMPONENT VIDEO OUT | ||
Y | Pb / Pb | Pr / Cr | |
|
|
| |
2
3
3PROGRESSIVE SCAN or COMPONENT VIDEO OUT: You must first connect the unit using the COMPOSITE VIDEO connector and cable in order to enter
SCAN MODE: Progressive Scan or Interlaced
Now that you are using the YUV Outputs, you can change the settings to Progressive / Interlaced Scan mode. Do not change these settings if you are not SURE your TV supports Progressive Scan.
From the VIDEO Menu, press the DOWN arrow key until you have selected SCAN MODE. Use Right arrow key select Interlaced (Component) or Progressive. Then press the ENTER to confirm setting changes. Exit the setup menu by pressing the SETUP button or arrow keys to make additional changes to other setup settings.
SHARPNESS, BRIGHTNESS & SATURATION
The Saturation, Brightness and Contrast can be selected by using UP/DOWN arrow keys and then LEFT/RIGHT arrow keys to adjust settings.
28
