Chapter 2 - Hardware Installation
In this chapter you will learn about the various connections you will need to make in order to use the Router.
When selecting the location for the Router, allow ample room to access the connections on the rear panel. For convenience, try to place the Router near your computer so you can monitor the LED indicators. Allow some space above the Router for ventilation to avoid problems with overheating.
Connect the ADSL Line
Use the
Computer to Router Connection
You can begin connection the Router by performing the following steps:
1.Insert one end of the ADSL cable (26 AWG
2.Insert the other end of the ADSL cable into the ADSL port
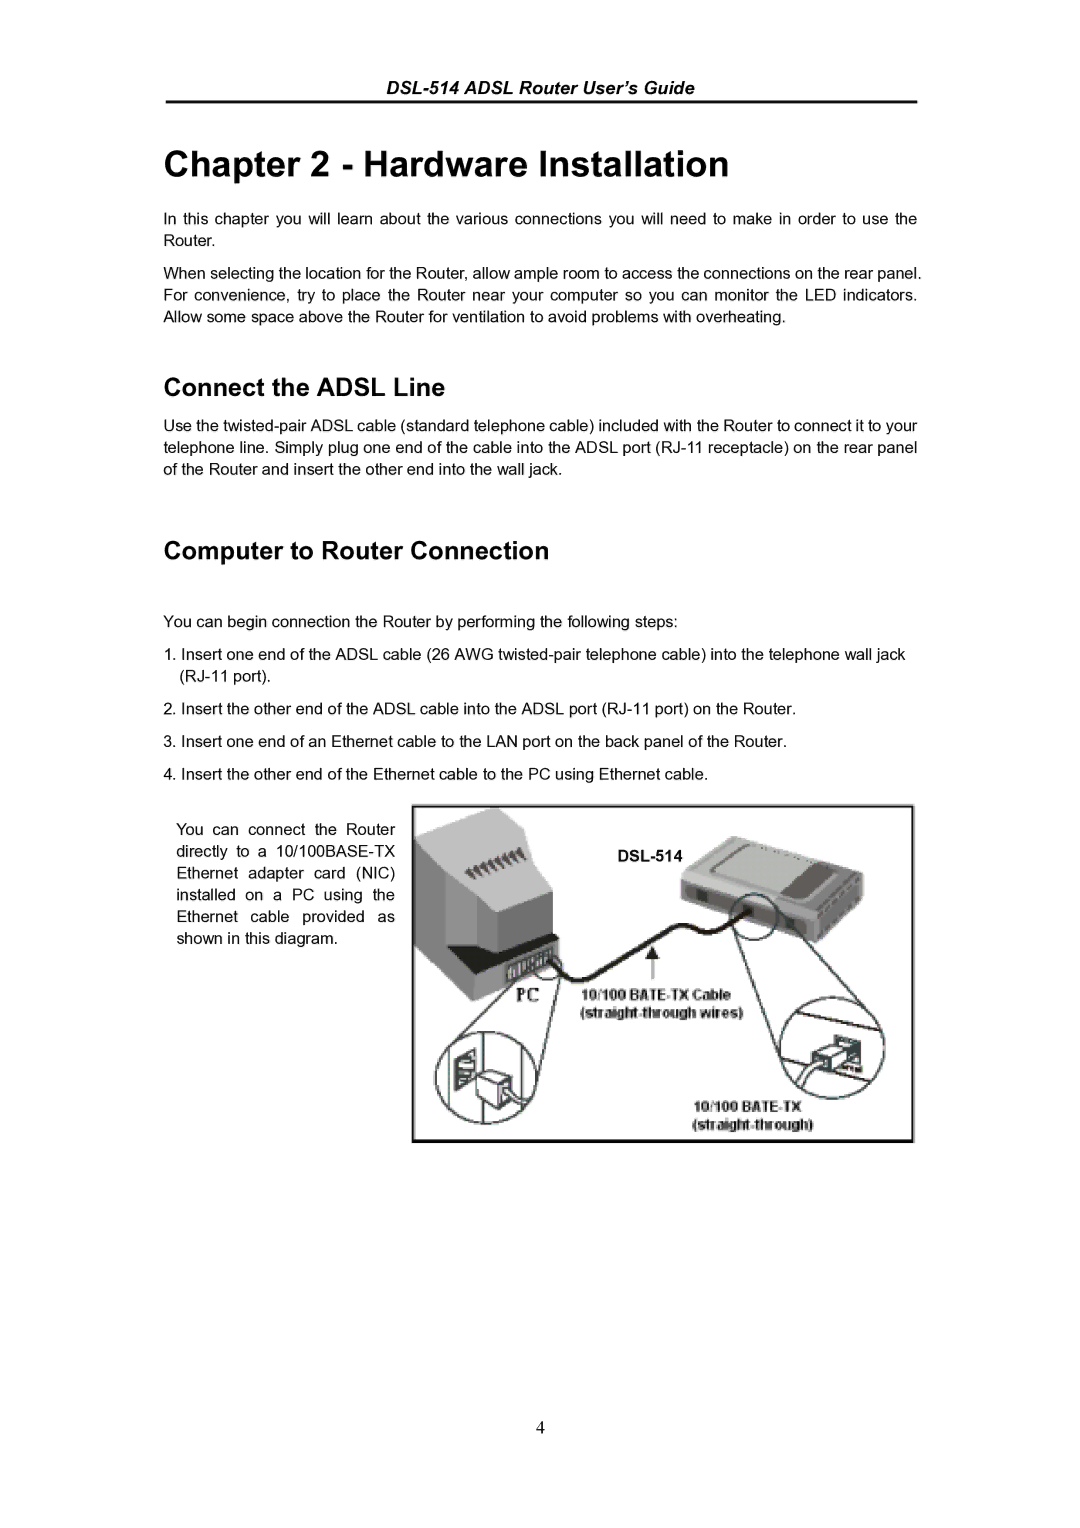
3.Insert one end of an Ethernet cable to the LAN port on the back panel of the Router.
4.Insert the other end of the Ethernet cable to the PC using Ethernet cable.
You can connect the Router |
|
directly to a |
|
Ethernet adapter card (NIC) installed on a PC using the Ethernet cable provided as shown in this diagram.
4
