946 specifications
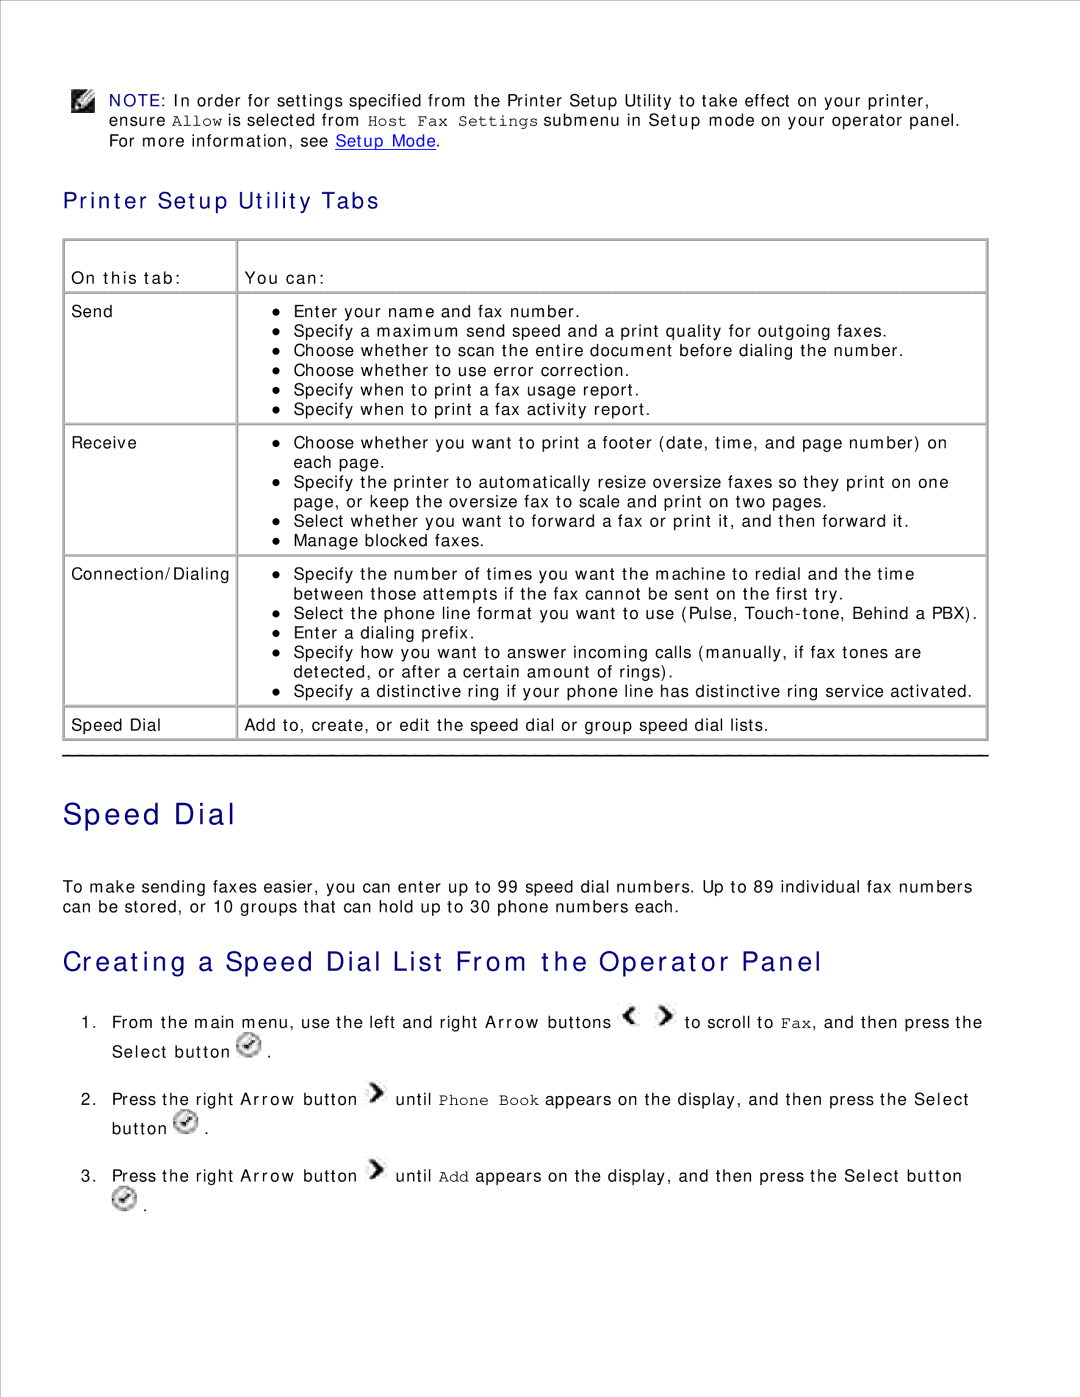
The Dell 946 is a versatile all-in-one printer that caters to both home and small office needs. Known for its robust performance, the Dell 946 is designed to deliver high-quality prints, scans, copies, and faxes, making it a multifaceted tool for users seeking efficiency and convenience.One of the standout features of the Dell 946 is its ability to produce high-resolution prints. With a maximum print resolution of up to 4800 x 1200 dpi, the printer is capable of delivering professional-quality images and documents, ensuring that every detail is crisp and clear. This makes it ideal for printing everything from simple text documents to vibrant photos. The printer supports various paper sizes and types, including glossy photo paper, envelopes, and labels, enhancing its versatility.
The Dell 946 employs advanced inkjet technology, which not only helps in achieving high-quality prints but also contributes to cost efficiency. The printer uses a multi-cartridge system that allows users to replace only the color that runs out, reducing wastage and lowering printing costs. Additionally, the printer features high-capacity ink cartridges that can yield a substantial number of pages before needing replacement, making it a practical option for those with high-volume printing needs.
In terms of connectivity, the Dell 946 offers a range of options to suit different user preferences. It is equipped with USB connectivity for direct connection to a computer, as well as support for network printing, allowing multiple users to access the printer from different devices. This is particularly useful in a shared office environment where efficiency is key.
The user-friendly interface of the Dell 946 includes an intuitive control panel, making it easy to navigate through various functions and settings. The large LCD screen provides clear visibility of printer status and configuration options. Furthermore, the printer’s compact design ensures that it fits seamlessly into any workspace, whether on a desk or a dedicated printer shelf.
In summary, the Dell 946 is a feature-rich all-in-one printer that combines high-quality printing, efficient ink usage, versatile connectivity options, and user-friendly design. It stands out as an excellent choice for individuals and small businesses alike, looking for a reliable printing solution that meets diverse needs. Whether for documents or photos, the Dell 946 is crafted to deliver performance and convenience.

