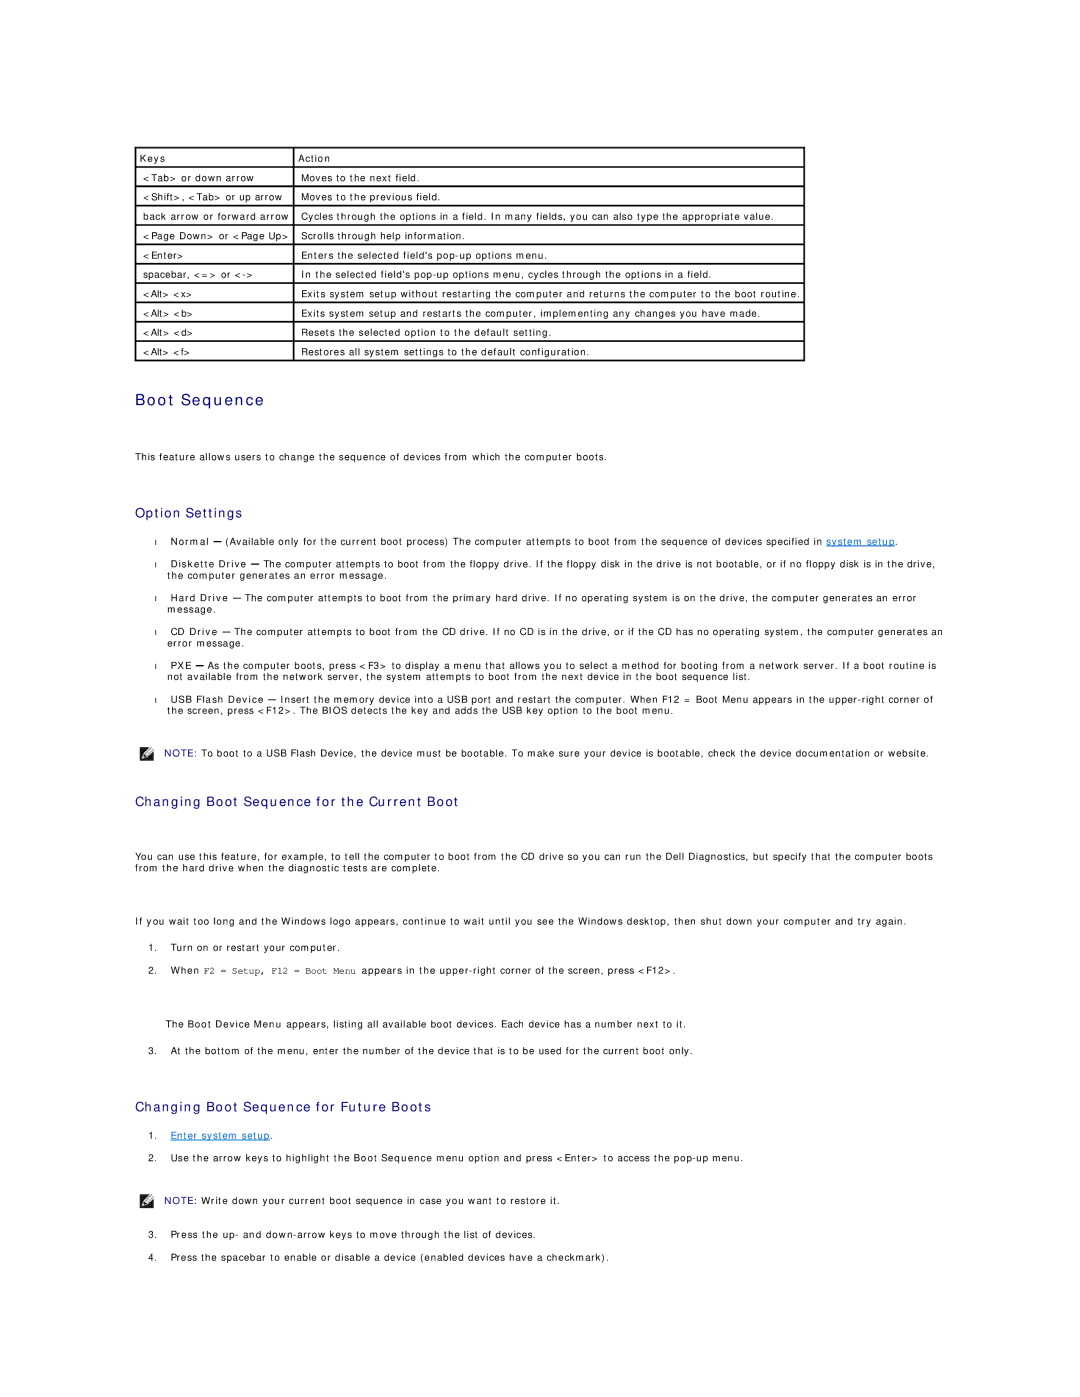
Keys

Action


<Tab> or down arrow

Moves to the next field.


<Shift>, <Tab> or up arrow

Moves to the previous field.


back arrow or forward arrow

Cycles through the options in a field. In many fields, you can also type the appropriate value.

<Page Down> or <Page Up>

Scrolls through help information.


<Enter>

Enters the selected field's pop-up options menu.


spacebar, <=> or <->

In the selected field's pop-up options menu, cycles through the options in a field.


<Alt> <x>

Exits system setup without restarting the computer and returns the computer to the boot routine.


<Alt> <b>

Exits system setup and restarts the computer, implementing any changes you have made.


<Alt> <d>

Resets the selected option to the default setting.


<Alt> <f>

Restores all system settings to the default configuration.


Boot Sequence

This feature allows users to change the sequence of devices from which the computer boots.

Option Settings

Normal — (Available only for the current boot process) The computer attempts to boot from the sequence of devices specified in system setup.

Diskette Drive — The computer attempts to boot from the floppy drive. If the floppy disk in the drive is not bootable, or if no floppy disk is in the drive, the computer generates an error message.

Hard Drive — The computer attempts to boot from the primary hard drive. If no operating system is on the drive, the computer generates an error message.

CD Drive — The computer attempts to boot from the CD drive. If no CD is in the drive, or if the CD has no operating system, the computer generates an error message.

PXE — As the computer boots, press <F3> to display a menu that allows you to select a method for booting from a network server. If a boot routine is not available from the network server, the system attempts to boot from the next device in the boot sequence list.

USB Flash Device — Insert the memory device into a USB port and restart the computer. When F12 = Boot Menu appears in the upper-right corner of the screen, press <F12>. The BIOS detects the key and adds the USB key option to the boot menu.

NOTE: To boot to a USB Flash Device, the device must be bootable. To make sure your device is bootable, check the device documentation or website.

Changing Boot Sequence for the Current Boot

You can use this feature, for example, to tell the computer to boot from the CD drive so you can run the Dell Diagnostics, but specify that the computer boots from the hard drive when the diagnostic tests are complete.

If you wait too long and the Windows logo appears, continue to wait until you see the Windows desktop, then shut down your computer and try again.

1.Turn on or restart your computer.

2.When F2 = Setup, F12 = Boot Menu appears in the upper-right corner of the screen, press <F12>.

The Boot Device Menu appears, listing all available boot devices. Each device has a number next to it.

3.At the bottom of the menu, enter the number of the device that is to be used for the current boot only.

Changing Boot Sequence for Future Boots

1.Enter system setup.

2.Use the arrow keys to highlight the Boot Sequence menu option and press <Enter> to access the pop-up menu.

NOTE: Write down your current boot sequence in case you want to restore it.

3.Press the up- and down-arrow keys to move through the list of devices.

4.Press the spacebar to enable or disable a device (enabled devices have a checkmark).

Page 13
Image 13
Dell GX60 manual Changing Boot Sequence for the Current Boot, Changing Boot Sequence for Future Boots, Keys Action

GX60 specifications

The Dell GX60, also known as the OptiPlex GX60, is a notable desktop computer introduced by Dell in the early 2000s. Designed primarily for business and educational environments, this model offers a blend of reliability, performance, and serviceability, making it a popular choice among institutions seeking robust computing solutions.

One of the key features of the Dell GX60 is its Intel processor architecture. Typically equipped with Intel Pentium 4 processors, the GX60 allows users to experience decent processing power suitable for day-to-day tasks. In its various configurations, users could find processors ranging from 1.6 GHz up to faster options, enabling smooth multitasking while running essential applications for business operations.

The GX60 also supports a versatile memory configuration, accommodating DDR SDRAM with capacities that typically range up to 2GB. This memory capacity allows for improved performance when running multiple applications simultaneously, which is crucial in a business setting. The ability to upgrade memory provides longer life to the system, making it adaptable to growing organizational needs.

In terms of storage, the GX60 features IDE hard drives, which typically range from 40GB to 160GB. This storage capability is adequate for standard office applications, file storage, and limited multimedia content. Additionally, users can enhance their setups with optional CD or DVD drives, offering data access and media playback capabilities.

The design of the Dell GX60 prioritizes ease of access and serviceability. Its chassis allows for straightforward hardware upgrades, including hard drives and memory modules. This tool-less design is particularly beneficial in corporate settings where IT departments maintain multiple systems.

Connectivity options on the GX60 include USB 1.1 and 2.0 ports, serial and parallel ports, as well as audio jacks. This range of ports ensures compatibility with various peripheral devices such as printers, scanners, and external storage solutions, making it a flexible option for office work.

Overall, the Dell GX60 combines essential features that cater to business needs. Its reliable performance, extensible design, and multiple connectivity options help organizations leverage technology for increased productivity. While it may be regarded as a vintage model today, the GX60 laid the groundwork for many advancements in desktop computing, showcasing how far technology has evolved in just a couple of decades.