GX60 specifications
The Dell GX60, also known as the OptiPlex GX60, is a notable desktop computer introduced by Dell in the early 2000s. Designed primarily for business and educational environments, this model offers a blend of reliability, performance, and serviceability, making it a popular choice among institutions seeking robust computing solutions.One of the key features of the Dell GX60 is its Intel processor architecture. Typically equipped with Intel Pentium 4 processors, the GX60 allows users to experience decent processing power suitable for day-to-day tasks. In its various configurations, users could find processors ranging from 1.6 GHz up to faster options, enabling smooth multitasking while running essential applications for business operations.
The GX60 also supports a versatile memory configuration, accommodating DDR SDRAM with capacities that typically range up to 2GB. This memory capacity allows for improved performance when running multiple applications simultaneously, which is crucial in a business setting. The ability to upgrade memory provides longer life to the system, making it adaptable to growing organizational needs.
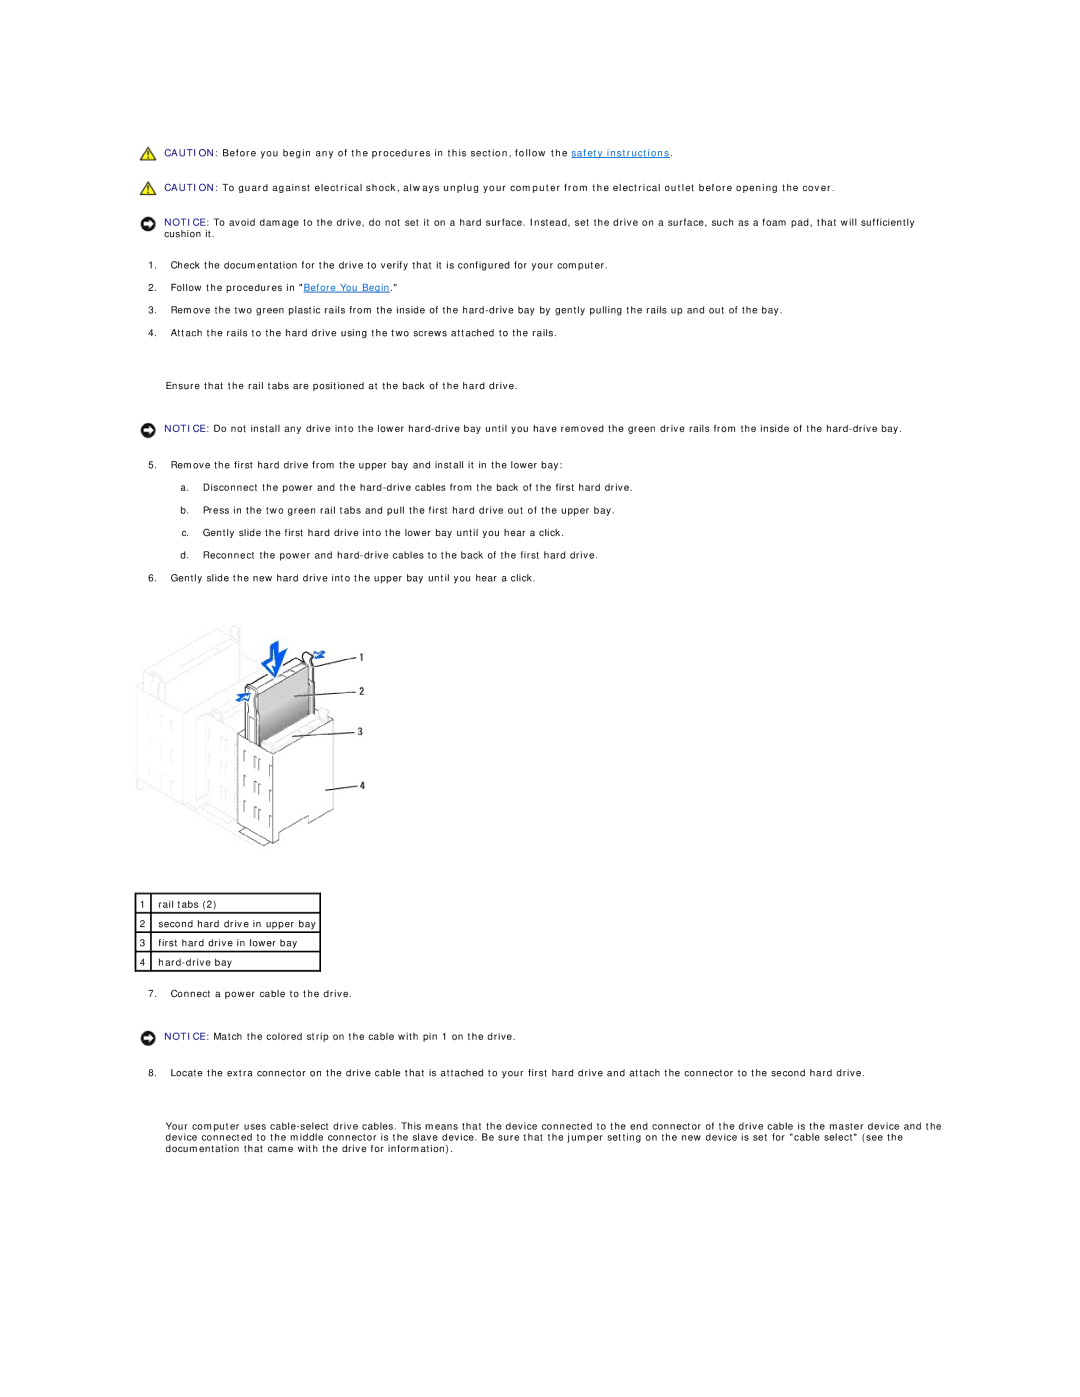
In terms of storage, the GX60 features IDE hard drives, which typically range from 40GB to 160GB. This storage capability is adequate for standard office applications, file storage, and limited multimedia content. Additionally, users can enhance their setups with optional CD or DVD drives, offering data access and media playback capabilities.
The design of the Dell GX60 prioritizes ease of access and serviceability. Its chassis allows for straightforward hardware upgrades, including hard drives and memory modules. This tool-less design is particularly beneficial in corporate settings where IT departments maintain multiple systems.
Connectivity options on the GX60 include USB 1.1 and 2.0 ports, serial and parallel ports, as well as audio jacks. This range of ports ensures compatibility with various peripheral devices such as printers, scanners, and external storage solutions, making it a flexible option for office work.
Overall, the Dell GX60 combines essential features that cater to business needs. Its reliable performance, extensible design, and multiple connectivity options help organizations leverage technology for increased productivity. While it may be regarded as a vintage model today, the GX60 laid the groundwork for many advancements in desktop computing, showcasing how far technology has evolved in just a couple of decades.

