15.In the Ready to Complete window, review the selected options for the OVF deployment task and click Finish. The deployment job runs and provides a completion status window where you can track job progress.
Registering OpenManage Integration for VMware vCenter and Importing The License File
This procedure assumes that you have received the licenses in the form of an
download_software@dell.com. If you have more than one license, you can add the licenses one after another. The license file is available as an XML format file.
NOTE: If you want to upload a custom certificate for your appliance, you must upload the new certificate prior to vCenter registration. If you upload the new custom certificate after vCenter registration, communication errors are displayed in the Web client. To fix this issue, you must unregister and reregister the appliance with the vCenter.
1.From the vSphere Web Client, click Home → Hosts and Clusters, then in the left panel, locate the OpenManage Integration just deployed, and then click Power on the virtual machine. During Deployment, if you select the Power on after Deployment check box, the VM will be turned on automatically after deployment.
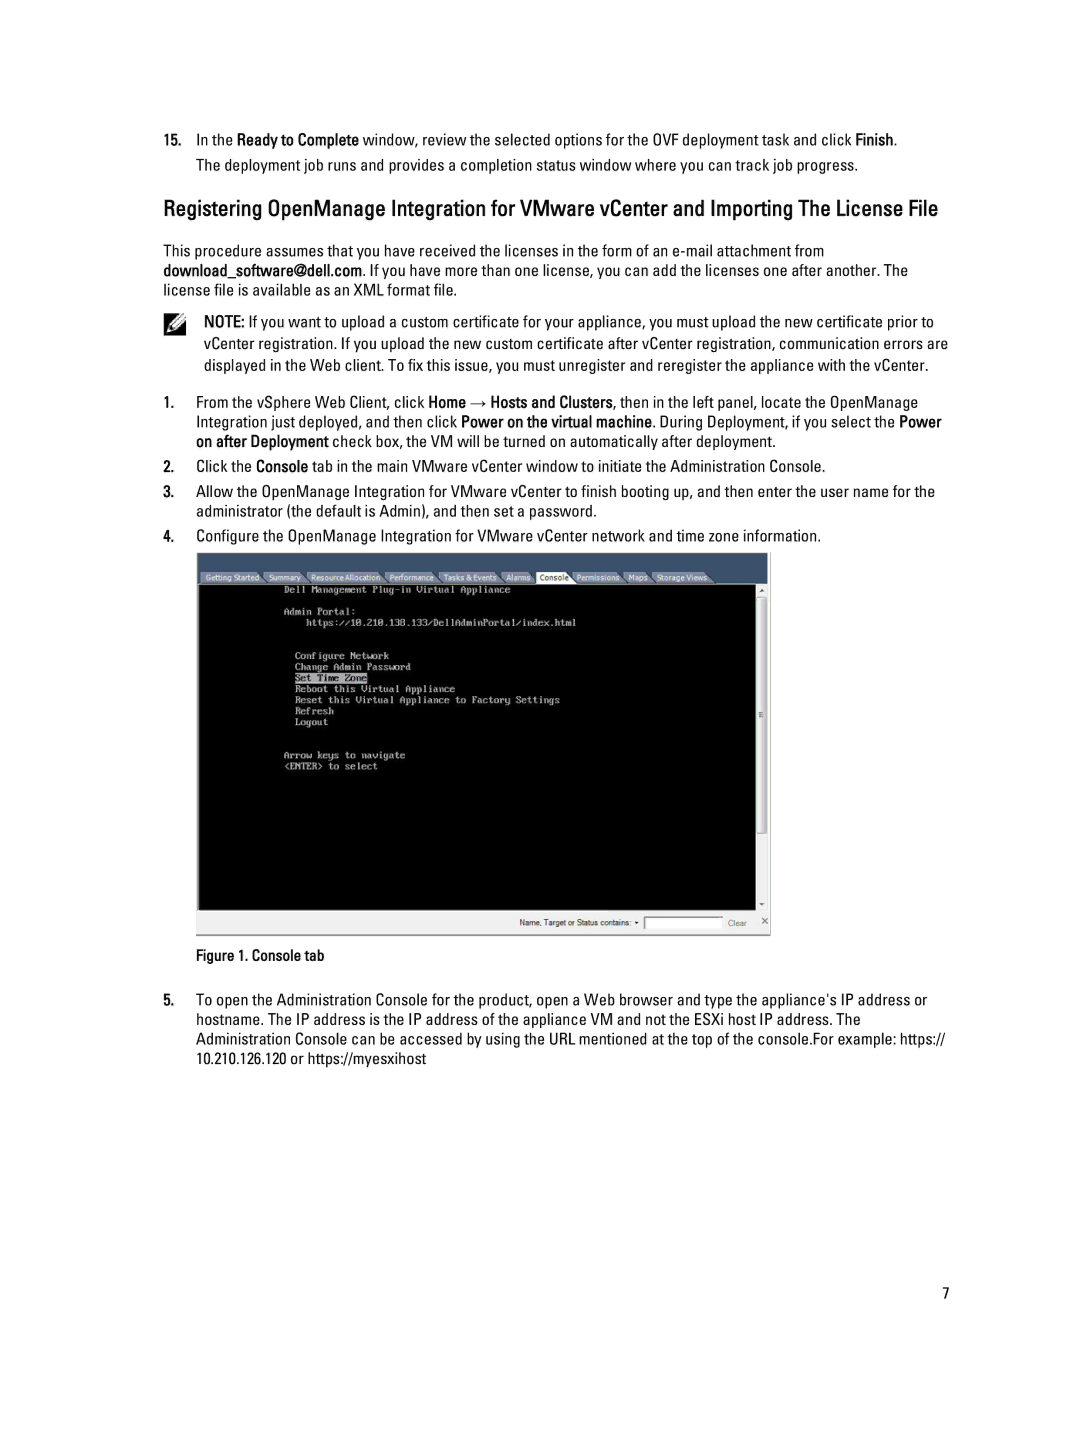
2.Click the Console tab in the main VMware vCenter window to initiate the Administration Console.
3.Allow the OpenManage Integration for VMware vCenter to finish booting up, and then enter the user name for the administrator (the default is Admin), and then set a password.
4.Configure the OpenManage Integration for VMware vCenter network and time zone information.
Figure 1. Console tab
5.To open the Administration Console for the product, open a Web browser and type the appliance's IP address or hostname. The IP address is the IP address of the appliance VM and not the ESXi host IP address. The Administration Console can be accessed by using the URL mentioned at the top of the console.For example: https:// 10.210.126.120 or https://myesxihost
7
