ASSEMBLING MITER GAGE
DISCONNECT MACHINE FROM
POWER SOURCE
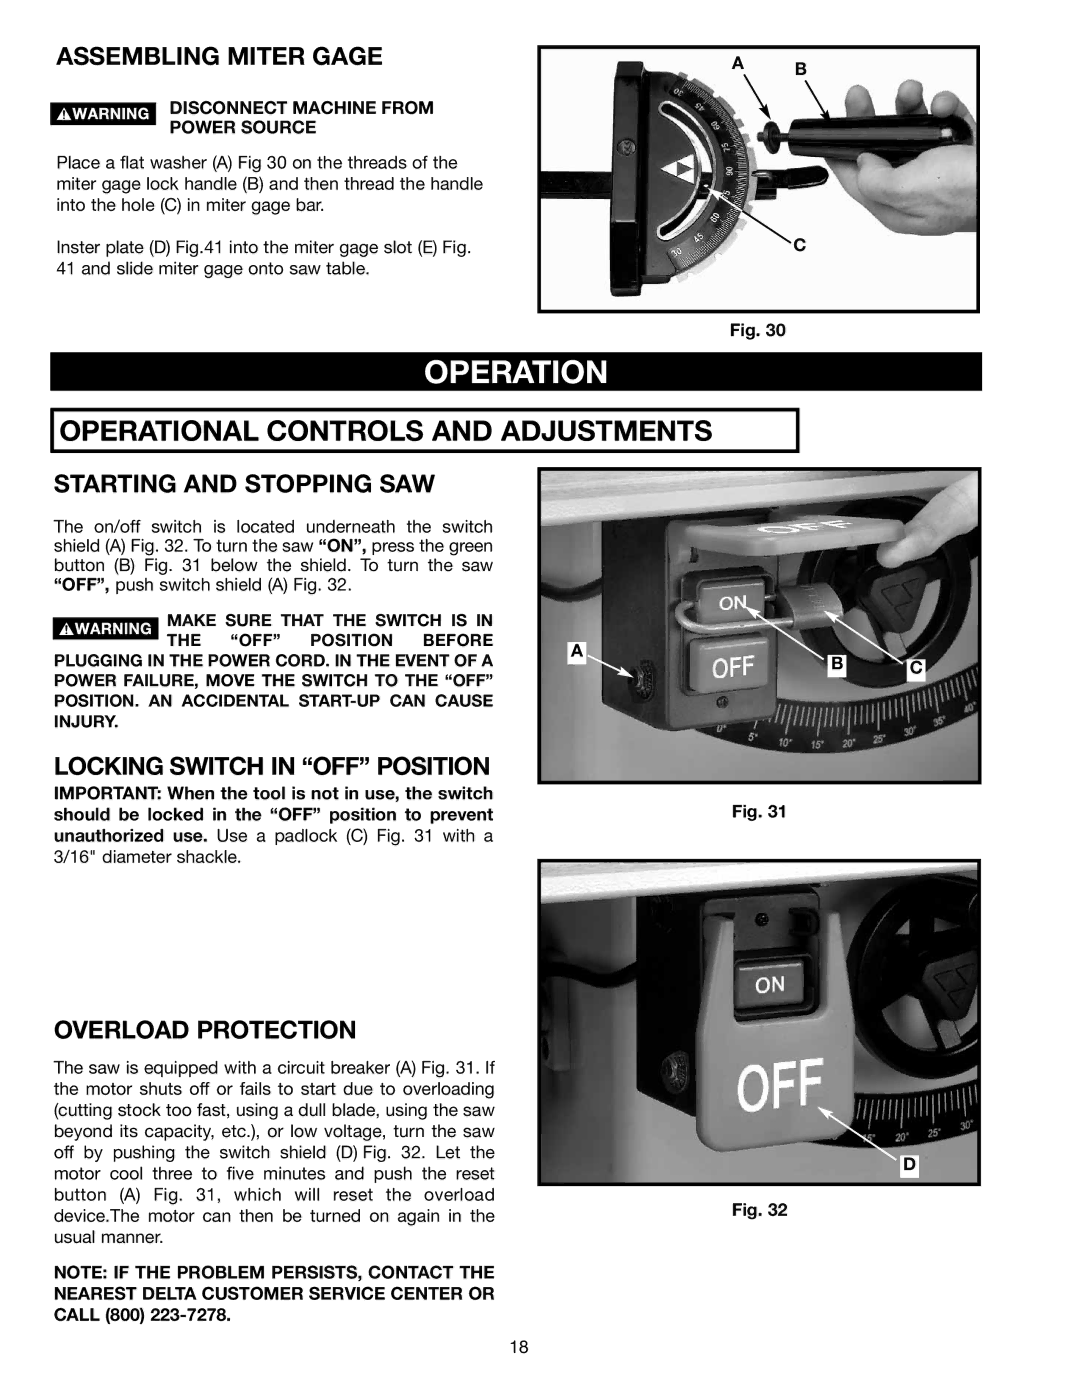
Place a flat washer (A) Fig 30 on the threads of the miter gage lock handle (B) and then thread the handle into the hole (C) in miter gage bar.
Inster plate (D) Fig.41 into the miter gage slot (E) Fig. 41 and slide miter gage onto saw table.
A B
C
Fig. 30
OPERATION
OPERATIONAL CONTROLS AND ADJUSTMENTS
STARTING AND STOPPING SAW
The on/off switch is located underneath the switch shield (A) Fig. 32. To turn the saw “ON”, press the green button (B) Fig. 31 below the shield. To turn the saw “OFF”, push switch shield (A) Fig. 32.
MAKE SURE THAT THE SWITCH IS IN
THE “OFF” POSITION BEFORE PLUGGING IN THE POWER CORD. IN THE EVENT OF A POWER FAILURE, MOVE THE SWITCH TO THE “OFF” POSITION. AN ACCIDENTAL
LOCKING SWITCH IN “OFF” POSITION
IMPORTANT: When the tool is not in use, the switch should be locked in the “OFF” position to prevent unauthorized use. Use a padlock (C) Fig. 31 with a 3/16" diameter shackle.
OVERLOAD PROTECTION
The saw is equipped with a circuit breaker (A) Fig. 31. If the motor shuts off or fails to start due to overloading (cutting stock too fast, using a dull blade, using the saw beyond its capacity, etc.), or low voltage, turn the saw off by pushing the switch shield (D) Fig. 32. Let the motor cool three to five minutes and push the reset button (A) Fig. 31, which will reset the overload device.The motor can then be turned on again in the usual manner.
NOTE: IF THE PROBLEM PERSISTS, CONTACT THE NEAREST DELTA CUSTOMER SERVICE CENTER OR CALL (800)
A
B C
Fig. 31
D
Fig. 32
18