R18448, R18224 specifications
Delta R18224 and R18448 are two innovative residential air conditioning units that reflect advancements in HVAC technology and energy efficiency. Designed for both comfort and performance, these models are tailored to meet the diverse needs of homeowners.Starting with the Delta R18224, this air conditioner boasts an impressive cooling capacity of 18,000 BTUs, making it suitable for larger rooms or open-concept spaces. One of its standout features is the environmentally friendly refrigerant R-410A, which is not only effective in cooling but also has a lower impact on the ozone layer compared to older refrigerants. This model incorporates variable speed inverter technology, allowing it to adjust its compressor speed for optimal cooling and energy savings. The result is a unit that provides consistent temperatures while significantly reducing energy consumption compared to traditional systems.
Similarly, the Delta R18448 offers an even more powerful performance, with a cooling capacity of 24,000 BTUs, catering to even larger spaces or more demanding cooling requirements. This unit also utilizes R-410A refrigerant and features advanced inverter technology. The quiet operation of both models is another notable characteristic, ensuring a peaceful indoor environment, whether during the day or at night.
Both units come equipped with smart connectivity options, allowing homeowners to control their air conditioning systems remotely through a dedicated app. This feature enhances user convenience by providing real-time monitoring and control over temperature settings and operational modes from anywhere.
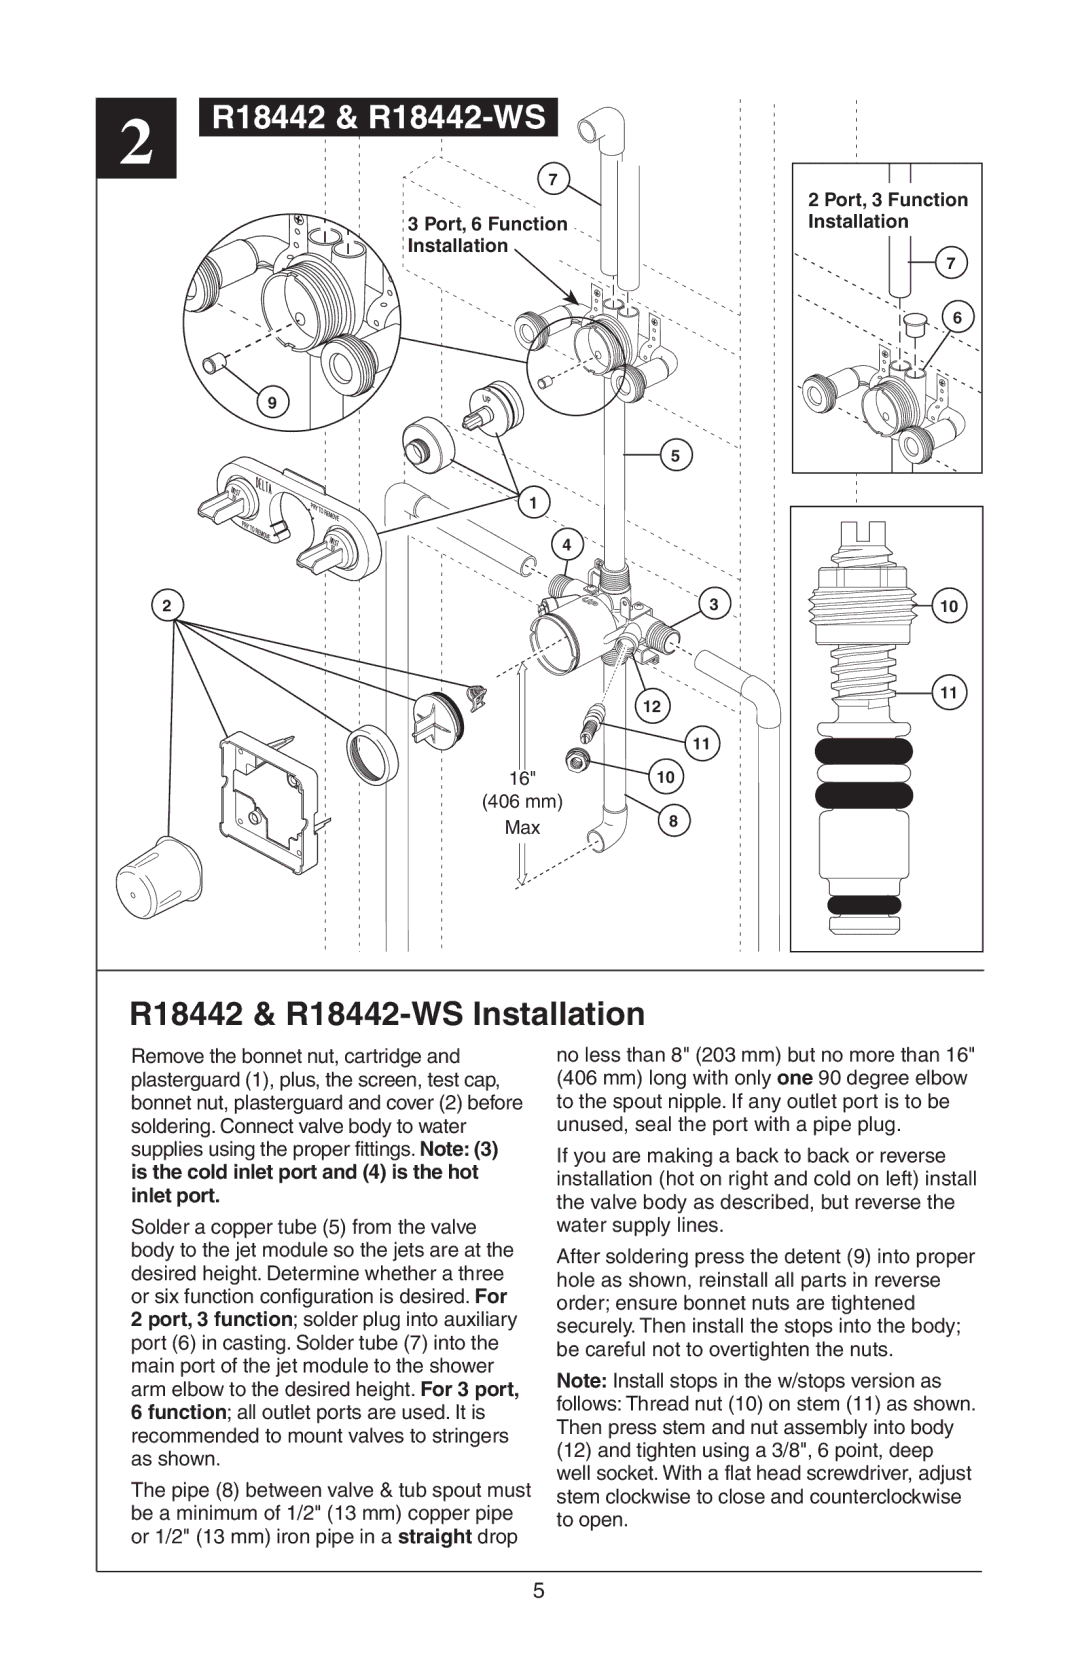
In terms of installation, both models are designed with user-friendliness in mind. Their compact size allows for flexible placement, and clear instructions streamline the installation process. Furthermore, both R18224 and R18448 incorporate a robust air filtration system that improves indoor air quality by capturing dust, pollen, and other allergens.
In conclusion, Delta R18224 and R18448 stand out as efficient, powerful, and user-friendly air conditioning solutions. With their emphasis on modern technology and eco-friendliness, they are ideal choices for homeowners seeking to enhance their indoor comfort while being mindful of energy consumption and environmental impact.

