OPTION menu
Item
Description
| This item is to assign one of the following functions to the MY |
| BUTTON 1/2 on the remote control (6). |
| (1) Use the ▲/▼ cursor buttons on the MY BUTTON menu to select |
| a MY BUTTON - (1/2) and press the ► cursor (or the ENTER) |
| button to display the MY BUTTON setup dialog. |
| (2) Then using the ▲/▼/◄/► cursor buttons sets one of the |
| following functions to the chosen button. Press the ENTER (or |
| the INPUT) button to save the setting. |
| • COMPUTER IN1: Sets port to the COMPUTER IN1. |
| • COMPUTER IN2: Sets port to the COMPUTER IN2. |
| • |
| • VIDEO: Sets port to the VIDEO. |
| • INFORMATION: Displays the INPUT_INFORMATION (46) or |
| the SYSTEM_INFORMATION or nothing. |
| • MY MEMORY: Loads one of adjustment data stored (28). |
| When more than one data are saved, the adjustment |
| changes every time the MY BUTTON is pressed. |
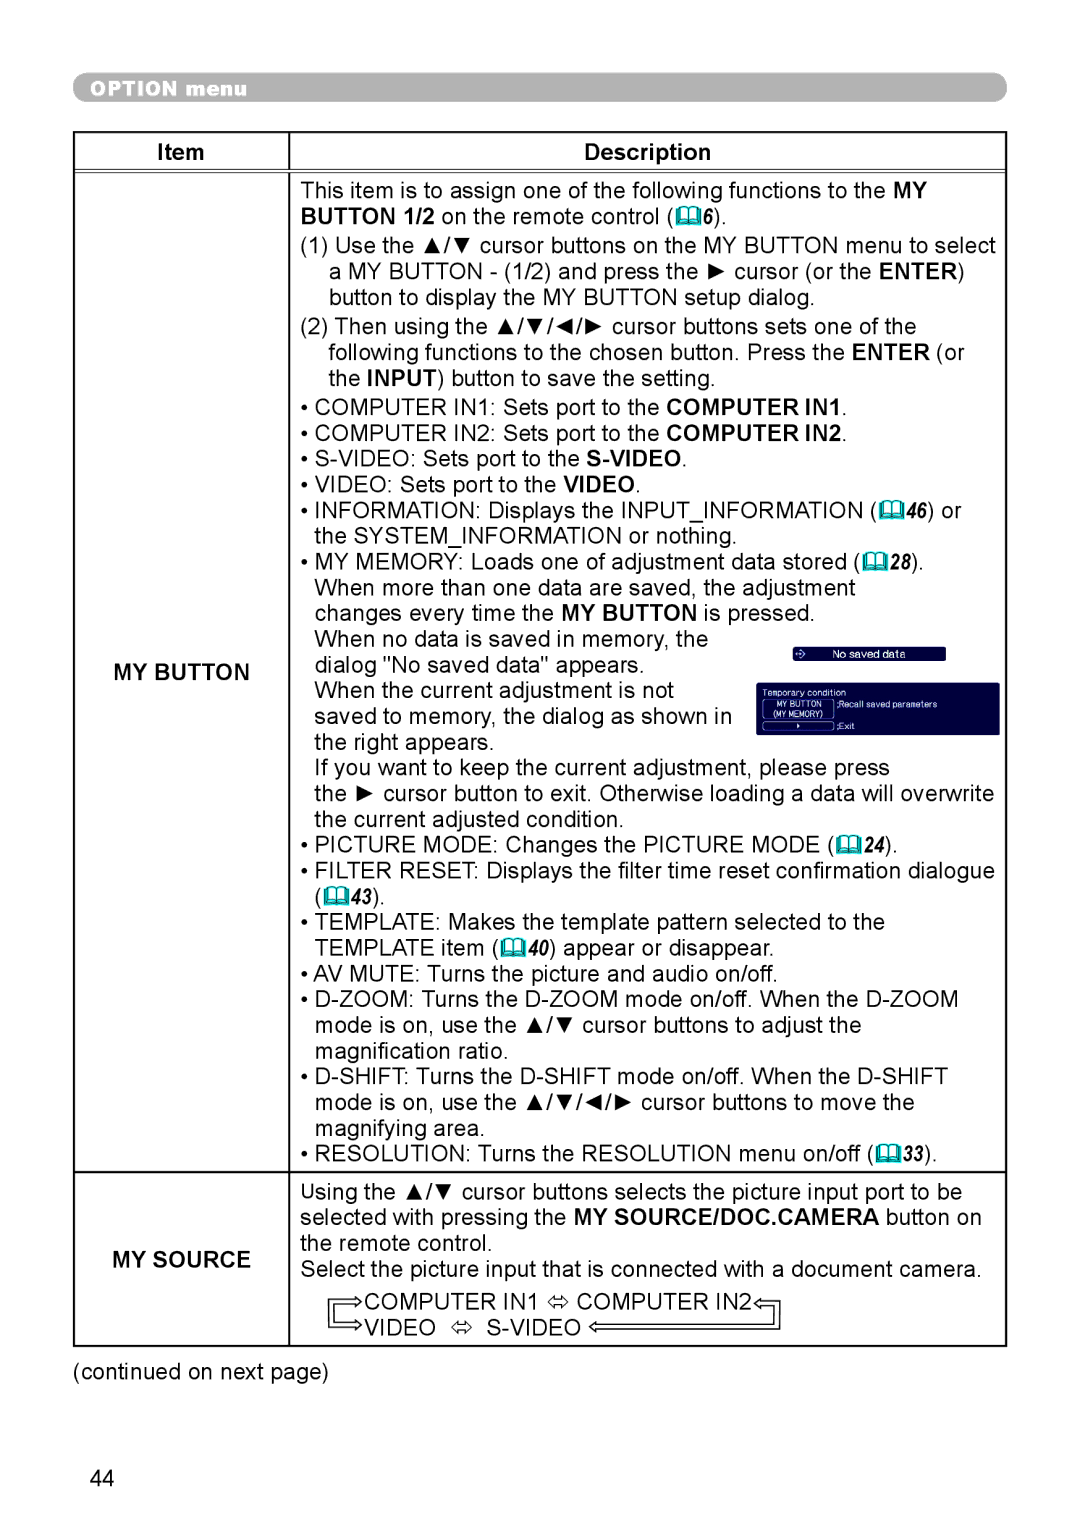
| When no data is saved in memory, the |
MY BUTTON | dialog "No saved data" appears. |
| When the current adjustment is not |
| saved to memory, the dialog as shown in |
| the right appears. |
| If you want to keep the current adjustment, please press |
| the ► cursor button to exit. Otherwise loading a data will overwrite |
| the current adjusted condition. |
•PICTURE MODE: Changes the PICTURE MODE (24).
•FILTER RESET: Displays the filter time reset confirmation dialogue
(43).
•TEMPLATE: Makes the template pattern selected to the TEMPLATE item (40) appear or disappear.
•AV MUTE: Turns the picture and audio on/off.
•
•
•RESOLUTION: Turns the RESOLUTION menu on/off (33).
| Using the ▲/▼ cursor buttons selects the picture input port to be | |
| selected with pressing the MY SOURCE/DOC.CAMERA button on | |
MY SOURCE | the remote control. | |
Select the picture input that is connected with a document camera. | ||
| ||
| COMPUTER IN1 ó COMPUTER IN2 | |
| VIDEO ó | |
(continued on next page) | ||
44