|
| 12 |
|
|
|
|
|
| Understanding the basics |
|
| ||
|
|
|
|
|
|
|
Notes:
Depending on the signal source selected, you may see different options on your screen. The above menus are shown in TV mode.
Menu items that are not selectable are grayed out. Menus in this manual are described in TV mode, unless otherwise indicated.
The illustrations and screens shown in the manual are for explanation purposes and may vary from the actual screens on your TV.
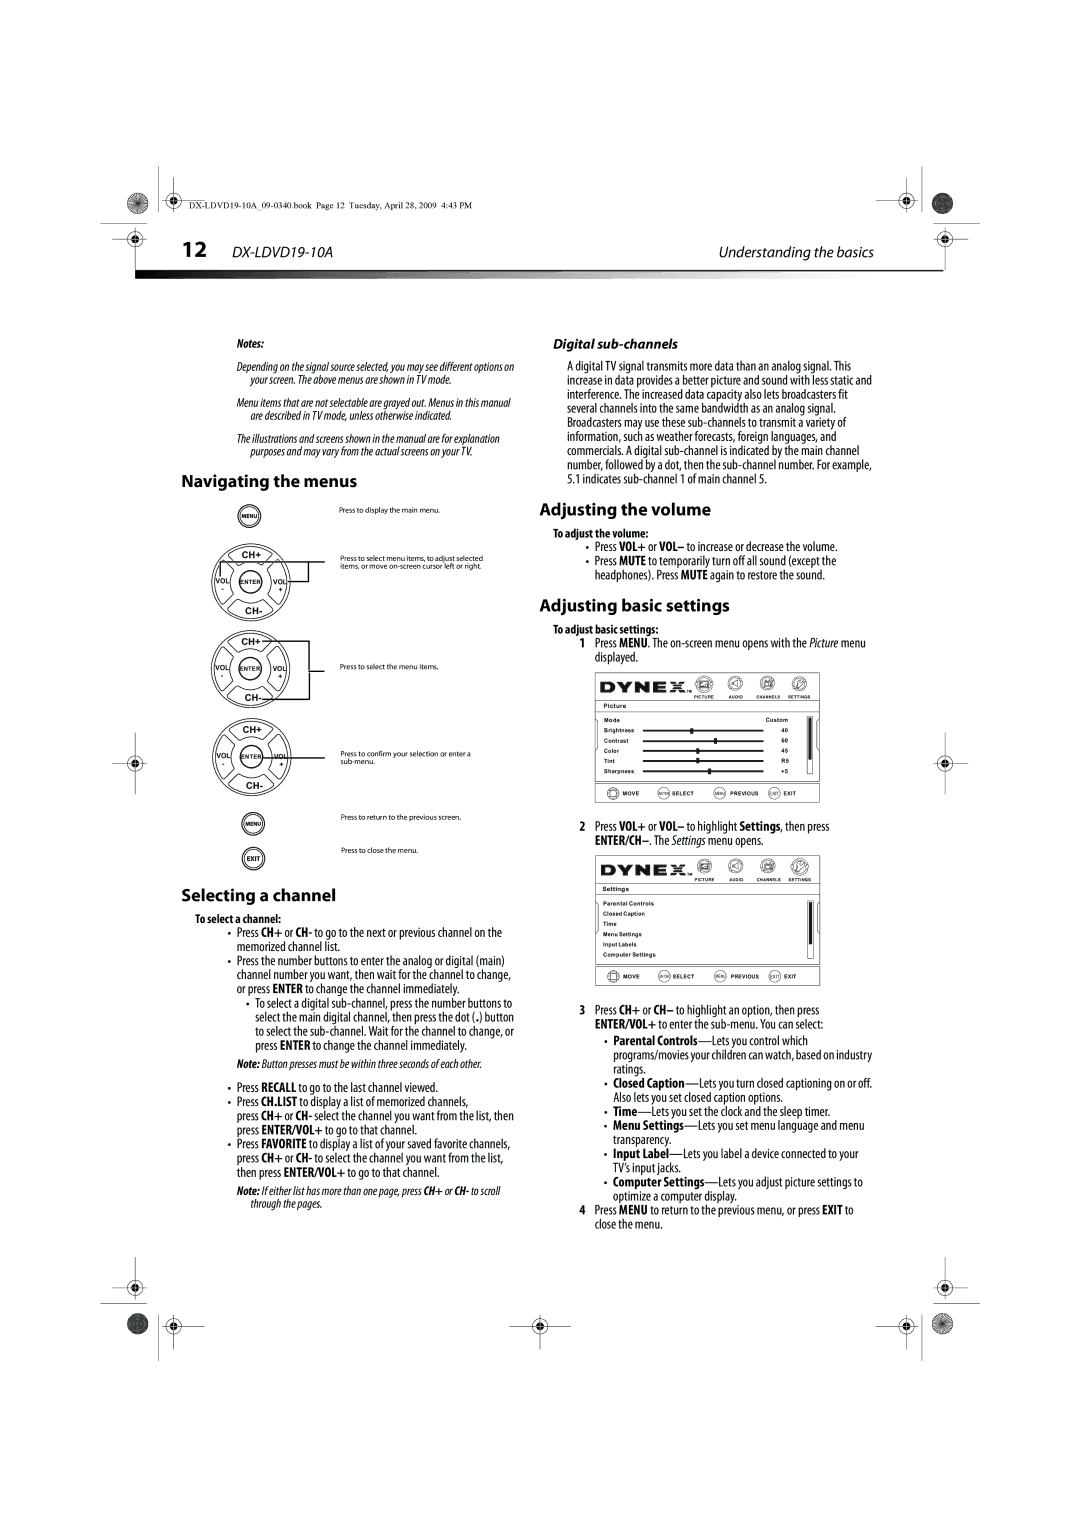
Navigating the menus
| Press to display the main menu. |
CH+ | Press to select menu items, to adjust selected |
| items, or move |
VOL ENTER VOL
-+
Digital sub-channels
A digital TV signal transmits more data than an analog signal. This increase in data provides a better picture and sound with less static and interference. The increased data capacity also lets broadcasters fit several channels into the same bandwidth as an analog signal. Broadcasters may use these
Adjusting the volume
To adjust the volume:
•Press VOL+ or VOL– to increase or decrease the volume.
•Press MUTE to temporarily turn off all sound (except the headphones). Press MUTE again to restore the sound.
CH-
CH+
VOL ENTER VOL
-+
CH-
CH+
VOL ENTER VOL
-+
CH-
Press to select the menu items.
Press to confirm your selection or enter a
Press to return to the previous screen.
Press to close the menu.
Adjusting basic settings
To adjust basic settings:
1Press MENU. The
|
|
| PICTURE | AUDIO | CHANNELS | SETTINGS |
Picture |
|
|
|
|
| |
Mode |
|
|
| Custom | ||
Brightness |
|
|
|
| 40 | |
Contrast |
|
|
|
| 60 | |
Color |
|
|
|
| 45 | |
Tint |
|
|
|
|
| R5 |
Sharpness |
|
|
|
| +5 | |
CH+ | + MOVE | ENTER SELECT | MENU | PREVIOUS EXIT | EXIT | |
- | ||||||
VOL | VOL |
|
|
|
|
|
CH-
2Press VOL+ or VOL– to highlight Settings, then press
Selecting a channel
To select a channel:
•Press CH+ or CH- to go to the next or previous channel on the memorized channel list.
•Press the number buttons to enter the analog or digital (main) channel number you want, then wait for the channel to change, or press ENTER to change the channel immediately.
•To select a digital
Note: Button presses must be within three seconds of each other.
•Press RECALL to go to the last channel viewed.
•Press CH.LIST to display a list of memorized channels,
press CH+ or CH- select the channel you want from the list, then press ENTER/VOL+ to go to that channel.
•Press FAVORITE to display a list of your saved favorite channels, press CH+ or CH- to select the channel you want from the list, then press ENTER/VOL+ to go to that channel.
Note: If either list has more than one page, press CH+ or CH- to scroll through the pages.
|
|
| PICTURE | AUDIO | CHANNELS | SETTINGS | |
Settings |
|
|
|
|
|
| |
Parental Controls |
|
|
|
|
|
| |
Closed Caption |
|
|
|
|
|
| |
Time |
|
|
|
|
|
|
|
Menu Settings |
|
|
|
|
|
| |
Input Labels |
|
|
|
|
|
| |
Computer Settings |
|
|
|
|
|
| |
CH+ | + MOVE | ENTER SELECT | MENU | PREVIOUS | EXIT | EXIT | |
- | |||||||
VOL | VOL |
|
|
|
|
|
|
CH-
3Press CH+ or CH– to highlight an option, then press ENTER/VOL+ to enter the
•Parental
•Closed
•
•Menu
•Input
•Computer
optimize a computer display.
4Press MENU to return to the previous menu, or press EXIT to close the menu.