|
| 14 |
|
|
|
|
|
| Adjusting the sound |
|
| ||
|
|
|
|
|
|
|
• | • |
• | stereo. |
• | • |
• Reset Computer | program, if available. |
factory default | • Audio |
6 Press MENU to return to the previous menu, or press EXIT to | alternate audio language, if available. May include English, |
close the menu. | French, or Spanish. |
| • Auto Volume— Equalizes the overall volume levels for all |
Adjusting the sound | channels. |
• Reset Audio | |
default. | |
Adjusting the sound | 4 Press MENU to return to the previous menu, or press EXIT to |
close the menu. | |
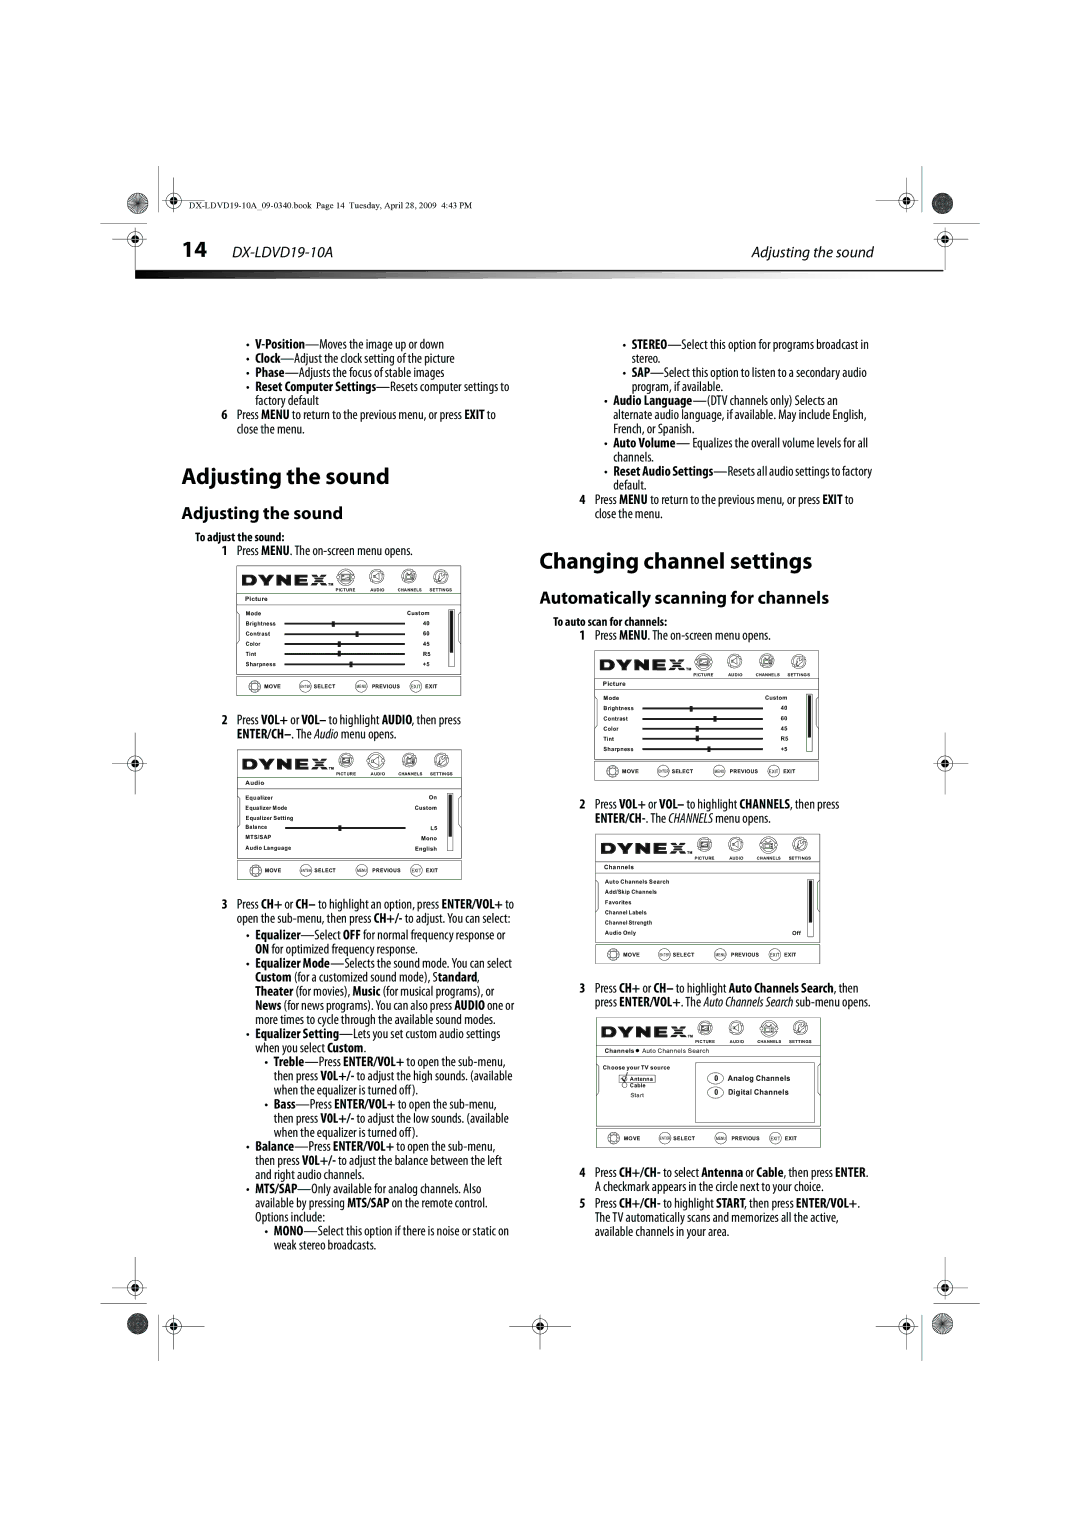
To adjust the sound: |
|
1Press MENU. The
|
|
| PICTURE | AUDIO | CHANNELS | SETTINGS |
Picture |
|
|
|
|
| |
Mode |
|
|
| Custom | ||
Brightness |
|
|
|
| 40 | |
Contrast |
|
|
|
| 60 | |
Color |
|
|
|
| 45 | |
Tint |
|
|
|
|
| R5 |
Sharpness |
|
|
|
| +5 | |
CH+ | + MOVE | ENTER SELECT | MENU | PREVIOUS EXIT | EXIT | |
- | ||||||
VOL | VOL |
|
|
|
|
|
CH-
2Press VOL+ or VOL– to highlight AUDIO, then press
PICTURE AUDIO CHANNELS SETTINGS
Changing channel settings
Automatically scanning for channels
To auto scan for channels:
1Press MENU. The
|
|
| PICTURE | AUDIO | CHANNELS | SETTINGS |
Picture |
|
|
|
|
| |
Mode |
|
|
| Custom | ||
Brightness |
|
|
|
| 40 | |
Contrast |
|
|
|
| 60 | |
Color |
|
|
|
| 45 | |
Tint |
|
|
|
|
| R5 |
Sharpness |
|
|
|
| +5 | |
CH+ | + MOVE | ENTER SELECT | MENU | PREVIOUS EXIT | EXIT | |
- | ||||||
VOL | VOL |
|
|
|
|
|
CH-
Audio
Equalizer |
| On | |
Equalizer Mode |
| Custom | |
Equalizer Setting |
|
| |
Balance |
|
| L5 |
|
| ||
|
| ||
MTS/SAP |
| Mono | |
Audio Language |
| English | |
2Press VOL+ or VOL– to highlight CHANNELS, then press
PICTURE AUDIO CHANNELS SETTINGS
| CH+ | MOVE | ENTER SELECT | MENU PREVIOUS | EXIT EXIT |
- | + | ||||
VOL | VOL |
|
|
| |
CH-
3Press CH+ or CH– to highlight an option, press ENTER/VOL+ to open the
•
•Equalizer
•Equalizer
•
•
•
•
•
Channels
Auto Channels Search
Add/Skip Channels
Favorites
Channel Labels
Channel Strength
Audio Only |
|
| Off | ||
| CH+ | MOVE | ENTER SELECT | MENU PREVIOUS | EXIT EXIT |
- | + | ||||
VOL | VOL |
|
|
|
|
CH-
3Press CH+ or CH– to highlight Auto Channels Search, then press ENTER/VOL+. The Auto Channels Search
|
|
|
| PICTURE | AUDIO | CHANNELS | SETTINGS |
Channels | Auto Channels Search |
|
|
| |||
Choose your TV source |
|
|
|
| |||
|
| Antenna | 0 | Analog Channels | |||
|
| Cable | 0 | Digital Channels | |||
|
| Start | |||||
| CH+ | MOVE | ENTER SELECT | MENU | PREVIOUS EXIT | EXIT | |
- | + | ||||||
VOL | VOL |
|
|
|
|
|
|
CH-
4Press CH+/CH- to select Antenna or Cable, then press ENTER. A checkmark appears in the circle next to your choice.
5Press CH+/CH- to highlight START, then press ENTER/VOL+. The TV automatically scans and memorizes all the active, available channels in your area.