Setting up the Projector
Setting up the Projector
For optimal image quality, position the projector perpendicular to the screen with the projector’s feet flat and level. Doing so will eliminate the need for Keystone correction and provide the best image quality. (See page 33.)
Standard Setup (Front Projection)
■Place the projector at the required distance from the screen according to the desired picture size. (See page 20.)
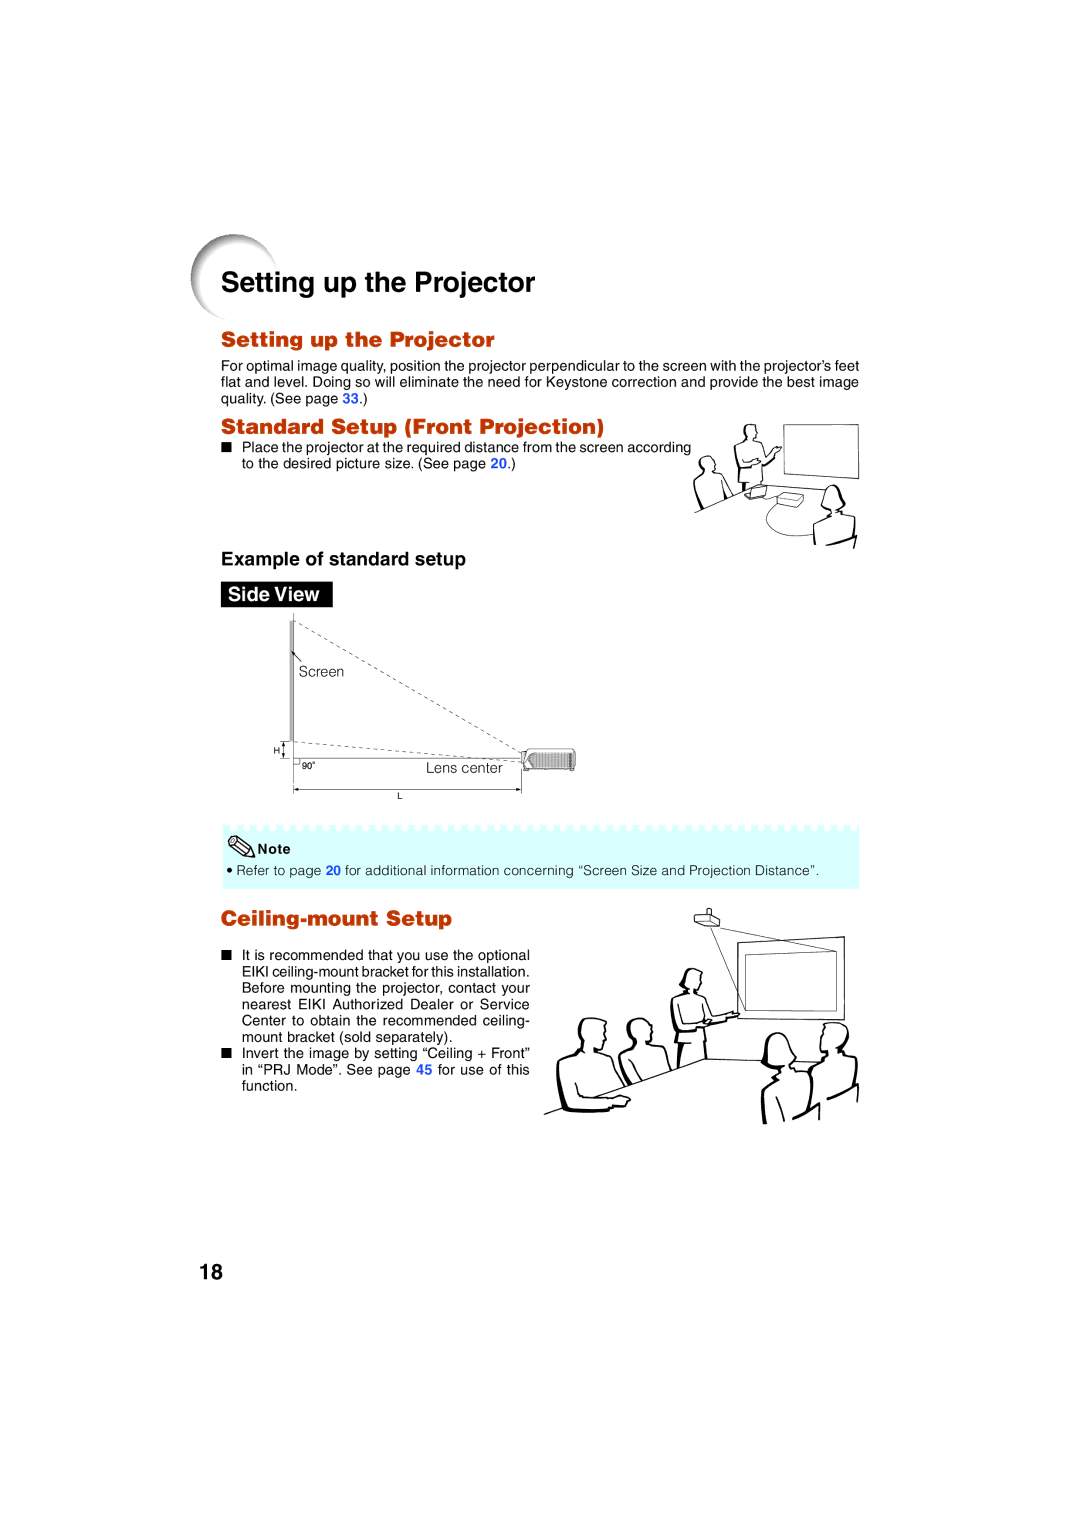
Example of standard setup
Side View
H
Screen
Lens center
L
![]() Note
Note
• Refer to page 20 for additional information concerning “Screen Size and Projection Distance”.
Ceiling-mount Setup
■It is recommended that you use the optional EIKI
Center to obtain the recommended ceiling- mount bracket (sold separately).
■Invert the image by setting “Ceiling + Front”
in “PRJ Mode”. See page 45 for use of this function.
18