Setting up the Projector Network Environment (“Network” menu) (Continued)
2DHCP Client Setting
Connect the LAN cable before turning the pro- jector on. If not, the DHCP Client function does not work.
Selectable items | Description |
|
|
On | Obtains configuration |
| parameters for TCP/IP network |
| automatically. |
|
|
Off | Sets the TCP/IP manually. |
|
|
Select “On” for “DHCP Client”, then press hENTER. “Obtaining IP Address...” appears, then the menu screen appears. Confirm the pa- rameters of IP Address, Subnet Mask and Gate- way on the TCP/IP screen.
If the DHCP server is not available, “Could not obtain IP Address.” appears.
In this case, set the TCP/IP manually. (See the item 3.)
3TCP/IP Setting
Set the TCP/IP manually.
Selectable items | Description |
|
|
IP Address | Factory default setting: |
| 192.168.150.002 |
| Enter an IP address appropri- |
| ate for the network. |
Subnet Mask | Factory default setting: |
| 255.255.255.000 |
| Set the subnet mask to the |
| same as that of the computer |
| and equipment on the |
| network. |
Gateway | Factory default setting: 000. |
| 000. 000. 000 |
| * When not in use, set to “000. |
| 000. 000. 000”. |
|
|
![]() Note
Note
•Confirm the existing network’s segment (IP address group) to avoid setting an IP address that duplicates the IP addresses of other net- work equipment or computers. If “192.168.150.002” is not used in a network with an IP address of “192.168.150.XXX”, you don’t have to change the projector IP address.
•For details about each setting, consult your network administrator.
1 Select “Off” for “DHCP Client”, then press hENTER.
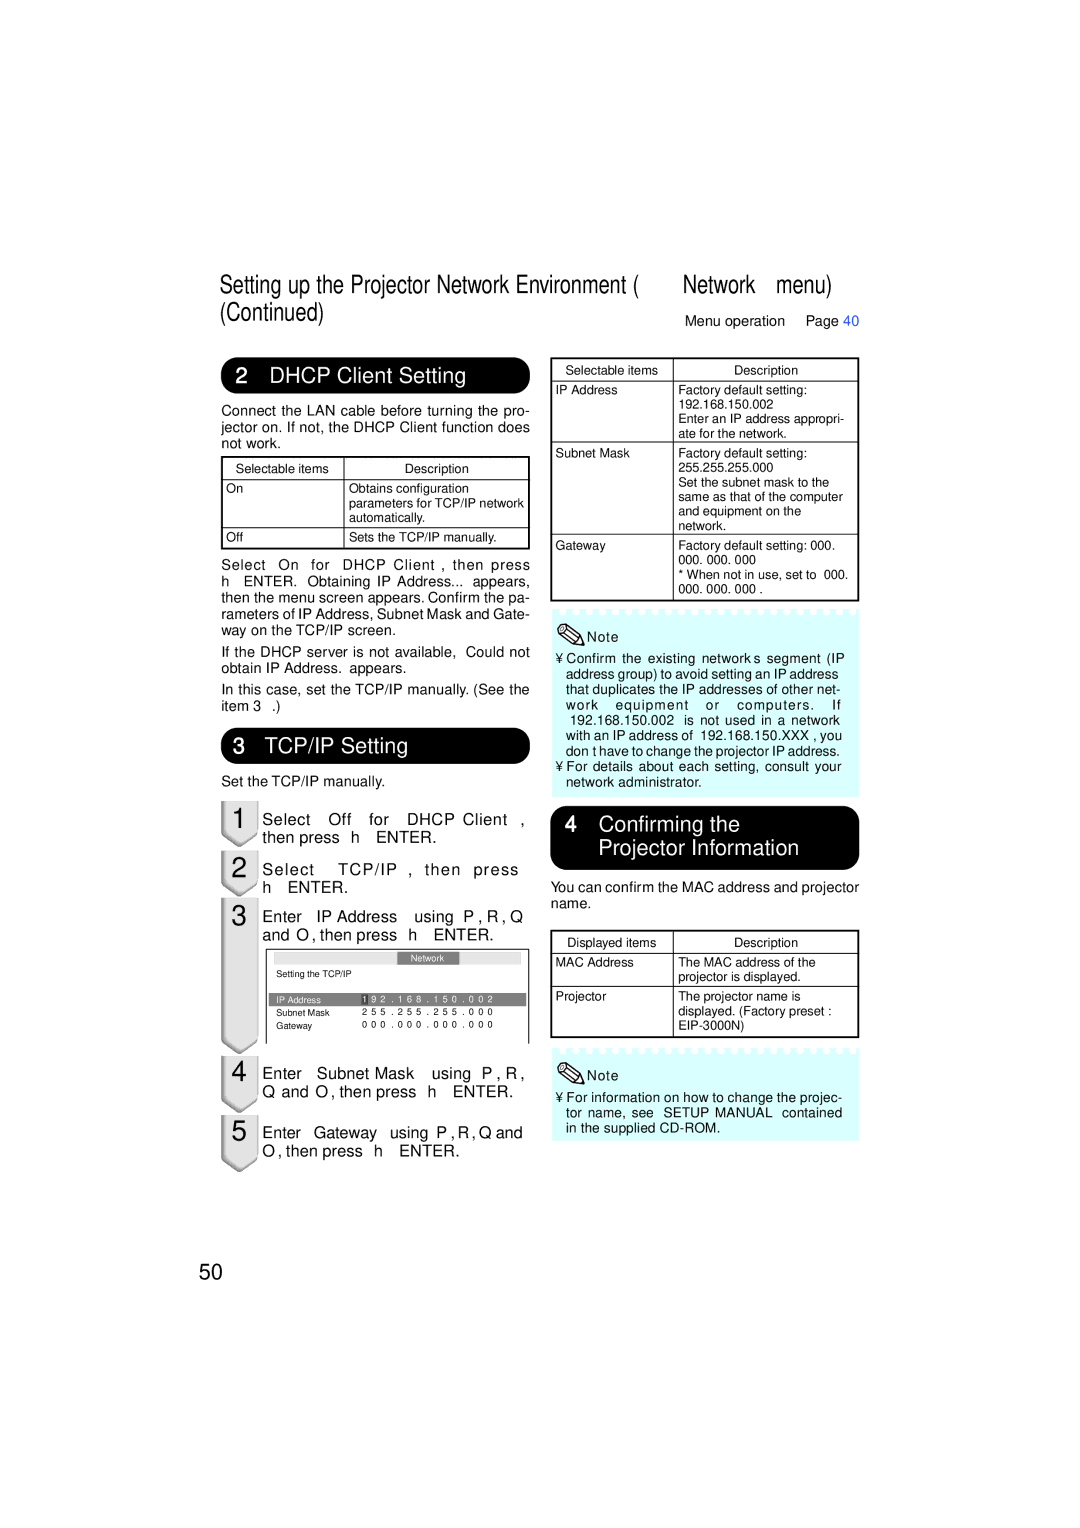
2 Select “TCP/IP”, then press hENTER.
3 Enter “IP Address” using P, R, Q
and O, then press hENTER.
|
|
|
|
|
|
| Network |
|
|
|
|
|
| ||||
| Setting the TCP/IP |
|
|
|
|
|
|
|
|
|
|
|
|
|
|
|
|
|
|
|
|
|
|
|
|
|
|
|
|
|
|
|
| ||
| IP Address | 1 | 9 | 2 | . | 1 | 6 | 8 | . 1 | 5 | 0 | . 0 | 0 | 2 |
| ||
| Subnet Mask | 2 | 5 | 5 | . | 2 | 5 | 5 | . | 2 | 5 | 5 | . | 0 | 0 | 0 |
|
| Gateway | 0 | 0 | 0 | . | 0 | 0 | 0 | . | 0 | 0 | 0 | . | 0 | 0 | 0 |
|
4Confirming the Projector Information
You can confirm the MAC address and projector name.
Displayed items | Description |
|
|
MAC Address | The MAC address of the |
| projector is displayed. |
|
|
Projector | The projector name is |
| displayed. (Factory preset : |
| |
|
|
4
5
Enter “Subnet Mask” using P, R,
Qand O, then press hENTER.
Enter “Gateway” using P, R, Qand O, then press hENTER.
![]() Note
Note
•For information on how to change the projec- tor name, see “SETUP MANUAL” contained in the supplied
50